
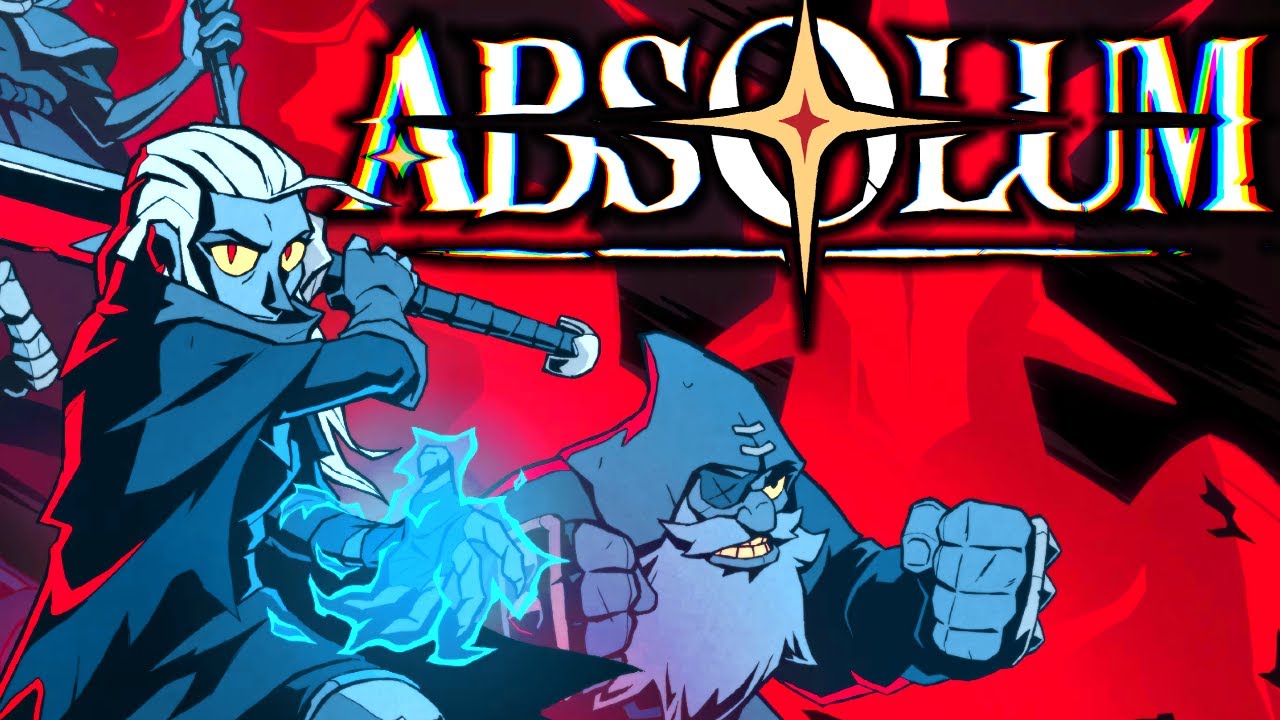
To clear late-game stages and high-health bosses in Absolum, shift your focus away from basic attack combinations toward a fast ability rotation centered on persistent damage and focused elemental synergies. Prioritizing cooldown reduction, area-of-effect hazards, and strict resource management prevents build bottlenecks when enemy health outpaces basic weapon damage.
Scaling Damage with Cooldown Recovery and Hazard Zones
Basic attack strings lose efficiency as enemy health pools scale up in deeper runs. Maintaining high damage output requires reducing ability downtime and using abilities that deal passive damage while you dodge boss mechanics.
- Prioritize Recovery Stats: Choose gear, nodes, and items that lower ability recovery times rather than selecting minor flat damage bonuses.
- Deploy Persistent Hazard Zones: Select abilities that drop damage-over-time areas or environmental traps. These "fire and forget" skills keep damage active while you back away to dodge telegraphs.
- Synchronize Buff Windows: If an item grants a damage bonus upon casting a spell, trigger that spell immediately before your highest-damage ability to maximize the burst window.
- Reserve Heavy Cooldowns: Save high-impact abilities for elite spawns and specific boss phases rather than using them to clear basic enemy waves.
Building Elemental Synergies and Adapting to Layouts
A generic loadout fails to clear end-game threats efficiently. To maximize damage multipliers, select items and upgrades that stack a single damage type rather than splitting stats across unrelated abilities.
| Focus Area | Core Strategy | Recommended Application |
|---|---|---|
| Single-Element Synergy | Commit to one damage type (such as burning, freezing, or lightning-chaining). | Combine items sharing the same element to trigger higher multiplier combos on elite targets. |
| Wide / Open Arenas | Use long-range projectiles and mobility-focused skills. | Maintain distance and attack safely while backing away across open ground. |
| Cramped / Narrow Maps | Swap to high-knockback or dense area-of-effect abilities. | Force tight groups into walls or stack hazard zones in narrow choke points. |
Defending Through Movement and Smart Resource Use
Defensive survival relies on repositioning and currency management rather than buying health upgrades early in a run.
- Reposition Bosses into Established Hazards: Use your dash to set up attack angles or escape danger zones. When a boss moves, do not chase it immediately; bait it into walking through active damage-over-time zones.
- Avoid Early Health Investments: Relying on extra health reduces overall damage output. Invest early currency and skill choices into offensive scaling and cooldown reduction to eliminate threats before they can hit you.
- Save Currency for Late-Game Shops: Avoid spending heavily on shop rerolls early in a run unless your build is missing a core synergy item. Retain currency to buy end-game items in final stages.

Free Absolum Codes
Current active codes and how to redeem them.

Michael Smith
Michael covers live-service games, events, reward systems, and efficient daily routines, turning frequent updates into clear actions for players.
COMMUNITY
Player Comments
58 players commented on this guide.
I tried this today and it worked better than my old setup.
I wish I had read this before upgrading the wrong thing.
This helped me understand strategy much better.
This saved me time in the early game.