
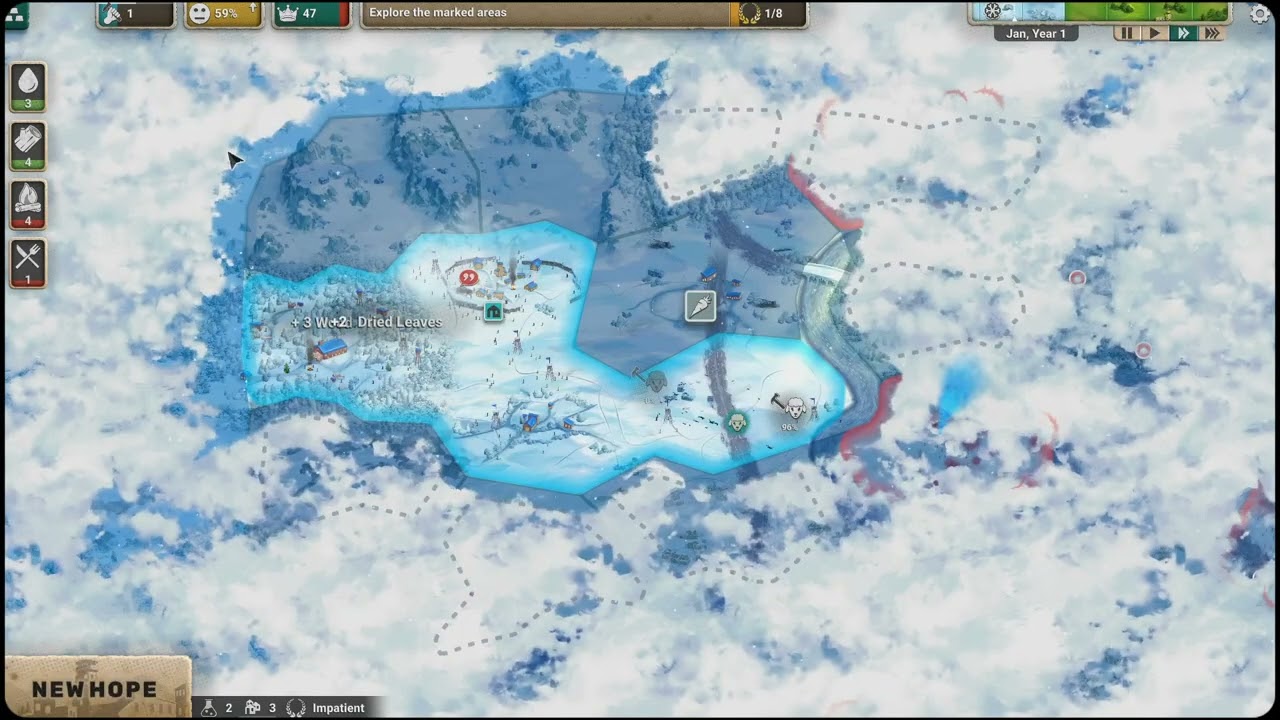
The final campaign mission in After Inc. acts as the ultimate stress test for your city-building and tactical command skills. To secure victory, you must move beyond standard base-building habits and transition into a specialized "fortress-mentality." Success is not found in building the largest settlement, but in creating the most efficient kill-box capable of withstanding exponential enemy density.
The Philosophy of Defensive Bottlenecks
In After Inc., surface area is your greatest enemy. If your base perimeter is too wide, you will be overwhelmed by the sheer volume of zombies regardless of your unit quality.
To win the final mission, you must proactively shape the terrain. Identify natural map boundaries—such as water features, mountains, or ruins—and construct your primary defensive walls to force enemy pathfinding into a single, narrow entry point. By creating a "funnel," you ensure that your damage-per-second (DPS) is concentrated on a small group of enemies at a time rather than being spread thin across a wide, porous front.
- The Kill Zone: Design the entrance of your funnel to be covered by multiple overlapping fields of fire.
- Layering: Build at least two layers of walls. The outer layer serves as a buffer, while the inner layer is where your highest-damage units are stationed.
- Repair Access: Ensure your workers have clear, unobstructed paths to the rear of your defensive walls so they can perform emergency repairs without being targeted by ranged enemies.
Optimizing Unit Composition for Late-Game Hordes
The late-game meta in After Inc. favors area-of-effect (AoE) damage over single-target nukers. When hundreds of zombies swarm your gates, a unit that can hit ten enemies at once is exponentially more valuable than one that deals massive damage to a single target.
- Splash Damage Priority: Utilize units with grenade launchers, flamethrowers, or explosive mortars. These are essential for clearing high-density clusters before they reach your walls.
- Crowd Control (CC): Never deploy a pure damage army. Include units that provide "slow" or "knockback" effects. These units don't need to kill; they simply need to keep the zombies grouped tightly within the range of your splash-damage towers and units.
- The Rotation Strategy: Micro-management is non-negotiable. If a unit is taking heavy damage, pull it back one tile behind your wall. This allows it to survive, maintain its experience level, and keep its DPS output active, rather than dying and forcing you to spend resources on a replacement.
Resource Management and Wave Intervals
The final mission features predictable "lulls" in the action. These are not rest periods; they are construction phases. If you are not building or repairing during these windows, you are falling behind.
- The 20% Reserve Rule: Always keep at least 20% of your total resource capacity in the bank. Never commit every single resource to construction. You need that liquid capital to instantly repair a wall segment that is about to collapse or to emergency-produce a unit to fill a gap in your line.
- Repair Prioritization: During the lull, prioritize repairing your walls and turrets over upgrading your economy. In the final mission, your economy is only as useful as the structures it protects. If your perimeter fails, your tech tree becomes irrelevant.
- Power Management: Ensure your defensive structures are on a redundant power grid. Losing power to your turrets during a wave is the most common cause of failure in this mission. Invest in multiple, spread-out power generators to ensure one stray zombie doesn't lead to a total blackout.
Strategic Trade-offs and Hard Decisions
You will eventually be forced to make difficult choices. Sometimes, a sector of your base is simply too compromised to save.
If a wall section is breached and your forces are overwhelmed, do not throw good money after bad. Execute a tactical retreat to a secondary "inner sanctum" line of defense. This core area should be a pre-built, heavily fortified zone containing your most critical production facilities. By abandoning the outer perimeter, you consolidate your remaining units into a tighter, more lethal kill zone, often turning a losing battle into a desperate but successful defense.
Common Mistakes to Avoid
- Over-extending: Many players try to build too many outposts or resource nodes. In the final mission, your reach should be limited. Focus on a compact, dense base.
- Ignoring Ranged Enemies: Some zombie types can attack your walls from a distance. If you don't have mobile units or defensive turrets capable of counter-sniping these threats, they will slowly chip away at your defenses until the wall collapses.
- Panic Production: Avoid queueing massive amounts of units right as a wave hits. If your production building is destroyed while units are in the queue, you lose those resources forever. Time your unit production for the lulls.
Executing the Final Stand
When the final, massive wave triggers, the game changes. Forget about long-term economy; your goal is to survive until the timer expires or the wave is cleared.
- Commit Everything: Move all non-essential units to the front line. Even workers can be used as a "meat shield" to buy your turrets an extra five seconds of firing time.
- Focus Fire: Manually command your strongest units to target the largest/most dangerous enemies within the swarm.
- Stay Calm: The final wave is designed to be chaotic. Trust your bottleneck design. As long as the funnel holds, the overwhelming numbers will eventually filter through your kill zones and be whittled down.
By prioritizing structural durability, maintaining a reserve of resources for repairs, and refusing to panic when your outer walls take damage, you will be able to overcome the final challenge of After Inc. and secure the future of your settlement.

Free After Inc. Codes
Current active codes and how to redeem them.

Sarah Williams
Sarah specializes in RPG and collection games, explaining team building, character growth, and beginner-friendly ways to avoid expensive early mistakes.
COMMUNITY
Player Comments
111 players commented on this guide.
I wish I had read this before upgrading the wrong thing.
Nice guide. I am checking the other After Inc. articles next.
Can you add more details about resources in a future update?
Good guide for After Inc. players. The resources part was useful.