
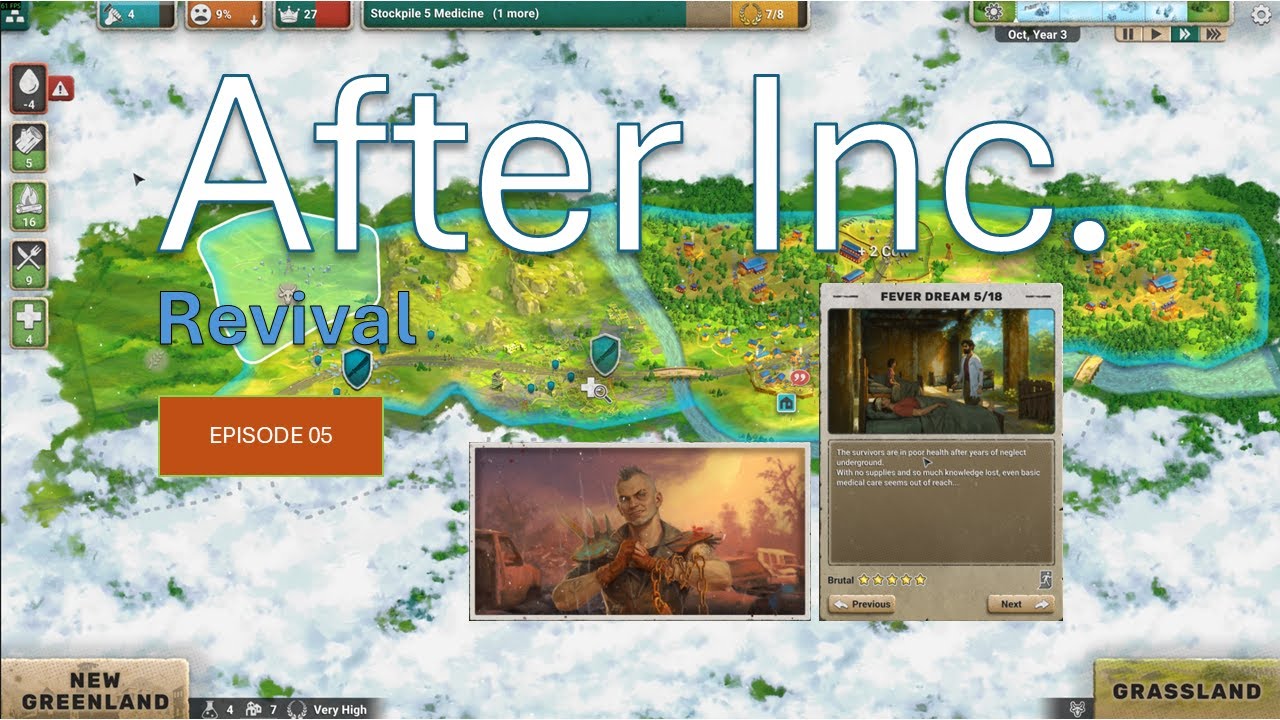
Conquering the "Fever Dream" map in After Inc. on Brutal difficulty requires a radical departure from standard playstyles. Because this map features aggressive environmental modifiers that actively drain your settlement’s capacity, you cannot rely on slow, organic growth. Instead, you must focus on extreme efficiency, aggressive land acquisition, and a proactive management style that anticipates resource decay before it hits your bottom line. Success on this map is defined by your ability to maintain a "minimalist" engine that produces maximum output while mitigating the constant, map-wide environmental pressure.
Understanding the Fever Dream Mechanics
The Fever Dream map is designed as a high-pressure scenario. Unlike the more balanced maps in the After Inc. campaign, Fever Dream introduces a "Fever" mechanic—a global environmental penalty that scales with your population density and expansion speed.
On Brutal difficulty, this penalty is significantly more punishing. It doesn’t just lower morale; it actively accelerates the decay of your primary food and building material stockpiles. If you fail to manage your expansion, the map effectively throttles your ability to build new structures, creating a death spiral where you cannot gather enough materials to fix the buildings that are failing due to the environmental decay. Recognizing that your environment is your primary antagonist is the first step toward survival.
Prioritizing Initial Resource Nodes
In the opening minutes of a Fever Dream run, your goal is not "building a base," but "securing a lifeline." Brutal difficulty does not allow for experimentation.
- Survey the Immediate Vicinity: Look for the highest-yield nodes for food and raw building materials. Do not settle for secondary or tertiary nodes just because they are closer to your starting point.
- Cluster Your Workforce: Assign your initial survivors exclusively to these high-output nodes. Avoid building non-essential structures like aesthetic housing or early research centers if they pull labor away from extraction.
- The Maintenance Threshold: Calculate your output versus your maintenance costs. If a node costs more in tool wear or environmental management than it provides in resources, abandon it. You need a surplus of 20% on all basic materials before you even consider building a single residential unit.
Navigating Environmental Restrictions
The "Fever" penalty creates pockets of instability. To combat this, you must adopt a "Safe Zone" strategy. Instead of sprawling your city across the map, build in contiguous, dense blocks.
- Zone Isolation: By clustering buildings, you minimize the surface area exposed to the map’s environmental hazards. This makes it easier to deploy specialized maintenance units that can cover multiple structures in a single pass.
- Buffer Building: Construct storage facilities in the center of your clusters. This minimizes transit time, which is critical because, on Brutal difficulty, the time a survivor spends walking is time they aren't mitigating environmental damage.
- The Fever Meter: Monitor your global penalty meter constantly. If it approaches the red zone, cease all new construction immediately. Divert your workforce to "Repair and Restore" duties until the meter drops. It is better to pause growth for two minutes than to lose a production hub to a fever-induced collapse.
Strategic Expansion and Land Control
Expansion on Fever Dream is a tactical maneuver, not a structural one. You are not building a city; you are moving your front line. When you decide to expand, ensure your new territory acts as a force multiplier.
- Multi-Node Coverage: Never build a satellite settlement that only accesses one resource. Each expansion must cover at least one food source and one material source to justify the "Fever" penalty increase associated with building new infrastructure.
- The 15% Rule: Never break ground on a new district unless you have at least 15% of your food supply in reserve. The transition period between "under construction" and "fully operational" is when you are most vulnerable to sudden resource drops.
- Grid Connectivity: Maintain a strict power and logistics grid. If a resource node is too far to connect to your primary grid without wasting materials on long-distance conduits, ignore it. The logistics cost will kill your economy on Brutal settings.
Managing Population and Survivor Logistics
On Brutal difficulty, your survivors are your most expensive resource. An idle survivor is a drain on food and morale, and an inefficient one is a drain on your structural integrity.
- Lean Staffing: Only recruit or accept new survivors if you have an immediate, specialized role for them. Having a "buffer" population is a luxury this map does not allow.
- Role Rotation: Train your survivors in multiple disciplines. In the mid-game, you should be able to shift your workforce from agriculture to maintenance instantly when a fever spike occurs.
- Maintenance over Expansion: When faced with a choice between building a new factory or upgrading a maintenance facility, choose the maintenance facility. On Fever Dream, keeping existing systems running is significantly cheaper than building new ones to replace those that have failed.
Adapting to Mid-Game Transitions
The mid-game is where most After Inc. players lose their Fever Dream run. As you cross the threshold into mid-game, the game begins to ramp up the decay rate of your buildings.
You must transition from a reactive state—where you wait for the "Building Damaged" alert—to a predictive state. Use the following checklist to manage the transition:
- Stockpile Redundancy: Keep 25% of your total storage capacity empty, reserved exclusively for emergency materials.
- Predictive Maintenance: Assign a dedicated maintenance squad to rotate through your high-value production nodes every three cycles, regardless of their current condition.
- Tech Pivot: Focus your research tree on longevity and efficiency upgrades rather than output speed. A building that produces 20% less but lasts 50% longer is infinitely more valuable on this map.
Common Mistakes to Avoid
- Over-Expanding: The most common cause of failure is building too much, too fast. Fever Dream rewards a small, hyper-efficient core over a large, struggling city.
- Ignoring Logistics: Failing to centralize your storage leads to massive inefficiency. Keep your storage hubs as close to your production nodes as humanly possible.
- Panic Building: When a disaster hits, don't build more. Fix what you have. Panic building leads to a diluted workforce, which is the fastest way to lose on Brutal difficulty.
By maintaining a disciplined, resource-focused, and proactive strategy, you can turn the chaotic "Fever Dream" map into a testament to your tactical mastery in After Inc. Stay lean, stay mobile, and always prioritize the integrity of your core infrastructure over the size of your footprint.
Free After Inc. Codes
Current active codes and how to redeem them.

James Brown
James focuses on Android gaming on PC, emulator setup, controls, performance tuning, and practical troubleshooting for longer play sessions.
COMMUNITY
Player Comments
114 players commented on this guide.
Can you add more details about resources in a future update?
This guide answered the exact question I had.
The tips are practical and easy to follow.
I wish I had read this before upgrading the wrong thing.