
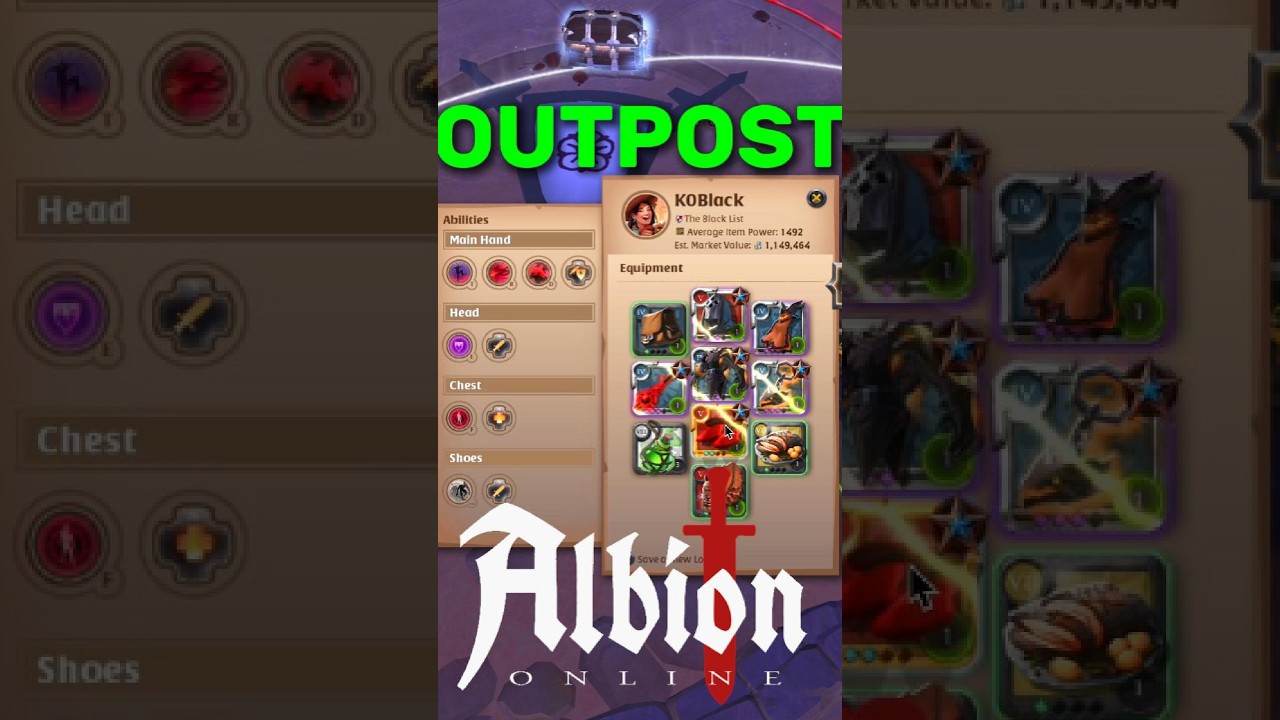
To clear and capture Black Zone castle outposts as a duo in Albion Online, pair a sustain healer with a melee brawler using disposable Tier 4.1 gear sets capped between 35,000 and 50,000 silver. Castle outposts broadcast visual capture indicators across local maps, meaning hostile zergs and roaming gankers will frequently contest you. Capping your investment ensures that a single successful chest funds multiple future sets, keeping your runs profitable even when enemy groups run you over.
Recommended Budget Loadouts
One player provides sustained healing and supplementary area damage, while the other handles enemy grouping and heavy bleed pressure. Tier 4.1 items keep individual gear costs minimal while providing the raw stats required to defeat elite outpost mobs.
| Role | Weapon Choice | Armor & Headpiece | Boots & Offhand | Core Tactical Function |
|---|---|---|---|---|
| Sustain / Support | 1H Nature Staff (Tier 4.1) | Cleric Robe, Mage Cowl | Soldier Boots, Torch | Keeps the brawler alive with continuous heals, interrupts guards, and adds Thorn Growth AoE |
| Brawler / DPS | Battleaxe or Greataxe (Tier 4.1) | Mercenary Jacket, Scholar Cowl | Soldier Boots, Mistcaller or Muisak | Pulls aggro, inflicts bleed stacks, clears packs with spinning cleaves, and triggers Bloodlust |
- Healing setup: Run Rejuvenating Flower (or single-target Rejuvenation stacks) and Thorn Growth on the Nature Staff. Cleric Robe provides an invulnerability window if targeted, while the Torch accelerates cooldowns and auto-attacks.
- DPS setup: Use Rending Spin and Whirlwind to burn guard clumps quickly. Activate the Mercenary Jacket's Bloodlust during high-damage guard pulls to recover health without relying entirely on the healer. Scholar Cowl sustains energy throughout extended fights.
Clearing Courtyard Guards Efficiently
Castle outposts feature exterior courtyard patrols and inner champions. Never charge straight into the center, as pulling multiple packs simultaneously applies stacking armor debuffs and heavy knockbacks that can quickly overwhelm a budget pair.
- Park mounts near the entrance: Mount up and stop just inside the outpost archway where your mount despawn circle remains active. This allows you to mount quickly if enemy players enter the sector.
- Pull packs toward the archway: The axe brawler should tag the nearest patrol with a ranged ability or auto-attack, stepping back toward the entrance to force ranged and melee sentries into a tight cluster.
- Layer area-of-effect abilities: Once the guards group, drop Thorn Growth underneath them and execute Whirlwind or Rending Spin.
- Dodge telegraphs: Step out of all red circular indicators and frontal cones immediately. These attacks inflict stuns and heavy physical burst damage that waste critical defensive cooldowns before the boss fight.
Defeating the Outpost Lord
The Outpost Lord has high health, strong armor, and heavy cleave attacks that can wipe Tier 4.1 players if handled improperly. Surviving the encounter requires active kiting while remaining within the capture zone.
- Establish boss aggro: The axe player must take initial threat using basic attacks and primary abilities, continually rotating in wide circles around the lord. Constant movement prevents the boss from executing full auto-attack sequences.
- Stay inside the capture circle: Both players must remain inside the glowing capture radius surrounding the central platform. This charges the outpost capture meter while the boss takes damage, ensuring the outpost chest unlocks as soon as the lord falls.
- Support from range: The Nature Staff player should maintain heal stacks on the brawler from within the circle, applying poison potions and Thorn Growth to accelerate the kill.
Securing Loot and Escaping Third Parties
Hostile groups frequently arrive near the end of an outpost capture. Prepare your exit before the boss dies to ensure you secure the most valuable loot.
- Angle your camera: Position your perspective toward the main courtyard entrance and watch the mini-map for red player markers.
- Prioritize high-density loot: Open the chest the instant the Outpost Lord dies. Quickly shift-click silver bags, fame tomes, and high-tier artifacts directly into your inventory rather than taking low-value bulk gear.
- Mount up immediately: If no hostile players appear, mount up inside your active circle and head to the nearest safe zone or territory.
- Flee in separate directions: If an enemy group rushes the courtyard, do not attempt to fight. Activate Soldier Boots or Wanderlust and run in opposite directions toward zone exits or invisibility shrines. Even if one or both players die, the banked loot from previous clears easily covers the loss of budget Tier 4.1 kits.

Free Albion Online Codes
Current active codes and how to redeem them.

Michael Smith
Michael covers live-service games, events, reward systems, and efficient daily routines, turning frequent updates into clear actions for players.
COMMUNITY
Player Comments
51 players commented on this guide.
This guide answered the exact question I had.
This helped me understand strategy much better.
I wish I had read this before upgrading the wrong thing.
The tips are practical and easy to follow.