
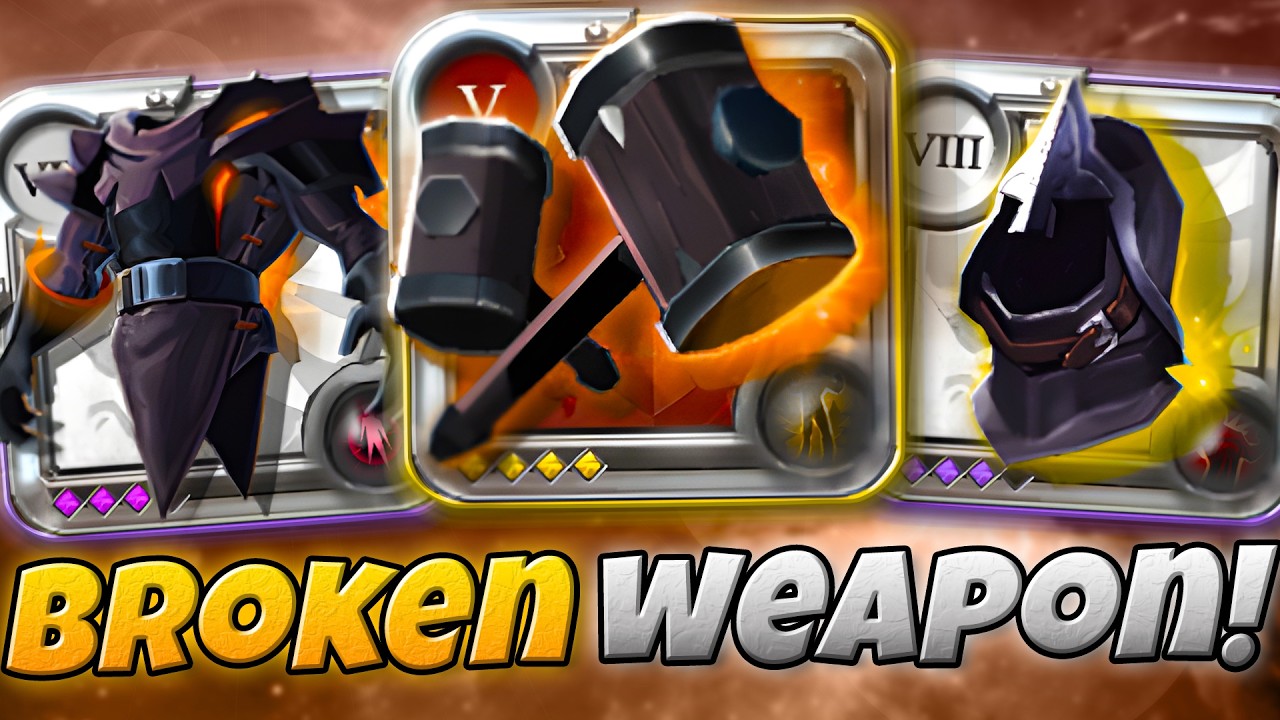
The Forge Hammer is widely considered one of the most underrated weapons in the current Albion Online meta. While many players flock to high-mobility daggers or staves, the Forge Hammer offers a unique "bruiser" playstyle that punishes overconfident opponents through superior crowd control (CC) and massive burst windows. Because the weapon excels at forcing trades in tight quarters, it is an exceptionally lethal tool for solo players roaming the Mists or the open world.
To succeed with the Forge Hammer, you must stop thinking like a kiter and start thinking like a gladiator. You are not looking to outrun your opponent; you are looking to trap them, disable their defenses, and delete their health bar before they can react.
Why the Forge Hammer Excels in Solo PvP
The Forge Hammer thrives because it dictates the rhythm of combat. Most solo weapons rely on sustained DPS or extreme mobility; the Forge Hammer relies on "impact windows." Its kit provides a consistent way to interrupt channels and force opponents to burn defensive cooldowns prematurely.
In a 1v1 scenario, the Forge Hammer creates a "do or die" environment. If an opponent missteps, your CC chain prevents them from using their mobility spells to reset. Because the weapon’s damage output is high even without expensive, specialized gear, it is a cost-effective choice for "Zero to Hero" runs or budget-conscious solo players who want to punch above their weight class against higher-tier targets.
Optimal Armor and Ability Loadout
To maximize the Forge Hammer’s potential, you must balance physical damage amplification with enough defensive utility to survive the initial trade.
| Item Slot | Recommended Choice | Primary Purpose |
|---|---|---|
| Weapon | Forge Hammer | Main burst, CC, and lockdown |
| Helmet | Soldier/Guardian Helm | Survivability, damage mitigation, and resets |
| Chest | Soldier Armor | Increased damage and sustainability (Fury passive) |
| Boots | Royal or Soldier Boots | Mobility and defensive positioning |
| Cape | Thetford or Undead | Added burst damage or emergency invis |
The "Soldier" Synergy
The core of this build is the Soldier Armor. Its "Fury" passive increases your damage as you take hits, which synergizes perfectly with the Forge Hammer’s desire to stand and trade. When paired with a defensive helmet—such as the Guardian Helm for a massive health boost or the Soldier Helm for the "Block" ability—you become nearly impossible to burst down while you are in the middle of your attack animation.
Mastering the Engagement Rotation
The secret to the Forge Hammer is not the raw damage of the weapon itself, but the order in which you apply your CC. You should never lead with your highest-damage ability if the enemy still has a dash or iframe (invulnerability frame) available.
- The Approach: Use your boot ability to close the gap. Do not use your primary CC immediately. Wait for the opponent to panic-cast a mobility spell.
- The Bait: If they haven't moved, initiate with a minor ability to force them to waste their defensives.
- The Lockdown: Once their mobility is on cooldown, execute your main CC chain. This immobilizes the target, setting them up for the Forge Hammer’s heavy-hitting skills.
- The Burst: Unload your full combo while the target is incapacitated. If they survive, use your remaining defensive cooldowns to reset rather than chasing mindlessly.
Managing Limitations and Counterplay
Every Albion Online weapon has a hard counter, and for the Forge Hammer, it is "kiting" and "purges." Because the Forge Hammer has limited gap-closing abilities compared to something like a Bloodletter, you are vulnerable to ranged builds that can maintain distance.
- Handling Purges: Many players carry a Fiend Cowl to purge your defensive buffs. If you see an opponent with this item, do not pop your Soldier Armor (Fury) or defensive helmet until after they have purged you or used their helmet ability.
- Energy Management: The Forge Hammer is energy-hungry. If you find yourself running out of mana mid-fight, swap your food to Beef Stew for damage or Omelets for cooldown reduction, but ensure you have a way to manage mana, such as using a Scholar Robe or specific passive energy regeneration if needed.
Strategic Positioning in the Mists and Open World
In the Mists, geography is your greatest weapon. Avoid fighting in wide, open fields where a ranged weapon can easily reset against you. Instead, look for:
- Corridors and Choke Points: Fight near the edges of the map or inside tight ruins. This prevents opponents from kiting you and forces them to engage in melee range where your CC is most effective.
- Third-Party Opportunities: The Forge Hammer is a king of "ratting." If you see two players fighting, wait for them to expend their major defensive cooldowns. Once they are low on health and resources, jump in. Your CC ensures they cannot escape, and your burst will finish off the weakened survivor.
Expert Tips for Consistent Success
- Track Cooldowns: The difference between a novice and an expert Forge Hammer user is the ability to track enemy defensive items. If you know their "Ice Block" or "Royal Cowl" is down, they are effectively dead once you land your first hit.
- Don't Overstay: If your burst rotation fails and the enemy isn't dead, disengage. The Forge Hammer is not meant for long, drawn-out duels; it is meant for sudden, violent exchanges. If you cannot secure the kill in your window of CC, step back, use your boots, and wait for your cooldowns to return.
- Gear for the Tier: Because the Forge Hammer relies on ability scaling rather than flat auto-attack damage, you can effectively use it at Tier 4.2 or 5.1 in lethal zones to minimize risk while maintaining high kill pressure.
By focusing on baiting your opponent's mistakes, managing your defensive cooldowns against purges, and playing strictly in tight terrain, you will find that the Forge Hammer is one of the most reliable weapons for securing kills in the unpredictable world of Albion Online.

Free Albion Online Codes
Current active codes and how to redeem them.

James Brown
James focuses on Android gaming on PC, emulator setup, controls, performance tuning, and practical troubleshooting for longer play sessions.
COMMUNITY
Player Comments
54 players commented on this guide.
This helped me understand strategy much better.
I wish I had read this before upgrading the wrong thing.
The tips are practical and easy to follow.
The explanation is clear, especially for beginners.