
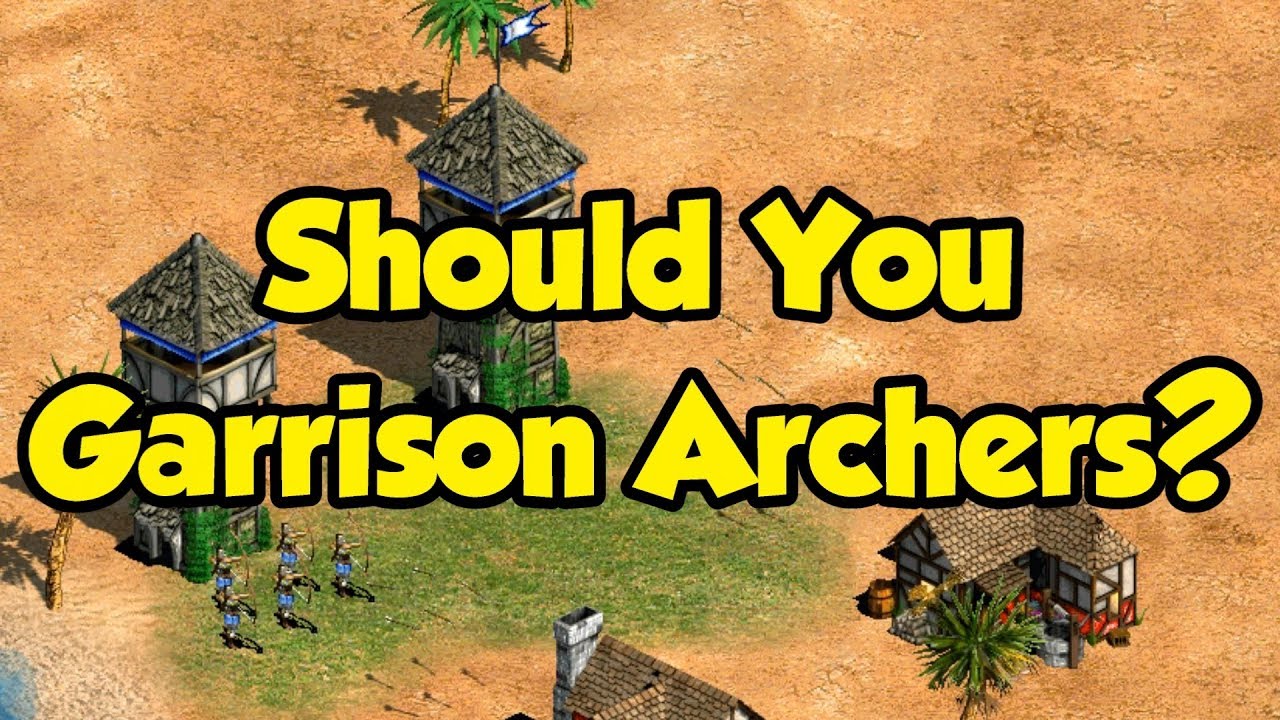
In Archer Castle, the temptation to garrison your archers inside defensive towers often feels like a logical tactical upgrade. After all, a fortress bristling with arrows sounds like an impenetrable defense. However, experienced players quickly learn that garrisoning is rarely the optimal choice for maximizing your progression. In almost every scenario, the raw damage-per-second (DPS) output of an archer unit on the field significantly outweighs the static, minor bonus provided by a tower garrison.
This guide dissects the mechanics behind Archer Castle’s combat system, explains why garrisoning is mathematically inefficient, and provides the expert strategies you need to build a powerhouse defense that clears waves efficiently.
The Mathematical Cost of Garrisoning
The primary reason to avoid garrisoning is the drastic reduction in total battlefield DPS. When an archer is deployed on the field, they operate as an independent damage engine. They utilize their full attack speed, their inherent damage stats, and their unique passive abilities.
Once you move that unit into a tower, you effectively "deactivate" those variables. The game replaces the archer’s complex attack profile with a generic projectile bonus tied to the tower itself. You aren’t just moving a unit; you are removing a high-output damage dealer from the rotation. Because Archer Castle scales difficulty based on the volume of enemies, you need every ounce of active DPS to prevent being overwhelmed. By garrisoning, you trade a high-frequency, stat-heavy attacker for a meager increase in tower projectile count that lacks the scaling power of your actual heroes.
Why Tower Bonuses Fail to Scale
One of the most common mistakes beginners make is assuming that tower arrow bonuses scale proportionally with the archer inside. In reality, tower-based defensive mechanics are usually additive and static.
When you keep an archer on the field, they benefit from:
- Equipment Multipliers: High-tier gear providing crit chance, attack speed, or elemental damage.
- Passive Synergies: Buffs from other heroes or base management upgrades that only affect units on the field.
- Skill Triggers: Abilities that require the unit to be "active" to proc.
When garrisoned, these stats are ignored. The tower fires a "vanilla" projectile that does not inherit the archer's gear or high-level progression. You are essentially paying the "cost" of a high-level unit but receiving the "reward" of a low-level static turret. This creates a massive net loss in your total damage output, which is why your wave-clearing speed often grinds to a halt after you start garrisoning.
Tactical Limitations and Range Constraints
Beyond the raw math, garrisoning imposes severe tactical limitations. Archer Castle is a game of area control. To succeed in later stages, you must kill enemies as far away from your walls as possible.
The Problem with Fixed Positioning
- Reduced Range: Garrisoned units are often tethered to the tower’s specific range, which may be lower than a fully upgraded archer’s effective reach.
- Targeting Constraints: Tower AI is often rigid, forcing fire on the closest target even if a higher-value, high-threat enemy is approaching from a different lane.
- Lack of Mobility: Field-deployed archers can be positioned to cover specific gaps or support your main tanks. Garrisoned archers are immobile, meaning your defense becomes hyper-concentrated in one spot, leaving you vulnerable to flanking or multi-lane swarm waves.
By keeping your units in the field, you maintain the flexibility to focus-fire on bosses or split your damage to manage multiple entry points simultaneously.
When (If Ever) to Use Tower Defense
While the consensus is to avoid garrisoning, there are extremely niche, early-game scenarios where it might serve as a temporary bridge. If you are playing a very low-level account and your archers are currently so weak that their individual field contribution is negligible, you might garrison them to provide a tiny bit of extra coverage.
However, treat this as a stopgap measure, not a build strategy. If you find yourself needing to garrison units to survive a wave, it is a clear indicator that your current gear, hero levels, or base management upgrades are insufficient. Instead of hiding your units in towers, prioritize:
- Weapon Upgrades: Focus on increasing the base damage of your core archers.
- Hero Synergies: Ensure you are using heroes that provide passive buffs to all field-deployed units.
- Defensive Positioning: Use your tanks or wall-blockers to keep enemies at bay, allowing your archers to operate safely from the backline.
Optimizing Your Build for Long-Term Progression
To excel in Archer Castle, you must view your army as a mobile, high-output engine. The most successful players prioritize active units that can cycle through attacks and maximize the impact of their equipment.
Steps to Maximize Your Damage:
- Prioritize Independent DPS: Always favor units that can be buffed by external sources (like banners or hero passives).
- Invest in Range: In Archer Castle, range is a defensive stat. The further away an enemy is, the more "free" damage you get before they even touch your wall.
- Avoid "Set and Forget" Tactics: Do not get comfortable with a setup that relies on tower damage. If you aren't actively managing your units, you are losing out on the ability to clear higher, more rewarding waves.
Final Verdict: Keep Them on the Field
The logic of Archer Castle favors active, field-deployed units. The game is designed to reward players who invest in the progression of their individual archers, not those who look for shortcuts through tower garrisoning.
By keeping your archers on the field, you ensure that every gold piece spent on leveling, every shard spent on gear, and every minute spent on skill management is being fully utilized. The next time you feel the urge to tuck your archers away for "extra protection," remember: the best defense in Archer Castle is a powerful, active offense that eliminates threats before they ever get close enough to challenge your walls. Keep your archers out, keep them mobile, and watch your wave-clearing speed skyrocket.

Free Archer Castle Codes
Current active codes and how to redeem them.

Emily Johnson
Emily writes practical mobile strategy guides with a focus on resource planning, base progression, and the early decisions that shape a long-term account.
COMMUNITY
Player Comments
72 players commented on this guide.
This helped me understand strategy much better.
This guide answered the exact question I had.
This saved me time in the early game.
The explanation is clear, especially for beginners.