
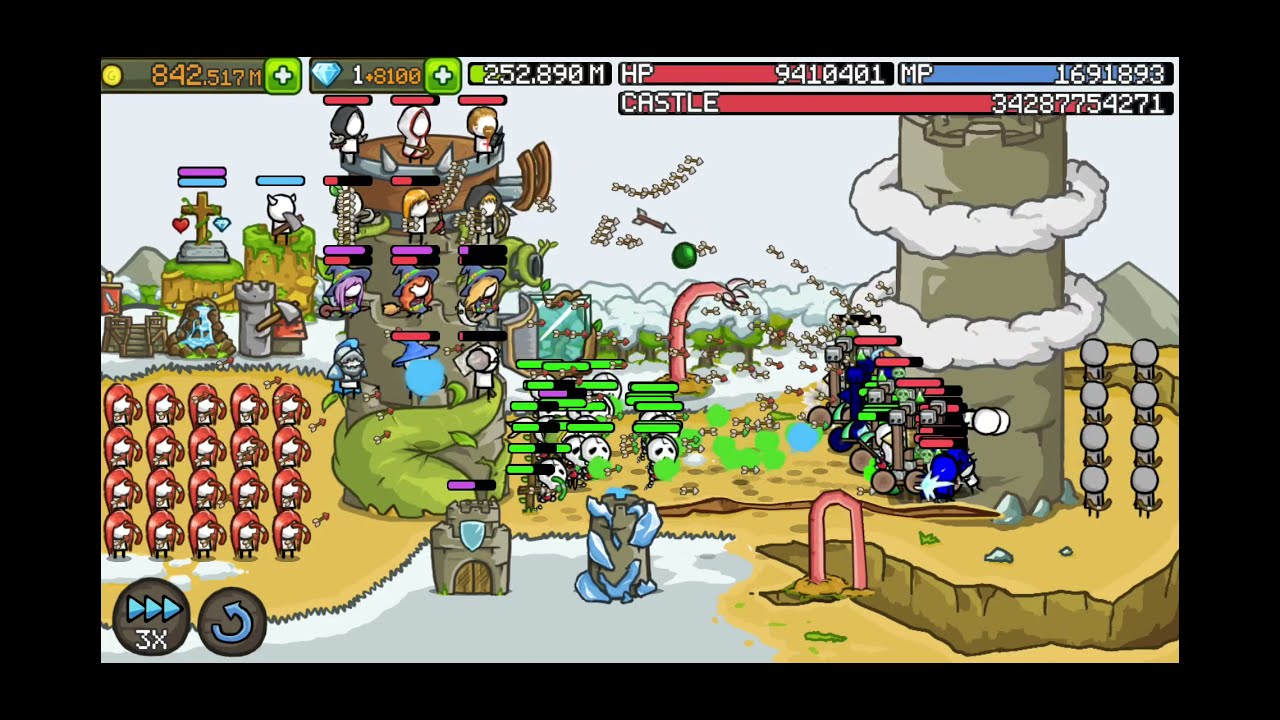
Reaching the 13,000-level milestone in Archer Castle represents a significant transition from mid-game play to the high-stakes environment of late-game optimization. At this threshold, the Infinite Colony no longer rewards brute-force leveling; it demands a surgical approach to hero synergy, crowd control, and economic efficiency. When mob density hits its peak, even the strongest individual heroes will crumble without a cohesive defensive architecture. This guide provides the tactical framework required to push past the 13,000-level barrier and maintain consistent growth.
The Core Philosophy: Why 13,000 is a Turning Point
At the 13,000-level mark, the primary challenge shifts from enemy HP pools to "screen clutter." The sheer volume of mobs means that if your damage is strictly single-target, your castle will be overwhelmed by sheer numbers long before you defeat the high-health bosses. Success at this level relies on the "kill-zone" concept: forcing enemies into a specific area where your Area of Effect (AoE) damage and crowd control (CC) overlap perfectly. If your heroes are spread too thin, you lose the efficiency required to sustain the wave.
Optimizing Hero Synergies for High-Density Waves
To survive the 13,000-level Infinite Colony, you must move away from "jack-of-all-trade" builds. Your hero composition must be divided into three specific roles:
- The Crowd Controllers: These are your most important units. Prioritize heroes that apply stuns, freezes, or knockbacks. At level 13,000, enemies move fast; slowing them down is mathematically equivalent to increasing your DPS, as it grants your archers more time to fire.
- The AoE Shredders: You need at least two units capable of hitting the entire screen or large swaths of it. Without high-uptime AoE, you will inevitably leak small mobs that slowly chip away at your castle’s durability.
- The Global Buffers: These heroes should occupy your support slots. They provide passive damage increases or cooldown reduction to your entire team. A hero that buffs your main DPS by 15% is often more valuable than a low-tier damage dealer at this stage.
Pro Tip: Sequence your ability usage. Do not fire all your CC abilities at once. Stagger them so that when one crowd control effect ends, another begins. This "CC chaining" keeps enemies from ever reaching your walls.
Strategic Tower Placement and Defensive Architecture
In Archer Castle, your towers are not just secondary damage dealers; they are your frontline. At the 13,000-level threshold, positioning is the difference between a successful clear and a wasted run.
- The Tank Core: Place your highest HP-pool towers in the center. These act as the anchor for your defense. If you have towers that provide healing or shielding, they should be placed immediately adjacent to these tanks to maximize their protective uptime.
- The Buff Zones: Align your towers to benefit from the hero auras. If a hero grants a 20% attack speed buff to nearby towers, ensure your highest-damage towers are physically touching that hero’s tile.
- The "Kill-Line" Setup: Place your highest fire-rate towers at the front to pick off fast-moving light enemies, and reserve your high-damage, slow-firing siege towers for the back to clean up the tankier units that survive the initial barrage.
Managing Resource Consumption During Pushes
The cost-to-benefit ratio of upgrades changes drastically as you approach level 13,000. Dumping all your gold into your castle's base archer level is a common trap. Instead, adopt these economic strategies:
- The 70/30 Rule: Spend 70% of your excess gold on hero levels and equipment, and 30% on permanent base management structures. The latter ensures that you have the passive income to recover quickly if a run fails.
- Diminishing Returns: If upgrading a hero costs more than the marginal gain in DPS, stop. It is almost always better to level a secondary hero who provides a percentage-based buff than to push a primary hero past their current efficient level cap.
- Mana Conservation: In the Infinite Colony, mana is a finite resource. If you find yourself running out of mana before the wave ends, you are likely using too many active skills on "trash" mobs. Save your heavy-hitting abilities exclusively for the high-threat waves that appear at the end of the stage.
Identifying and Countering High-Level Threats
When your run fails, examine the "post-mortem" screen. If you are dying to melee units, your CC is failing. If you are dying to ranged units, your tower placement is likely too exposed.
- Rapid-Fire/High-Speed Units: These are the "castle killers." They bypass your slow-moving projectiles. If you see these in the battle report, you need to swap one of your damage heroes for a hero that specializes in attack speed reduction or multi-target slowing.
- High-HP Bruisers: If these units are reaching your walls, your total DPS is insufficient. Do not add more sustain; add more raw damage. Check if your current gear is optimized for Crit Chance or Attack Speed, and shift your equipment loadouts accordingly.
The Iteration Cycle: Getting to 13,000+
Reaching the 13,000 level is not a sprint; it is an iterative process of testing and measurement. After every ten failed attempts, document the following:
- The "Leak" Point: At what wave count/enemy type does the defense collapse?
- The "Mana Gap": Did you run out of mana, or was the damage output simply too low?
- The Hero Contribution: Use the in-game damage meter to identify which hero is contributing the least. Replace them with a utility hero for three runs and observe the difference in total wave duration.
By systematically adjusting your deck based on these observations, you move from playing Archer Castle by guesswork to playing it with mathematical precision. Every successful push past the 13,000-level mark requires this disciplined approach—optimizing, testing, and refining until your fortress becomes an impenetrable wall.

Free Archer Castle Codes
Current active codes and how to redeem them.

Michael Smith
Michael covers live-service games, events, reward systems, and efficient daily routines, turning frequent updates into clear actions for players.
COMMUNITY
Player Comments
84 players commented on this guide.
This helped me understand heroes much better.
Can you add more details about heroes in a future update?
Nice guide. I am checking the other Archer Castle articles next.
The tips are practical and easy to follow.