
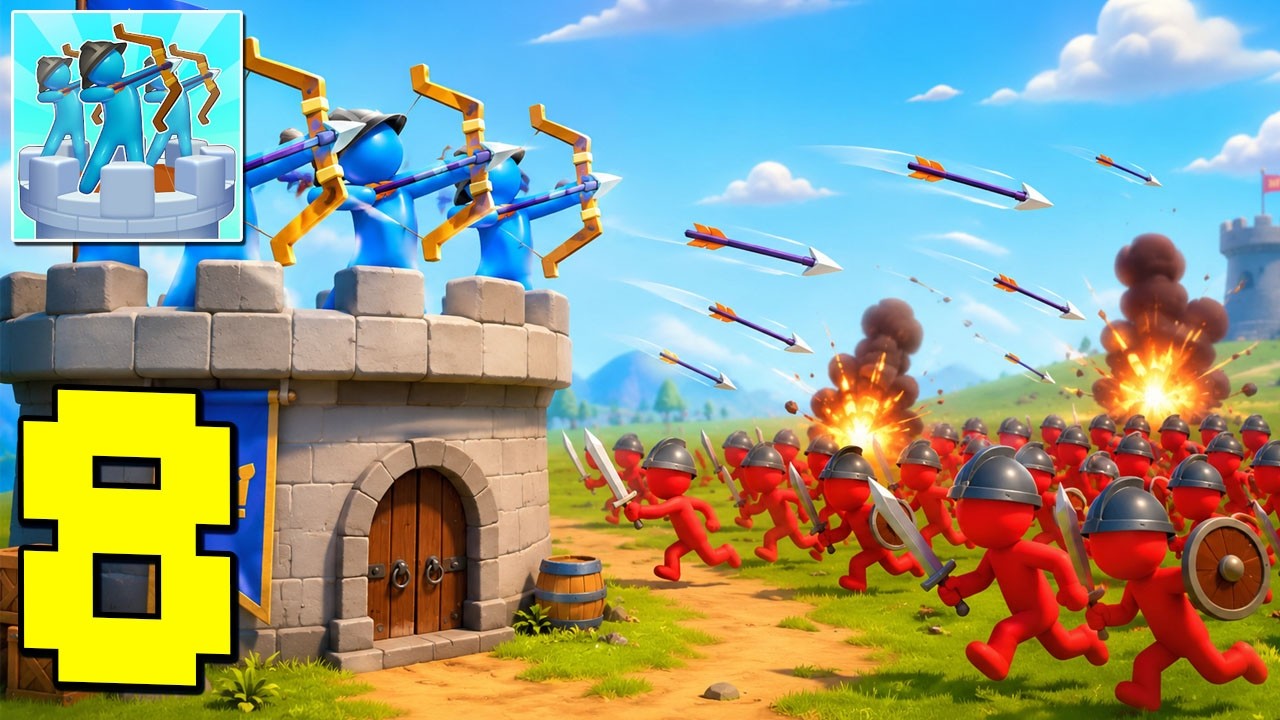
Success in Archer Castle requires more than just high-level gear; it demands a deep understanding of projectile ballistics and strategic wave management. To survive the increasingly difficult sieges, you must move beyond spamming attacks and start treating every arrow as a calculated tactical strike. By mastering the arc, timing your shots to account for enemy movement, and balancing manual control with your tower’s automated systems, you can hold your ground against even the most overwhelming odds.
Mastering Projectile Trajectory and Timing
The core of your defense in Archer Castle is the ability to predict where an enemy will be, not where they currently are. Because your arrows travel in a parabolic arc, firing directly at a target often results in a miss if that unit is moving laterally.
- Leading the Target: Always aim slightly ahead of the enemy's path. If they are moving toward your wall, aim at the ground in front of them to ensure the projectile connects during their movement.
- The Firing Rhythm: Avoid "panic-tapping." There is a distinct delay between your input and the arrow’s release, followed by travel time. Establishing a rhythmic firing pattern ensures that your projectiles create a consistent "curtain of fire" rather than scattered, erratic shots that leave gaps for enemies to slip through.
- Visualizing the Arc: Pay close attention to the trajectory line provided by the game’s UI. Use the peak of the arc to gauge distance—higher arcs are better for long-range suppression, while lower, flatter arcs are essential for quick-response direct hits.
Identifying Optimal Firing Angles for Different Threats
Not all enemies are created equal, and your firing angle should shift dynamically based on the threat profile of the current wave in Archer Castle.
Long-Range Sniping
Use a shallow, flatter firing arc when dealing with high-priority targets like archers or casters lingering at the back of the enemy formation. A low trajectory ensures the projectile reaches the target faster, minimizing the chance they will move out of the way before impact.
Area Denial and Crowd Control
When facing densely packed groups, increase your firing arc. A steeper angle allows your projectiles to rain down on the center of the mass. Even if you miss your primary target, the "splash" of the arrow hitting the ground or the center of the crowd often catches surrounding units, maximizing your damage per second (DPS).
Wall-Hugger Defense
When enemies reach the base of your walls, their movement speed often masks the hitbox. Switch to a near-vertical, high-arc shot. By dropping arrows directly onto the perimeter of your fortress, you clear the immediate area and force attackers to reset their approach, buying your automated defenses precious time to recover.
Managing Resource Consumption During Sieges
In Archer Castle, your tower’s ammunition—or the "focus" required to maintain consistent volleys—is a finite resource during a siege. Wasting shots on stray enemies or thin lines is a common mistake that leads to failure during the final, high-intensity push of a wave.
- The Wait-and-Strike Method: If you aren’t under immediate threat of a wall breach, hold your fire. Wait for enemies to clump together at choke points. A single, well-placed shot into a cluster is significantly more valuable than five individual shots at scattered targets.
- Suppression vs. Execution: If your tower upgrades are low, accept that some shots are purely for suppression. By firing into an empty area ahead of the wave, you create a "dead zone" that AI-controlled enemies will often attempt to path around, slowing their advance and preventing them from reaching your walls simultaneously.
Adapting to Enemy Formation Shifts
The enemy AI in Archer Castle uses different formations to test your defensive versatility. To counter them, you must adjust your tactics in real-time:
- Fast, Spread-Out Units: Do not chase individuals. Instead, sweep your aim across the width of the approach path to catch as many units as possible with a single volley.
- Slow, Armored Units: Focus your fire on a single target. These units have higher health pools and require consecutive hits to "break" their defenses. Ignore the minor units to ensure the tank units are neutralized before they reach your walls.
- The "Pivot Point" Strategy: Every wave has a lead unit. If you neutralize the leader, the AI often triggers a pathing hesitation, causing the units behind to bunch up or stutter. This is the perfect moment to switch to an area-of-effect arc and clear the entire group at once.
Balancing Manual Control with Automated Support
One of the most important lessons for any Archer Castle player is that manual control is an augmentation, not a replacement, for your automated systems. Relying solely on your manual aim will lead to fatigue and missed opportunities.
- Trust the Automation: Let your automated defenses handle the "grunts" and the consistent, low-threat units. Your manual input should be reserved for high-priority targets, such as siege engines, high-damage enemies, or any unit that manages to bypass your primary defensive screen.
- Layered Defense: Think of your tower as a two-tier system. Tier one is the automated fire, which provides a steady, baseline output. Tier two is your manual intervention, which should be used as a precision tool to "plug the leaks" where your automated fire fails.
- Emergency Mitigation: If a specific enemy breaks through and reaches your wall, ignore the main group entirely. Shift all your focus to the infiltrator. It is always better to lose a few low-health units at the back than to let a high-damage unit begin attacking your wall structure.
By treating Archer Castle as a game of rhythm and spatial awareness rather than just a shooting gallery, you will significantly improve your survival rates. Always prioritize target selection, conserve your resources for the most dangerous phases of the wave, and never underestimate the power of a well-placed, high-arc shot to change the tide of battle.

Free Archer Castle Codes
Current active codes and how to redeem them.

Emily Johnson
Emily writes practical mobile strategy guides with a focus on resource planning, base progression, and the early decisions that shape a long-term account.
COMMUNITY
Player Comments
57 players commented on this guide.
This saved me time in the early game.
I tried this today and it worked better than my old setup.
I wish I had read this before upgrading the wrong thing.
This guide answered the exact question I had.