
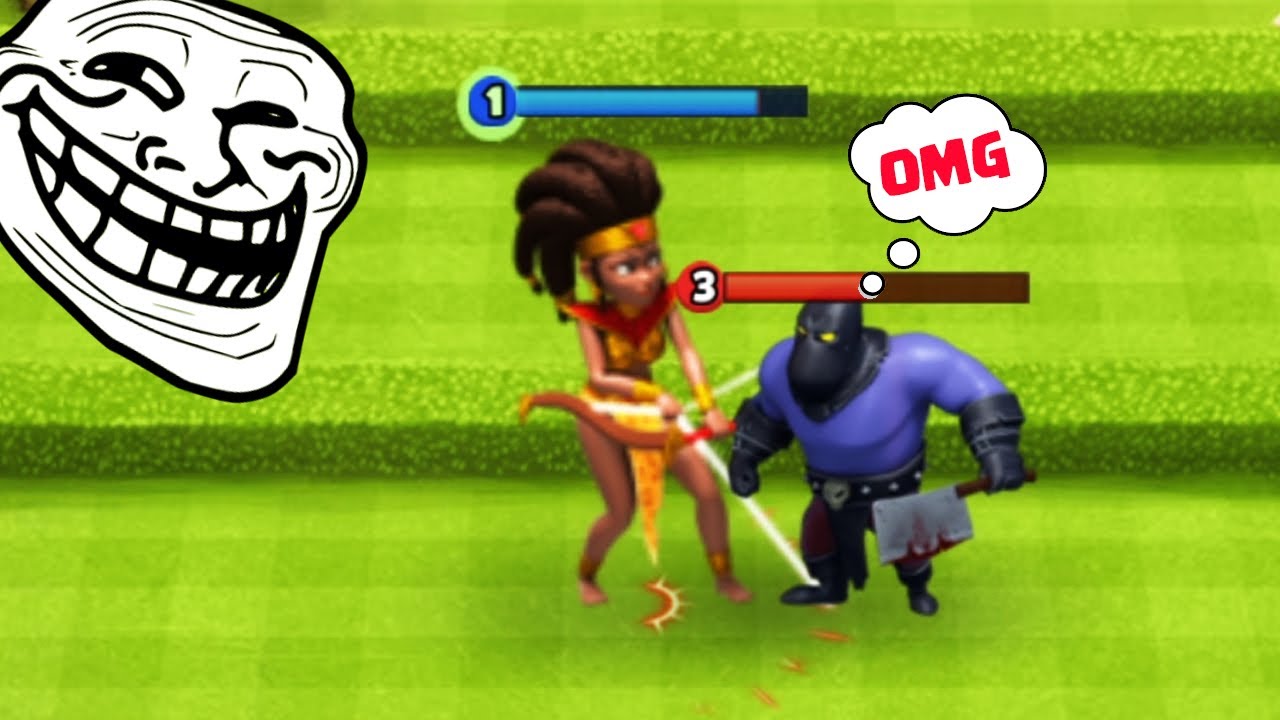
The Archer Queen is arguably the most versatile unit in Archer Castle, serving as the cornerstone for players who want to evolve from passive "set-and-forget" tower defense to active, high-pressure tactical management. In the early stages—specifically within the Castle 1 environment—the Archer Queen is not just a damage dealer; she is a control unit capable of dictating the flow of every wave.
By mastering her unique attack range, movement mechanics, and ability timing, you can transform your fortress from a static target into an aggressive, disruptive force. This guide provides an expert breakdown of how to leverage the Archer Queen to effectively "troll" enemy waves, bottleneck attackers, and maintain total control over your defensive perimeter.
Understanding the Archer Queen’s Strategic Role
In Archer Castle, the Archer Queen excels because of her ability to project sustained damage while maintaining a safe distance. In Castle 1, where enemy compositions are often predictable and swarm-heavy, the Queen’s role shifts from a simple damage-per-second (DPS) asset to a tactical pivot point.
When played at an expert level, the Archer Queen acts as a "threat magnet." Because of her high priority target acquisition, you can use her to manipulate how enemy AI units pathfind toward your castle. Instead of letting enemies reach your walls and attack your foundations, you use the Queen to intercept them in the neutral zone. This proactive strategy allows you to:
- Dictate the Engagement Range: Force enemies to enter your kill zone on your terms.
- Maximize DPS Uptime: Keep the Queen active by managing her distance, ensuring she is always firing while the enemy is still closing the gap.
- Force Suboptimal Pathing: Manipulate enemy movement patterns so they bunch up, making them prime targets for your AoE (Area of Effect) spells.
Tactical Kiting: Disrupting Enemy Formations
The core of "trolling" in Archer Castle is the mechanic of kiting. Kiting involves keeping the Queen just outside the melee reach of enemy units while continuously firing. In the narrow, lane-based maps of Castle 1, this is exceptionally powerful.
Steps to Master Kiting:
- Identify the Threat: Determine if the incoming wave is fast (assassins/rogues) or slow (tanks/golems).
- Offset Positioning: Do not place the Queen directly in the center of the lane. Move her slightly to the side to draw enemy aggro away from your castle gate.
- The "Stutter Step": If an enemy unit gets within range of the Queen, move her back slightly. This forces the enemy AI to re-path toward her, wasting their movement time and slowing their approach to your walls.
- Bottlenecking: Use the Queen to draw enemies toward a single point. Once they are bunched together, use your support spells or hero abilities to wipe the entire group simultaneously.
By constantly adjusting her position, you essentially "kite" the enemy wave into a state of paralysis, where they spend more time walking toward your repositioning Queen than actually damaging your Castle.
Managing Risks: When to Push and When to Pull
While the Archer Queen is a powerhouse, she is a glass cannon. An aggressive "trolling" playstyle carries the risk of overextension. If she is caught by enemy crowd control (CC) or high-burst projectiles, your defense will crumble rapidly.
Balancing Aggression and Safety
- The Aggressive Window: Use this when facing slow-moving tanks. Push the Queen forward to maximize her damage potential. Because these units are slow, she can easily kite them for the entire duration of the wave.
- The Defensive Retreat: If the enemy deploys fast units or assassins that can bypass your frontline, pull the Queen immediately behind your tower or within the range of your secondary defensive structures.
- Synergy Pairing: Never rely on the Queen alone. Always pair her with a "shield" unit or a defensive structure that provides a damage-reduction buff. This provides a safety net if your kiting fails, allowing you to recover your positioning without losing the match.
Capitalizing on Psychological Pressure
In higher-level Archer Castle play, the psychological aspect of the match is as vital as the math. By consistently interrupting enemy flow, you force your opponent (or the AI) into a "panic state."
When you use the Archer Queen to dismantle waves before they reach your walls, you are effectively forcing the enemy to waste resources. If the opponent is a human player, seeing their forces eliminated before they even make contact creates a psychological disadvantage, often leading them to dump their remaining units prematurely—which only gives you more opportunities to counter-push.
Expert Tips for Psychological Control:
- The "Reset" Ultimate: Save the Queen’s ultimate for the exact moment the enemy feels they are about to breach your walls. This "reset" is demoralizing for the opponent and shifts the tempo back in your favor.
- Consistent Harassment: Do not stop moving. Even if the Queen is safe, slight, rhythmic adjustments to her position remind the enemy that you are in control of the field, not them.
- Predictive Targeting: Learn the spawn timing of Castle 1 waves. Position the Queen at the spawn point's edge before they even fully emerge to start the pressure immediately.
Common Mistakes to Avoid
Even experienced players fall into traps when playing the Archer Queen. Avoiding these will drastically improve your win rate in Castle 1:
- Static Camping: Staying in one spot is the fastest way to lose. The Queen’s power is in her mobility. If she isn't moving, she isn't "trolling."
- Ignoring Cooldowns: Don't use her abilities at the start of a wave. Wait until the enemy composition is fully committed to the lane.
- Over-committing to Tanks: If you are too focused on kiting a tank, you might miss a flanker. Always keep your camera pulled back to ensure you have a full view of the lane.
- Neglecting Equipment Stats: For an aggressive, kiting-heavy playstyle, prioritize Attack Speed and Movement Speed gear. These two stats are significantly more important than raw damage for a "troll" build.
Final Decision: Building the Perfect Archer Queen Loadout
To effectively use the Archer Queen in the manner described, your build must prioritize survivability and rapid-fire output. Focus your gems and gear upgrades on:
- Attack Speed (Primary): Essential for kiting and DPS.
- Cooldown Reduction (Secondary): Essential for maximizing her ultimate ability uptime.
- Movement Speed (Utility): Allows for faster repositioning during intense waves.
By treating the Archer Queen as an active, mobile artillery piece rather than a stationary turret, you unlock a new layer of Archer Castle gameplay. This tactical approach not only secures your fortress but turns your defense into an offensive nightmare for any opponent trying to breach your walls.

Free Archer Castle Codes
Current active codes and how to redeem them.

James Brown
James focuses on Android gaming on PC, emulator setup, controls, performance tuning, and practical troubleshooting for longer play sessions.
COMMUNITY
Player Comments
141 players commented on this guide.
I wish I had read this before upgrading the wrong thing.
This helped me understand strategy much better.
The tips are practical and easy to follow.
The explanation is clear, especially for beginners.