
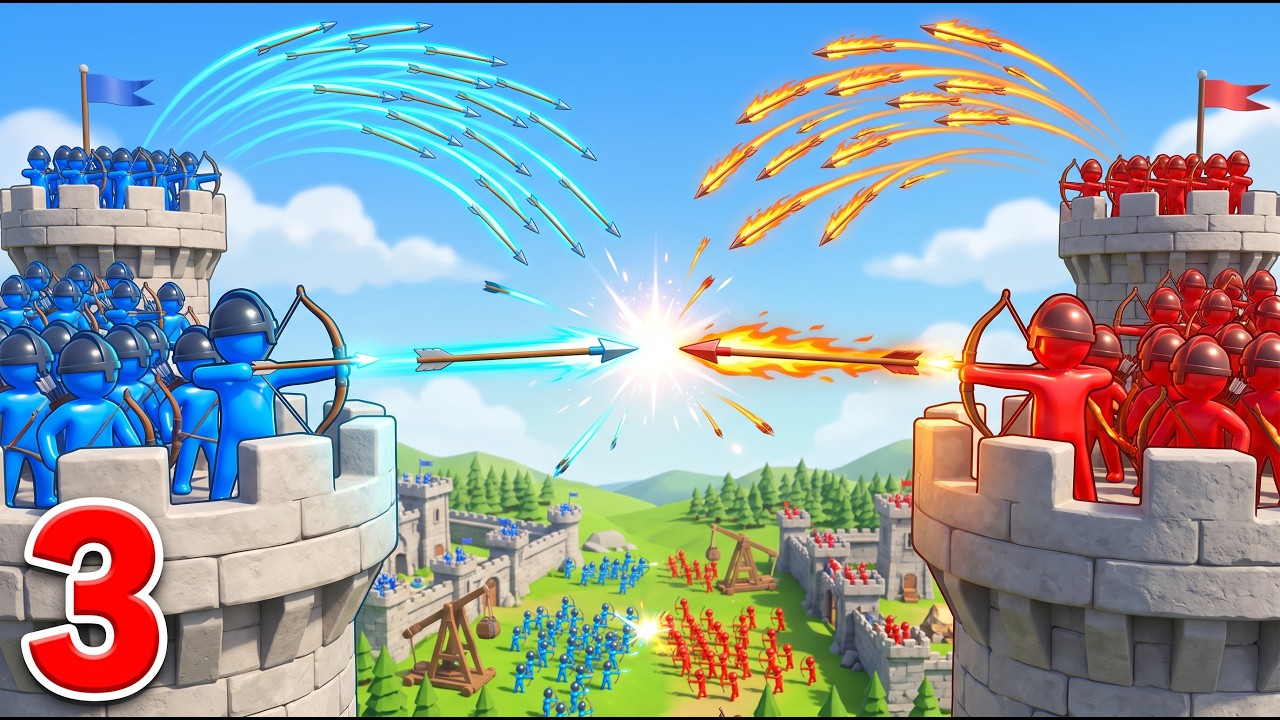
To dominate in Archer Castle, you must move beyond basic shooting and master the mechanics of manual projectile aiming and siege ballistics. In this game, your survival depends on your ability to calibrate your shots, anticipate enemy movement, and manage your ammunition under pressure. By refining your trajectory control and adopting a tactical approach to target prioritization, you can significantly increase your hit percentage and protect your fortress against even the most persistent waves of attackers.
Mastering Manual Trajectory and Arc Control
Precise control over your projectile arc is the single most effective way to counter enemy units at varying distances. Unlike automated tower defense games, Archer Castle requires you to manually calibrate the elevation and force of your shots.
When firing, your goal is to land arrows directly onto the center of enemy clusters. To achieve this:
- Account for Distance: Use a higher arc for enemies approaching from the edge of the screen to maximize your range. As they get closer, lower your trajectory to maintain a tighter, more accurate shot.
- Bypass Front-Line Shields: Many enemy units utilize shields to deflect frontal projectiles. By using a steep, high-arc shot, you can land your arrows behind the enemy formation, striking the vulnerable units in the back or side.
- Disrupt Enemy Formations: Manual aiming allows you to force AI units to react to localized damage. A well-placed shot into the middle of a group often disrupts their charge, forcing them to pause or stagger, which grants your defensive towers extra time to cooldown or reload.
Optimizing Shot Timing Against Siege Engines
Timing is the difference between a wasted volley and a game-changing hit. As siege engines appear, they move with a different rhythm compared to standard infantry. You should hold your fire until the enemy engine enters the "kill zone"—the middle ground of the battlefield where your projectile travel time is minimized.
Focusing on the wrong target is a common pitfall. Always prioritize targets based on their threat level:
- Siege Engines (Catapults/Rams): These pose an immediate risk to your castle’s structural integrity. They must be your primary focus as soon as they spawn.
- High-Density Infantry Groups: If no siege engines are present, target the largest cluster of enemies to maximize the efficiency of each arrow.
- Fast-Moving Flankers: Only focus on individual fast units if they have breached your inner perimeter and are actively damaging the walls.
By ignoring low-threat solo infantry and focusing on hardware, you effectively mitigate incoming damage and conserve your resources for the units that truly matter.
Managing Projectile Volume and Resource Conservation
Efficient resource management begins with avoiding "spray and pray" tactics. Every arrow fired consumes potential capacity that could be better used for a guaranteed hit. If you find your arrow count depleting rapidly, you are likely firing too frequently without aiming for specific high-value targets.
To maintain your ammunition reserves during long, grueling sieges:
- The Three-Unit Rule: Only fire into groups of three or more enemies. Single-target sniping should be reserved exclusively for elite siege engines.
- Wait for Convergence: Allow enemies to group up at the base of your walls before firing. This maximizes the likelihood of hitting multiple units with a single projectile, effectively doubling or tripling your damage output per arrow.
- Establish a Rhythm: Match your firing pattern to your reload speed. Spamming the screen often leads to erratic targeting and missed shots. Establishing a steady, deliberate pace ensures that your crosshair remains stable and your aim remains true throughout the duration of the wave.
Adapting to Enemy Movement Patterns
Enemy units in Archer Castle follow predictable paths, but their speed fluctuates based on their unit type. Fast-moving infantry require a "leading shot," where you aim slightly ahead of their current position to ensure the arrow meets them at the point of impact. Conversely, slow-moving armored units are best handled with direct, high-damage shots aimed at their center of mass to break their formation.
As waves progress, the enemy density increases, making it harder to distinguish individual targets. Practice "clearing the path" by focusing on the lead units. By eliminating the front-runners of an enemy wave, you create a bottleneck effect where the units behind them are forced to slow down or bunch up. This tactic turns a chaotic swarm into a manageable line, significantly reducing the pressure on your defensive perimeter.
Tactical Trade-offs of Manual Aiming
While manual aiming provides superior accuracy, it carries the trade-off of increased cognitive load. You cannot focus on every unit simultaneously, so you must accept that some minor enemies will reach your walls while you are focused on destroying a high-priority siege weapon.
The biggest limitation of this strategy is the risk of "tunnel vision." If you focus too intently on a single target, you may miss a flanking maneuver or a new siege engine spawning on the opposite side of the screen. To succeed, glance at the entire field between shots. This balanced approach ensures you are dealing maximum damage to the primary threat while staying aware of the overall battlefield state.
Expert Tips for Sustained Growth
To ensure your progression remains consistent in Archer Castle, keep these expert insights in mind:
- Upgrading vs. Aiming: While skill is paramount, remember to invest in your fortress’s upgrade tree. Higher structural health provides a buffer for when you miss a target, while improved arrow damage reduces the number of hits required to neutralize threats.
- Study the Spawn Points: Every map has fixed spawn points. Learn where your enemies originate so you can pre-aim your shots before they even enter the play area.
- Know When to Hold: Sometimes, holding your fire for a few seconds longer than you think is necessary allows the enemy to cluster into a perfect "death ball," allowing a single well-placed shot to clear a significant portion of the wave.
By treating Archer Castle not just as a game of reflexes, but as a game of calculated ballistics and resource management, you will find yourself clearing higher-difficulty waves with ease. Focus on your arc, prioritize your targets, and manage your ammunition wisely to turn your fortress into an impenetrable bastion.

Free Archer Castle Codes
Current active codes and how to redeem them.

Michael Smith
Michael covers live-service games, events, reward systems, and efficient daily routines, turning frequent updates into clear actions for players.
COMMUNITY
Player Comments
145 players commented on this guide.
I tried this today and it worked better than my old setup.
The tips are practical and easy to follow.
The explanation is clear, especially for beginners.
I wish I had read this before upgrading the wrong thing.