
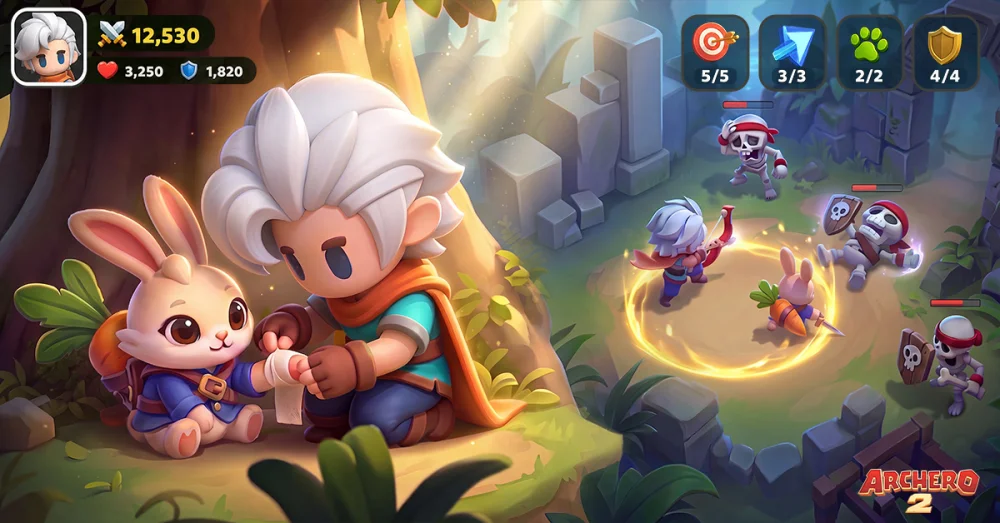
In Archero 2, the Meeseeks Directive event represents a pivotal moment for players to re-evaluate their roster composition and event farming efficiency. Meeseeks arrives as a highly specialized hero, shifting the focus from pure raw damage output toward tactical crowd control and survival-based utility. This guide provides an authoritative breakdown of how to integrate Meeseeks into your gameplay, how to prioritize your event resources, and the strategic trade-offs required to succeed in this limited-time challenge.
Evaluating the Meeseeks Meta in Archero 2
Meeseeks is not a "plug-and-play" hero designed to replace your primary DPS carry in all game modes. Instead, this hero functions as a force multiplier in the Meeseeks Directive event. By focusing on situational buffs and crowd control (CC), Meeseeks excels in scenarios where you are overwhelmed by high-density enemy waves.
The primary value proposition of Meeseeks lies in his ability to create "breathing room." In Archero 2, where movement is often restricted by projectiles and enemy pathing, Meeseeks’ kit allows you to dictate the flow of combat. When assessing whether to invest, ask yourself: Are my current runs ending because I lack damage, or because I am getting pinned by mobs? If survival is your bottleneck, Meeseeks provides the defensive buffer that glass-cannon heroes lack.
Maximizing Event Efficiency: A Resource Management Strategy
The Meeseeks Directive event features a complex shop system. It is tempting to spend event currency on hero shards or temporary boosts, but expert players know that long-term account progression must remain the priority.
To maximize your gains during the event window:
- Prioritize Permanent Gains: Before purchasing Meeseeks-exclusive cosmetics or temporary buffs, secure essential gear fragments and shards that provide permanent base-stat increases. These bonuses stay with your account long after the event concludes.
- Optimize Energy Expenditure: Do not waste energy on inefficient stages. Calculate the "Currency-to-Energy" ratio for each available event stage. Farm the stage with the highest drop rate per energy unit rather than pushing higher chapters that offer diminishing returns in terms of clear speed and consistency.
- Daily Routine: Ensure your daily event attempts are completed during peak hours of the event to take advantage of any community-wide challenges or temporary drop-rate multipliers.
Strategic Hero Synergy and Combat Mechanics
Success with Meeseeks in Archero 2 requires a shift in playstyle. Because his active abilities are designed for utility, you must pair him with gear that capitalizes on enemy grouping.
Positioning and AOE Synergy
Meeseeks’ utility shines when his active abilities manipulate enemy movement. Use his skills to funnel mobs into a tight cluster. Once grouped, switch to weapons with high Area of Effect (AOE) damage to clear them in seconds. This creates a rhythmic loop: Group -> Attack -> Clear -> Reposition.
Rune and Equipment Adjustments
Do not ignore your rune setup when testing Meeseeks. If you are struggling with his performance, look at your current rune rolls:
- Cooldown Reduction: Essential for ensuring Meeseeks’ utility skills are available for every major wave.
- Elemental Synergy: If your Meeseeks build relies on specific elemental damage, ensure your gear loadout matches this to maximize the efficiency of his crowd-control debuffs.
- Survival Stats: Focus on dodge and health regeneration stats on your equipment to ensure Meeseeks survives long enough to cycle his cooldowns during boss encounters.
The Trade-offs: When Should You Skip?
The biggest mistake players make during the Meeseeks Directive is over-investing in a specialized tool at the expense of general-purpose progression.
- The Skill Dependency Trap: Meeseeks is highly dependent on specific skill synergies that you may not be offered during an RNG-heavy dungeon run. If you are a player who relies on consistent, reliable performance, the high variance in Meeseeks' utility might feel frustrating compared to a more stable hero choice.
- Free-to-Play vs. P2W: If you are a free-to-play (F2P) player, your resources are finite. Sinking gems into a hero that relies on event-specific buffs is a high-risk strategy. Unless you have a surplus, prioritize heroes with a proven track record of viability across Archero 2’s core modes, such as the Trial Tower or PvP matches.
Expert Tips for the Meeseeks Directive
To get the most out of your runs, consider these advanced gameplay insights:
- Boss Seal Battle Integration: In Boss Seal Battle activities, Meeseeks can be used to delay boss phases, allowing your team to reset cooldowns or reposition safely. Use his CC precisely as a boss enters a "Berserk" or high-damage phase.
- PvP Considerations: While Meeseeks is excellent in PvE, his PvP viability is situational. In best-of-three matches, bring him out only when the map conditions favor high-mobility characters who can kite effectively.
- Trial Tower Climbing: Use Meeseeks to clear "Floor with Minions" where the density is high, but consider swapping to a high-damage hero for pure boss-floor encounters.
Final Verdict: Is Meeseeks Worth the Grind?
Meeseeks is an excellent "utility specialist" that rewards thoughtful, strategic play. He is not a requirement for clearing the game, but he is a powerful tool for players who enjoy min-maxing their combat efficiency and crowd control.
If you are a mid-game player looking to push past a specific difficult chapter, the utility Meeseeks provides is worth the investment. However, if you are still building your core equipment sets, prioritize standard progression materials. The Meeseeks Directive is a fantastic event, but in the world of Archero 2, sustained growth always beats short-term hero power spikes. Approach the event with a clear goal, manage your energy diligently, and use Meeseeks to solve the specific combat challenges that currently hold you back.

Free Archero 2 Codes
Current active codes and how to redeem them.

Sarah Williams
Sarah specializes in RPG and collection games, explaining team building, character growth, and beginner-friendly ways to avoid expensive early mistakes.
COMMUNITY
Player Comments
87 players commented on this guide.
The explanation is clear, especially for beginners.
I tried this today and it worked better than my old setup.
This guide answered the exact question I had.
Nice guide. I am checking the other Archero 2 articles next.