
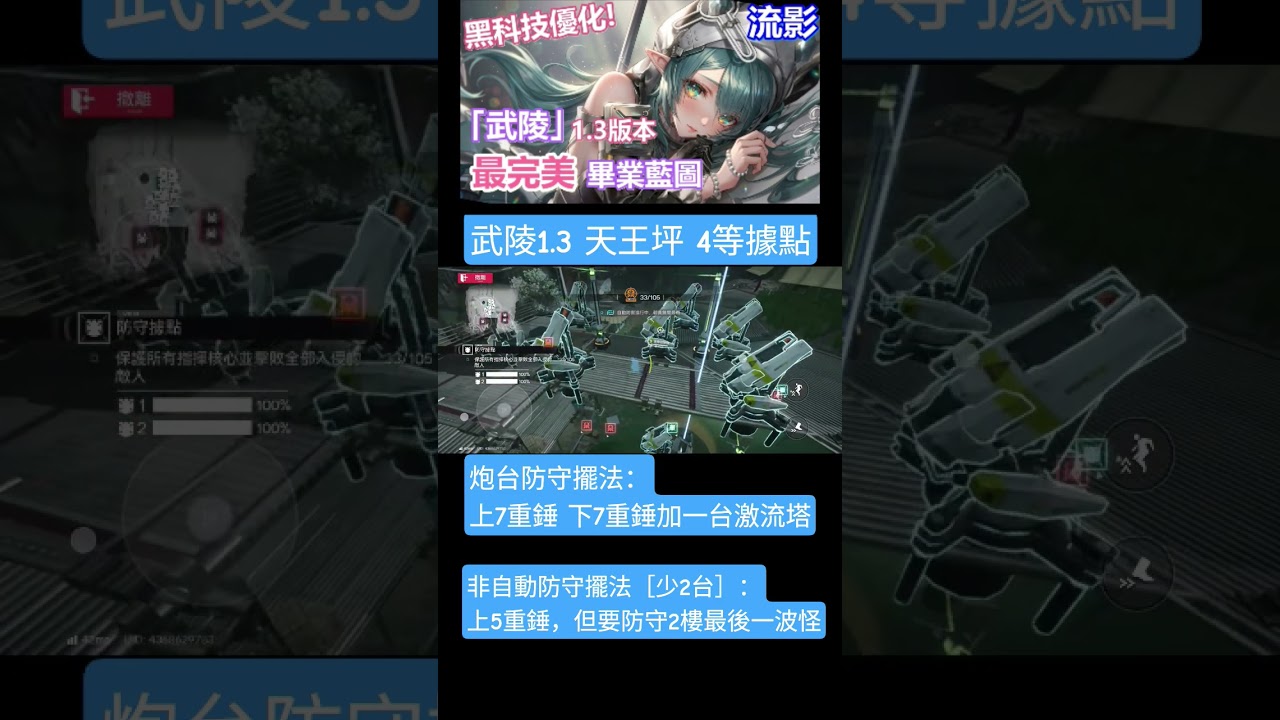
To clear the Tianwangping Level 4 outpost defense in Arknights: Endfield, establish an autonomous perimeter using elevated, overlapping turrets supported by looped power lines and dedicated conveyor ammunition feeds. Multi-lane hostile spawns overwhelm an unsupported four-operator squad at Level 4; your operators must focus on intercepting and staggering high-threat elites inside automated artillery kill zones rather than attempting to clear standard swarms manually.
Chokepoint Selection and Turret Placement
Tianwangping features natural ravine chokepoints that compress broad enemy spawn paths into narrow approach corridors. Placing turrets along these bottlenecks maximizes splash damage against advancing Aggeloi waves.
Set up your defensive perimeter using the following positioning rules:
- Elevated Platforms: Anchor primary heavy artillery turrets on elevated rock outcroppings or raised Automated Industry Complex (AIC) structural platforms. High ground secures unobstructed lines of sight over terrain and prevents melee units from directly hitting weapon mountings.
- Angled Crossfire: Deploy secondary turrets in angled pairs on opposing canyon walls rather than in a straight line. Crossfire ensures uninterrupted coverage when enemies turn corners or attempt to evade primary target arcs.
- Barricade Funnels: Place structural barricades slightly ahead of the turrets' maximum effective range. Barricades compress enemy formations and stall their advance directly inside the primary blast zone.
Power Grid and Relay Redundancy
Automated turrets rely on continuous current from the local AIC power network. A single severed power pylon will shut down all linked defense emplacements and cause an immediate line collapse.
To maintain power integrity under heavy assault:
- Build Looped Circuits: Avoid linear daisy-chain wiring. Connect each turret cluster to at least two distinct Substation Relays fed from separate directions so power continues flowing if one pylon falls.
- Use Natural Cover: Place relay pylons behind cliff faces, large boulders, or reinforced walls to block ranged enemy projectiles.
- Audit Grid Capacity: Check total base generation before starting the encounter. Turrets draw significant power, and running factory production machines concurrently can trigger brownouts if total demand exceeds output.
Logistics and Ammunition Supply Lines
High-fire-rate turrets quickly deplete standard ammunition magazines during Level 4 waves. Manual reloading during combat wastes critical operator uptime and risks squad wipes. Automated conveyor lines and localized buffer storage ensure continuous firing.
| Logistics Component | Setup Priority | Operational Role |
|---|---|---|
| Feeder Conveyor Belts | Essential | Moves munitions continuously from regional supply depots into turret loading ports. |
| In-Line Storage Bins | High | Buffers reserve ammunition adjacent to turret clusters to absorb production or transit delays. |
| Splitter Junctions | Recommended | Splits incoming supply lines evenly across adjacent turrets to prevent ammunition starvation. |
Pre-load all buffer containers to maximum capacity before activating the defense terminal. If an incoming wave damages an exterior supply belt, local storage containers provide several minutes of uninterrupted fire while operators repair broken transport lines.
Squad Positioning and Elite Wave Management
Your four-operator squad acts as a containment unit rather than the primary damage source. Station vanguard and tank operators near the front of the turret kill zone to body-block armored chargers and hold elite hostiles inside incoming artillery crosshairs.
- Stagger Rotations: Coordinate operator skills, knockbacks, and elemental reactions (such as Thermal or Conductive effects) to break enemy poise and lock high-health targets within the crossfire.
- Fringe Interception: Dispatch high-mobility operators to neutralize ranged artillery units and skirmishers spawning on lane edges before they target relay pylons or exposed ammunition belts.
- Infrastructure Protection: Retreat toward core pylons only if hostiles breach the chokepoint; do not abandon the forward bottleneck to chase isolated stragglers.
Pre-Engagement Checklist
Before triggering the Tianwangping Level 4 defense terminal, verify the following setup conditions:
- Relay pylons form closed loops with redundant line-of-sight paths to regional substations.
- Total power production exceeds the combined draw of active factory machinery and all deployed turrets.
- All turret ammunition intake ports show active supply feeds and full buffer containers.
- The active squad includes at least one high-stagger operator positioned to anchor elites in the main kill zone.

Free Arknights: Endfield Codes
Current active codes and how to redeem them.

James Brown
James focuses on Android gaming on PC, emulator setup, controls, performance tuning, and practical troubleshooting for longer play sessions.
COMMUNITY
Player Comments
43 players commented on this guide.
I wish I had read this before upgrading the wrong thing.
This saved me time in the early game.
I tried this today and it worked better than my old setup.
Nice guide. I am checking the other Arknights: Endfield articles next.