
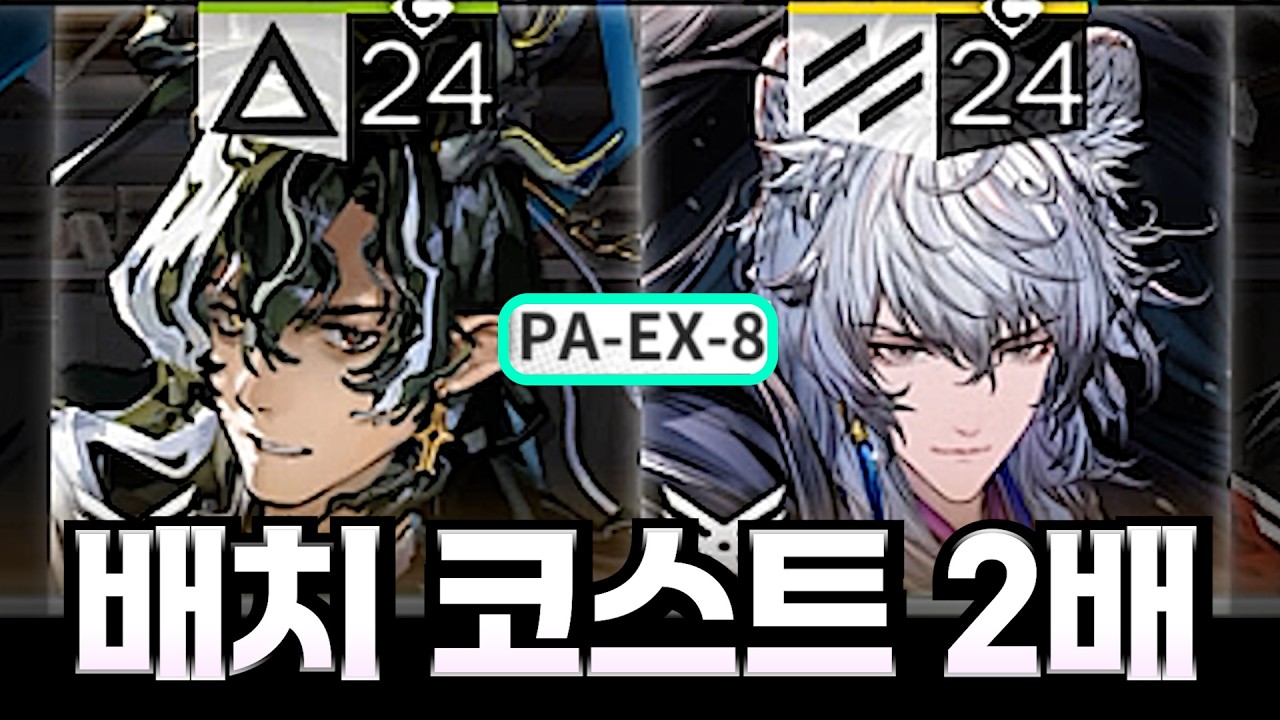
To clear PA-EX-8 Hard Mode in Arknights, generate Deployment Points (DP) immediately with low-cost Vanguards, lock down the central converging choke point with high-DEF Defenders and multi-target Medics, and bait the patrolling boss's attacks with Fast-Redeploy units before activating your main burst skills.
Stage Modifiers and Tactical Priorities
PA-EX-8 Hard Mode amplifies enemy durability and offensive stats while restricting deployment margins. Enemies advance through two separate ingress lanes that converge at a central objective choke point.
| Stage Challenge | Hard Mode Shift | Tactical Response |
|---|---|---|
| Enemy Durability | Increased maximum HP and RES pools | Rotate mixed Physical and Arts burst damage |
| Wave Timing | Overlapping elite spawns across both lanes | Pre-position crowd control and heavy blockers |
| Incoming Damage | High single-target burst from elites and boss | Anchor frontline with high-DEF Defenders and Medics |
| Deployment Costs | Stricter DP limits and tighter initial timings | Open immediately with low-cost Flagbearer Vanguards |
Recommended Squad Composition
Aim for an investment benchmark of Elite 2 Level 60 with Mastery 3 on key combat skills to withstand the incoming damage spikes and meet the stage DPS checks.
- DP Generators: Use Flagbearers like Myrtle or Elysium to generate DP rapidly. Pair them with a Pioneer Vanguard such as Texas or Bagpipe to hold early skirmishers.
- Defensive Line: Deploy high-DEF blockers such as Hoshiguma, Cuora, or Saria to absorb heavy physical melee hits.
- Sustained Healing: Bring multi-target Medics such as Ptilopsis or Nightingale to cover both ground blockers and adjacent high-ground ranged tiles.
- Burst Carries: Use Eyjafjalla and Surtr to melt high-DEF elites with Arts damage, alongside ranged Physical carries like Pozyomka or Typhon to chip down incoming threats.
- Fast-Redeploy Decoys: Keep Gravel or Projekt Red ready to absorb heavy ranged hits and bait boss skill activations.
Step-by-Step Deployment Order
- Deploy your primary Vanguard: Place your Flagbearer on or near the central junction immediately to start cycling DP skills.
- Anchor the secondary lane: Place a combat Vanguard or Pioneer to catch early skirmishers before they reach the objective.
- Establish Medic coverage: Position a multi-target Medic on high ground facing the central intersection, ensuring healing reach over both the frontline blockers and surrounding ranged positions.
- Transition to Defenders: Replace low-durability Vanguards with your primary Defender before heavy assault units arrive.
- Set up DPS carries: Deploy high-ground Casters and Snipers outside the boss's immediate retaliation zone, facing toward the convergence zone.
- Deploy your final tank: Ensure your sturdiest Defender is deployed last within enemy range so incoming single-target attacks prioritize the tank rather than fragile ranged units.
Boss Phases and Burst Timing
The stage boss follows an extended patrol route through the secondary lanes before walking directly into your main defensive line.
- Phase 1 (Patrol): Chip down the boss's first health bar using long-range Snipers and Casters while it circles the perimeter. Do not trigger high-cost burst skills during this approach.
- Phase Transition: As the boss's second phase triggers, its attack power and skill speed increase. Immediately drop a Fast-Redeploy Specialist to absorb the opening strikes and protect your permanent squad members.
- Phase 2 Burst Execution: Once the boss engages your primary Defender at the central choke, activate your main offensive skills (such as Volcano, Truesilver Slash, or Twilight). Time these activations to coincide with the arrival of accompanying elite bruisers to eliminate the entire wave simultaneously and avoid exceeding your block limits.
Common Failure Points and Fixes
- Defender Collapses Under Dual Elites: If your primary blocker falls to synchronized physical hits, bring a secondary healing Defender like Saria or trigger your Medic's defensive skill before the enemies swing.
- Ranged Units Sniped by Boss Abilities: Reorder your deployment sequence. Deploy all high-ground DPS and Medics first, then deploy your Defender last to draw enemy target priority.
- Choke Point Leaks: If high-mass enemies push past your Defender, deploy a Supporter with active slow effects to stagger enemy arrivals.
- Burst Skills Expire Early: Do not activate offensive cooldowns while the boss is still moving between tiles. Wait until the target is fully stationary and blocked within your primary DPS attack range.

Free Arknights Codes
Current active codes and how to redeem them.

Emily Johnson
Emily writes practical mobile strategy guides with a focus on resource planning, base progression, and the early decisions that shape a long-term account.
COMMUNITY
Player Comments
52 players commented on this guide.
I wish I had read this before upgrading the wrong thing.
This helped me understand early game much better.
Good guide for Arknights players. The early game part was useful.
Can you add more details about early game in a future update?