
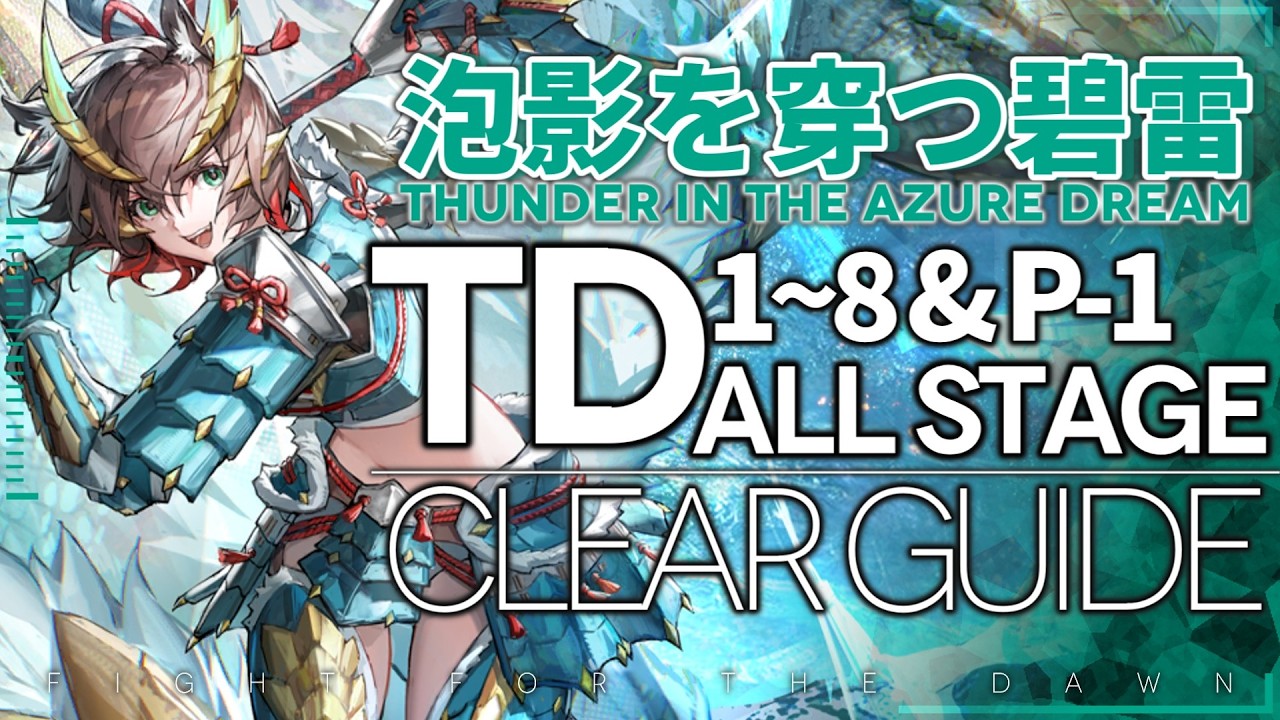
To clear event stages TD-1 through TD-8 alongside puzzle stage TD-P-1 without micromanaging active skills in Arknights, deploy self-sustaining cornerstones early with passive or infinite-duration skills. Using front-loaded Deployment Point (DP) generation to place high-durability lane holders—such as Mountain, Thorns, Blaze, and Mudrock—facing key choke points creates automated defenses that do not require mid-battle skill inputs. This setup secures initial completions and stabilizes repeatable Auto Deploy farming.
Core Rules for Hands-Free Stage Clears
An automated or "place-and-leave" strategy eliminates the need to cycle manual burst cooldowns during dense enemy waves. Instead, it relies on skills that activate automatically or remain permanently active once triggered.
- Front-load DP generation: Deploy automated recovery Vanguards like Myrtle (Skill 1) or Flametail immediately to generate the DP required for expensive core units before the initial enemy rush contacts your line.
- Anchor lanes with permanent skills: Operators such as Mountain (Skill 2) and Blaze (Skill 2) switch into permanent defensive or multi-target states after an initial warm-up, requiring no further manual management.
- Position passive sustain: Place ambient healers such as Ptilopsis or self-sufficient Defenders to counteract background ranged attacks and poison without wasting deployment slots on active burst medics.
Stage-by-Stage Progression and Placement
TD-1 Through TD-3: Early Choke Points
Early stages feature low-armor ground units and straightforward routing, allowing single Operators to lock down full corridors.
- TD-1 and TD-2: Enemy paths converge on one or two central exits. Position Mountain directly at an aggressive bottleneck facing the enemy spawn. Activating his Skill 2 grants increased defense and continuous health regeneration, enabling him to hold the lane without Medic support.
- TD-3: Split lanes and elevated platforms appear. Place a ranged ground unit like Thorns at the central intersection. Activating Skill 3 twice permanently extends his range and damage, letting him clear low-flying aerial drones and light rushers across both routes before they reach blocking range.
TD-4 Through TD-6: Multi-Target Cleave and Armor Stripping
Mid-tier maps introduce higher armor and clustered waves that overwhelm single-target blockers. TD-6 also serves as a primary farming node, making stable execution essential.
| Operator | Preferred Skill | Primary Role | Positioning Rule |
|---|---|---|---|
| Mountain | Skill 2 (Left Hook) | Early spawn hold / solo lane anchor | Deploy directly on forward single-tile choke points. |
| Thorns | Skill 3 (Destreza) | Ground-to-air DPS / dual-route coverage | Place one tile behind primary blockers; face the main lane intersection. |
| Blaze | Skill 2 (Chainsaw Extension) | Multi-target continuous melee damage | Deploy facing incoming traffic directly behind a defensive blocker. |
| Mudrock | Skill 2 (Crag Splitter) | High-threat off-lane anchor | Place on isolated routes where Medics cannot reach. |
| Ptilopsis | Skill 2 or Passive | Squad-wide SP acceleration and area healing | Center on elevated tiles covering your primary front line. |
To lock down TD-6 for repeated farming, pair Blaze behind Saria at the primary choke point to handle incoming physical crowds. Place Eyjafjalla using Skill 2 (Ignition) on an elevated tile facing the intersection to consistently strip enemy armor, while Ptilopsis accelerates defensive skill triggers squad-wide to prevent leak-throughs.
TD-7 and TD-8: Layered Depth and Boss Handling
The final standard stages present high-health elite enemies and wide-area boss attacks.
- TD-7: Stagger defensive depth by deploying high-durability blockers like Mudrock or Hoshiguma on the front line, backed immediately by secondary blockers or Kal'tsit's Mon3tr to catch overflow when heavy elites strike.
- TD-8: The stage boss features sweeping area attacks. Orient your frontline blockers away from fragile elevated tiles so that cleaving strikes do not hit your Medics. Deploy Goldenglow with Skill 2 (Surging Current); once warmed up, her attacks gain infinite duration and global targeting, safely whittling down the boss across all phases.
TD-P-1: Positional Sequencing
TD-P-1 enforces tight constraints on DP and deployment order. Brute-forcing the map with late-game drops will cause immediate leaks.
- Deploy an automated Vanguard at the lower junction to catch initial runners and generate DP.
- Place a primary ranged Arts unit on the central elevated platform to maximize firing coverage along the approach path before enemies reach ground blockers.
- Drop your central ground blocker to catch weakened heavy units in the primary crossfire zone.
- Position your final lane interceptor facing inward to contain the trailing elite wave inside the established firing range.
How to Prevent Auto Deploy Desyncs
Auto Deploy failures typically stem from minor timing differences altering enemy grouping. To ensure farming runs do not fail:
- Prioritize Mastery 3 (M3): Maximize skill levels on core cornerstones (such as Thorns' Skill 3 or Blaze's Skill 2) to reduce warm-up times and eliminate damage variance during early waves.
- Avoid edge deployments: Do not position fragile Operators on the outer edge of enemy ranged ranges where frame delays can trigger premature knockouts.
- Leave safety squad slots: Keep one or two team slots open for passive buffers like Skadi the Corrupting Heart (Skill 2) to provide a reliable stat cushion without increasing input complexity.

Free Arknights Codes
Current active codes and how to redeem them.

Emily Johnson
Emily writes practical mobile strategy guides with a focus on resource planning, base progression, and the early decisions that shape a long-term account.
COMMUNITY
Player Comments
87 players commented on this guide.
I wish I had read this before upgrading the wrong thing.
This guide answered the exact question I had.
Nice guide. I am checking the other Arknights articles next.
The tips are practical and easy to follow.