
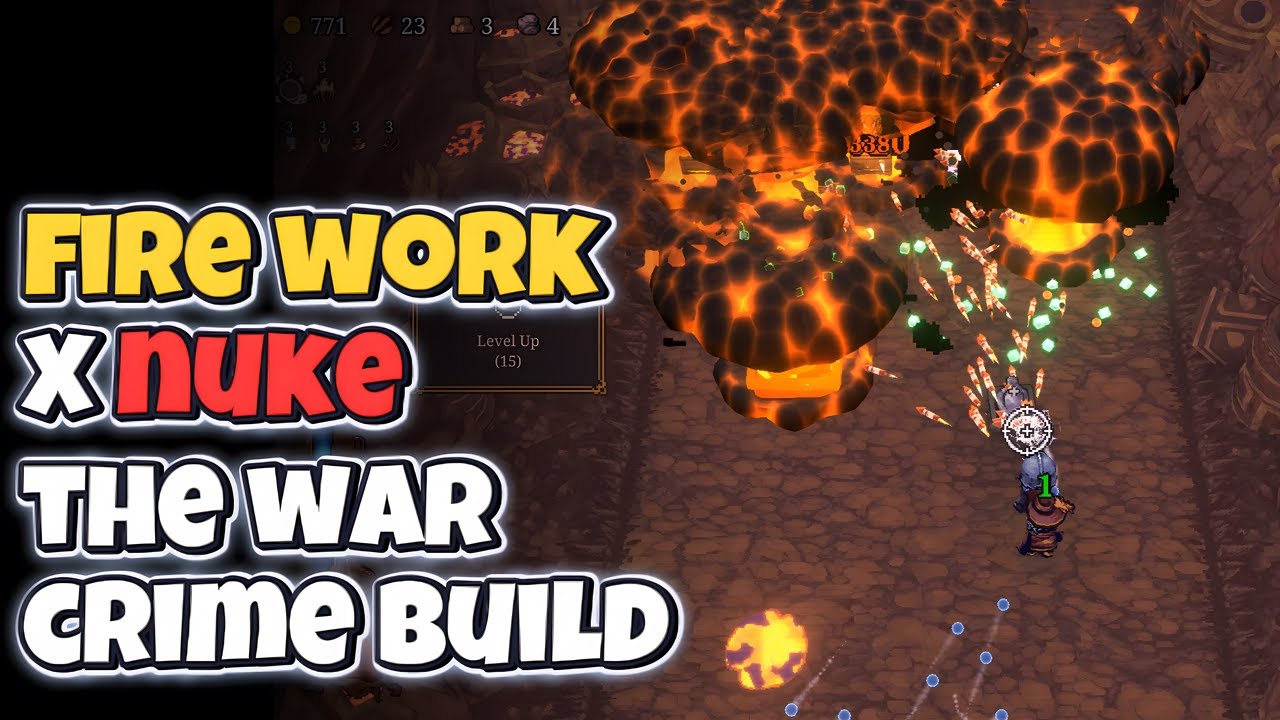
To create the "Firework Nuke" in BALL x PIT, you must prioritize specific explosive upgrades that synergize to trigger continuous, screen-wide detonations. This build relies on stacking multiple Firework-tier projectiles, which creates a compounding damage output that trivializes late-game waves. By focusing your early rolls on explosive modifiers rather than standard ball stats, you can force the physics engine to generate a high-frequency chain reaction that deletes enemy hordes before they ever reach your base perimeter.
Prioritizing Firework Synergy for Maximum Damage
The core of the Firework Nuke lies in selecting upgrades that maximize the radius, frequency, and count of explosions. Instead of diversifying your arsenal with elemental or utility balls, you must commit entirely to the Firework trajectory. When you encounter upgrade choice nodes, always prioritize "Explosion Radius" and "Firework Count" modifiers. These stats are multiplicative; increasing the radius significantly improves the likelihood that one detonation will trigger another, creating a self-sustaining loop of damage across the screen.
Focusing on this single-type synergy is vastly more effective than attempting a hybrid build because the game’s physics engine responds more reliably to uniform projectile types. When the screen fills with Firework projectiles, the overlapping explosion zones create an "illegal" amount of particle density that clears everything in its path. If you dilute your build with non-explosive balls, you lose the crucial chain reaction consistency required to maintain this peak damage output.
Identifying Key Upgrade Modifiers
To scale your Firework Nuke successfully, you need to identify specific passive bonuses that increase the volatility of your projectiles. Seek out modifiers labeled "Chain Reaction," "Blast Overlap," or "Detonation Echo." These passives are essential for the build to function at higher tiers. They ensure that when one ball detonates, it triggers a secondary blast from nearby projectiles, effectively doubling your damage per tick without requiring additional player input.
Keep a close watch on your reroll budget during the mid-game. It is often worth spending your currency to hunt for Rare or Epic Firework-specific modifiers early on. If you settle for basic upgrades, the chain reaction will lack the necessary speed to clear waves consistently, leading to a bottleneck in your progression. Once you land a high-tier "Explosion Multiplier" stat, your focus should shift entirely to maintaining the defensive integrity of your base while the fireworks handle the offense.
Managing Physics and Screen Density
The Firework Nuke build pushes the BALL x PIT engine to its limits, which introduces unique challenges regarding screen density and object collision. Because the build relies on massive, simultaneous explosions, you may notice frame rate drops or "lag" when the chain reactions reach their peak. While this might seem like a technical drawback, it is actually a primary indicator that your build is working correctly; the more particles you see, the higher your effective DPS is at that moment.
To mitigate potential issues, ensure your base layout provides enough open space for projectiles to bounce and cluster. If your base is too cramped, the fireworks will detonate too early against walls rather than in the center of the enemy spawn zone. Aim to keep your defensive structures tight, leaving the central area of the screen open for the fireworks to congregate and trigger their chain reactions in a large, centralized kill zone.
Tactical Trade-offs and Build Limitations
While the Firework Nuke is arguably the most destructive strategy available, it comes with a significant trade-off: you become almost entirely dependent on the RNG of upgrade rolls. If you fail to find the necessary explosive modifiers in the early stages, you may find yourself with a low-damage build that lacks the utility of more balanced alternatives. Unlike standard projectile builds, the Firework Nuke offers very little crowd control, meaning any enemy that survives the initial blast will likely reach your defenses unimpeded.
Additionally, this build is less effective against single, high-health targets compared to swarm-heavy levels. Because the damage is spread out through chain explosions, concentrating that damage on a single boss unit requires precise positioning that can be difficult to manage when the screen is chaotic. Use the Firework Nuke primarily for clearing large waves and farming resources, and be prepared to pivot to a secondary, high-single-target projectile if you encounter a boss-heavy stage in the later progression tiers.
Expert Tips for Sustained Progression
To maintain your Firework Nuke build throughout the deeper, monster-filled pits of BALL x PIT, consider these additional optimizations:
- Projectile Speed Tuning: While explosive radius is king, a small investment in "Projectile Speed" can help your balls reach the enemy spawn zones faster, preventing the "bottleneck" effect where enemies clump up at the edge of your screen before the fireworks can reach them.
- Base Expansion: As you progress, prioritize homestead upgrades that increase your base perimeter. A larger base allows for more ricochet surfaces, which effectively increases the number of times your fireworks can bounce and strike enemies before expiring.
- Hero Synergy: When selecting heroes, prioritize those with passive "Explosive Damage" or "Projectile Count" buffs. These passives act as a force multiplier for your existing Firework stats, allowing you to push into higher difficulty tiers without needing to completely overhaul your projectile build.
By mastering the interaction between your base layout and the specific physics-based triggers of your fireworks, you can turn BALL x PIT into a game of total annihilation. Remember: if the screen isn't shaking, you aren't using enough fireworks.

Free BALL x PIT Codes
Current active codes and how to redeem them.

Sarah Williams
Sarah specializes in RPG and collection games, explaining team building, character growth, and beginner-friendly ways to avoid expensive early mistakes.
COMMUNITY
Player Comments
89 players commented on this guide.
The tips are practical and easy to follow.
This helped me understand strategy much better.
Nice guide. I am checking the other BALL x PIT articles next.
The explanation is clear, especially for beginners.