
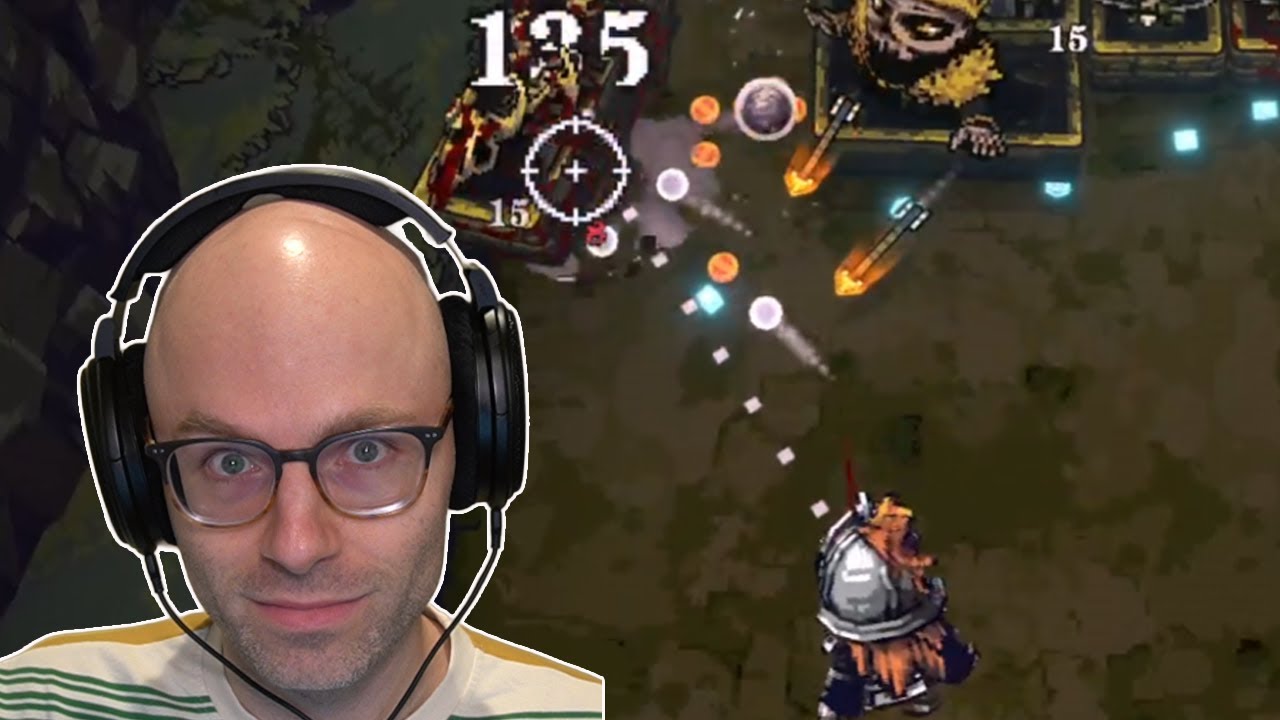
To dominate in BALL x PIT, you must stop viewing the game as a simple brick-breaker and start treating it as a high-stakes physics simulation. Success is found at the intersection of kinetic momentum management, strategic ammunition fusion, and the careful development of your homestead. Whether you are struggling to clear early waves or finding yourself overwhelmed by the monsters in the deepest reaches of the pit, mastering these core systems is the key to achieving high-score runs.
Mastering Projectile Physics and Momentum
The physics engine in BALL x PIT is your most powerful tool and your greatest potential liability. Every collision dictates your next move, and failing to manage your trajectory leads to a rapid loss of control.
The Art of the Glancing Angle
Avoid the "pinball trap"—the tendency to hit walls at near-perpendicular angles. A 90-degree impact leads to unpredictable rebounds that make it nearly impossible to plan your next sequence. Instead, prioritize shallow-angle impacts. By striking walls or surfaces at a glancing angle, you preserve forward momentum while gaining predictable exit trajectories. This allows you to "steer" your ball through tight corridors and complex hazard layouts.
Kinetic Energy Management
High velocity is essential for clearing massive waves, but it can make your projectile impossible to track. If you find your ball moving too fast to control, look for friction-heavy surfaces or bumpers that absorb energy. Conversely, use open arenas to build speed before entering high-density zones. The goal is to avoid erratic bounces; if you feel you have lost control, use a "brake" surface or a corner pocket to kill momentum and reset your aim.
Strategic Ball Fusion and Ammunition Development
Your projectile is not static. BALL x PIT allows for deep customization through ball fusion, which is vital for clearing late-game stages.
- Fusion Synergy: Don’t just fuse balls to upgrade damage. Look for elemental or status-effect synergies. Fusing a high-impact ball with a high-velocity ball creates a projectile capable of one-shotting dense clusters, saving you precious time.
- Ammunition Management: As you descend the pit, your resources will become strained. Prioritize fusing balls that provide secondary effects, such as "bouncing chains" or "area-of-effect explosions," rather than just raw damage. This turns one shot into a screen-clearing event.
- When to Fuse: Perform your fusions at the homestead between levels. Do not wait until you are in the heat of a combat phase, as you will need your full focus for navigation.
Homestead Expansion and Resource Generation
Your homestead is the engine that fuels your descent. Neglecting your base in favor of pure combat will eventually lead to a run-ending wall.
Prioritizing Upgrades
- Resource Collectors: Always prioritize upgrading your passive resource generation first. These upgrades pay for themselves within two levels, providing the capital needed for hero recruitment and ball fusions.
- Defensive Structures: As you progress, the pit will throw more hazards at you. Ensure your homestead has sufficient barriers and traps to manage any "overflow" monsters that escape the combat phase.
- Hero Recruitment: Recruiting heroes is not just about damage; it’s about utility. Look for heroes with passive bonuses to bounce physics or resource drop rates. These heroes often provide the "hidden" advantage that separates a mediocre run from a record-breaking one.
Advanced Tactical Prioritization
As the density of targets increases in the lower levels of the pit, you must transition from a "hit everything" playstyle to a "calculated deconstruction" approach.
The Target Hierarchy
When facing a crowded screen, follow this priority list to ensure maximum efficiency:
- Path-Clearers: Eliminate targets that block your path to safe zones or the "exit" of the stage.
- Chain-Reaction Clusters: Focus on groups of targets that are clustered together. A single well-placed shot into a cluster can clear half a screen, minimizing your risk of taking damage.
- Safety Buffers: Clear obstacles near the walls you rely on for rebounding. By clearing these, you create "clean" surfaces for future shots, giving you more control in chaotic moments.
Avoiding Common Mistakes
Even experienced players often fall into traps that shorten their runs. Here is how to avoid them:
- The Greed Trap: Chasing every point-generating item usually leads to a trajectory that ends in a pit or a hazard. If a trajectory doesn’t offer a clear "exit path," let the points go. Survival is the best way to ensure you have enough time to farm points later.
- Ignoring Cycle Timing: Many environmental hazards run on a predictable timer or rhythm. Rushing into a zone before a hazard cycle finishes is the fastest way to lose momentum. Wait for the opening; BALL x PIT rewards patience as much as it rewards precision.
- Over-Fusion: Fusing too many low-tier balls can leave you without resources for high-tier upgrades later. Be selective about which balls you fuse, and keep a few "utility" balls in your inventory for specific stage layouts.
Conclusion: Putting It All Together
Mastering BALL x PIT is a process of transitioning from reactive play to proactive management. By controlling your momentum through shallow-angle physics, investing heavily in early-game resource generation, and prioritizing target clusters over individual point-scoring, you can survive even the deepest levels of the pit.
Remember, the game is a marathon, not a sprint. Use your homestead to build a foundation of resources, use your fusions to adapt to increasing monster density, and always ensure you have an exit strategy before taking your next shot. When you stop hoping for a good bounce and start forcing the ball to go where you need it, you’ll find that the highest scores in BALL x PIT are not a matter of luck—they are a matter of skill.

Free BALL x PIT Codes
Current active codes and how to redeem them.

James Brown
James focuses on Android gaming on PC, emulator setup, controls, performance tuning, and practical troubleshooting for longer play sessions.
COMMUNITY
Player Comments
149 players commented on this guide.
This guide answered the exact question I had.
I tried this today and it worked better than my old setup.
This saved me time in the early game.
Nice guide. I am checking the other BALL x PIT articles next.