
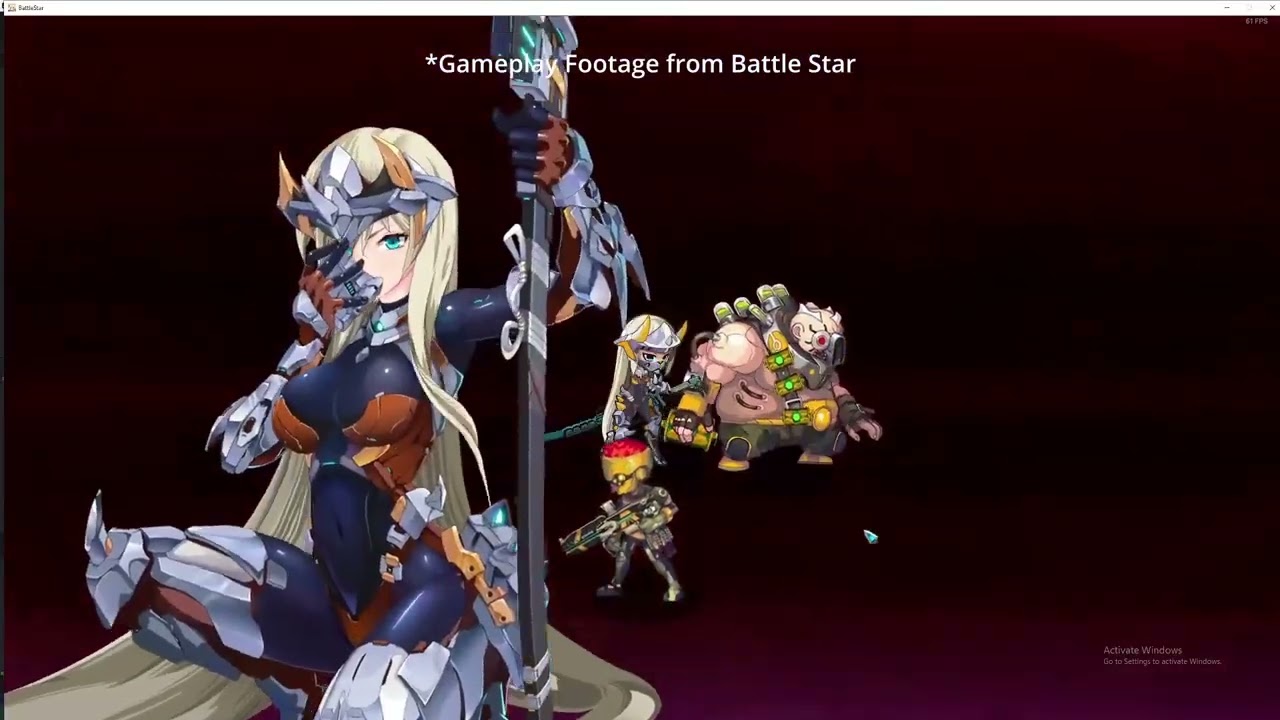
In Battlezone Saga: Gacha Diva, the first few hours of gameplay define your trajectory for the rest of the campaign. Because resources like Gold, EXP materials, and gear fragments are scarce, spreading your upgrades thin across too many units is a common trap for new commanders. To progress efficiently through the story-driven chapters, you need a core trio that covers the "Holy Trinity" of tactical RPGs: high-burst damage, battlefield disruption, and consistent sustain.
By focusing your initial rerolls and resource investments on Shion Muramasa, Fuma, and Nightingale, you ensure that your squad can handle the increasing difficulty spikes of the early-to-mid game without stalling.
Shion Muramasa: Your Primary DPS Engine
Shion Muramasa is the cornerstone of your offensive strategy. In Battlezone Saga: Gacha Diva, many early stages feature "soft" time limits or bosses with high health pools that can overwhelm teams lacking sufficient DPS. Shion is designed to bypass these bottlenecks with high-scaling offensive abilities.
Why She Works
Shion’s kit focuses on single-target annihilation and internal attack buffs. Unlike other early-game damage dealers who rely on RNG-based critical hits, Shion’s damage output is consistent. This reliability is crucial when you are trying to three-star stages, where clearing within a specific timeframe is often a requirement for bonus rewards.
Strategy and Upgrades
- Gear Focus: Prioritize Attack % and Critical Damage gear. Do not waste resources on defensive stats for her; her job is to kill the enemy before they can threaten your backline.
- Positioning: Place Shion behind your frontline units. She is relatively "squishy," and if she gets targeted by enemy assassins or area-of-effect (AoE) abilities, your team’s damage output will plummet.
- Synergy: Shion is most effective when paired with heroes who can "armor-shred" or debuff enemy defenses, allowing her high-base-damage skills to hit even harder.
Fuma: Controlling the Battlefield
If Shion is the sword, Fuma is the shield of your team—not by absorbing damage, but by preventing it entirely. In grid-based combat, positioning is everything. Fuma excels at manipulating the enemy grid, forcing foes into unfavorable positions or locking them in place.
Why He Works
Fuma’s utility comes from his crowd-control (CC) abilities, which are essential for negating the tactical advantage of larger enemy groups. By stunning or displacing key threats, Fuma drastically reduces the incoming DPS on your team, which effectively allows your healer to keep up with chip damage.
Tactical Application
- Interrupting Attacks: Watch the enemy’s casting bars. Fuma’s primary skill should be held back and used specifically to interrupt dangerous enemy ultimates or to stop a charging unit from reaching your backline.
- Grouping Enemies: If you have secondary heroes with AoE abilities, use Fuma to pull enemies into a tight cluster. This maximizes the efficiency of your team's damage, allowing you to hit multiple targets with single-target or small-radius spells.
- Cooldown Management: Invest in Skill Haste gear for Fuma. Keeping his CC abilities available is more important than boosting his basic attack damage.
Nightingale: The Pillar of Survivability
Nightingale is your non-negotiable support unit. Many players undervalue healers in the early game, opting instead for a secondary DPS unit. However, Battlezone Saga: Gacha Diva is designed as a game of attrition; if your units cannot recover health between waves, you will eventually reach a "hard wall" where your progress stops entirely.
Why She Works
Nightingale provides both burst healing and periodic regeneration. Her ability to top off your team’s health allows your DPS units to play more aggressively. Without her, you are forced to play reactively, often wasting turns to avoid damage rather than dealing it.
Best Practices for Support
- Survival First: Unlike Shion, Nightingale needs defensive gear. If she dies, your team has no way to recover, and a team without a healer is a team on a clock. Equip her with Health % and Damage Reduction items.
- Optimal Placement: Nightingale should be placed in the safest possible tile on the grid, usually the furthest back or behind a tanky unit. Her healing range is wide, but she should never be in the line of sight of enemy snipers.
- Timing Heals: Do not heal when a hero has only lost 5% of their HP. Wait until your primary DPS (Shion) hits the 50-60% mark to maximize the efficiency of your healing skills and prevent "overhealing" waste.
Building the Perfect Early-Game Synergy
The combination of Shion, Fuma, and Nightingale creates a self-sustaining ecosystem. You have the damage to finish fights, the control to manipulate the field, and the healing to ensure that every mistake doesn't result in a stage failure.
The "Commander’s Checklist" for Success
- Invest Uniformly: Do not level Shion to level 20 while leaving Nightingale at level 5. A balanced team is stronger than one "carry" surrounded by weak support.
- Focus on Gear Sets: In Battlezone Saga: Gacha Diva, gear set bonuses often outweigh raw stats. Ensure your heroes are wearing the appropriate sets for their roles (e.g., Attack sets for Shion, Haste sets for Fuma, HP/Heal sets for Nightingale).
- Understand Enemy Weaknesses: Use Fuma to identify which enemy units are the "engines" (healers or long-range cannons) and focus them down with Shion while Nightingale keeps the frontline stable.
- Resource Hoarding: Do not spend your premium currency on standard pulls. Wait for rate-up banners that feature these core units or high-tier replacements to maximize your return on investment.
Avoiding Common Mistakes
New players often fall for the "rarity trap," believing that a high-rarity hero is always better than a lower-rarity one. In this game, a well-synergized team of mid-tier heroes will consistently outperform a disjointed team of high-rarity units.
Furthermore, avoid the temptation to constantly switch your team composition. By sticking to the Shion-Fuma-Nightingale core, you can master their animation times, cooldowns, and range limitations. This mechanical familiarity is the hidden secret to clearing stages that are technically "above" your current power level.
By prioritizing these three heroes, you set a firm foundation. As you recruit more heroes, you can gradually pivot into more specialized team compositions, but for the early game, this trio is the gold standard for success in Battlezone Saga: Gacha Diva.

Free Battlezone Saga: Gacha Diva Codes
Current active codes and how to redeem them.

Sarah Williams
Sarah specializes in RPG and collection games, explaining team building, character growth, and beginner-friendly ways to avoid expensive early mistakes.
COMMUNITY
Player Comments
72 players commented on this guide.
Good guide for Battlezone Saga: Gacha Diva players. The heroes part was useful.
I tried this today and it worked better than my old setup.
This helped me understand heroes much better.
This saved me time in the early game.