
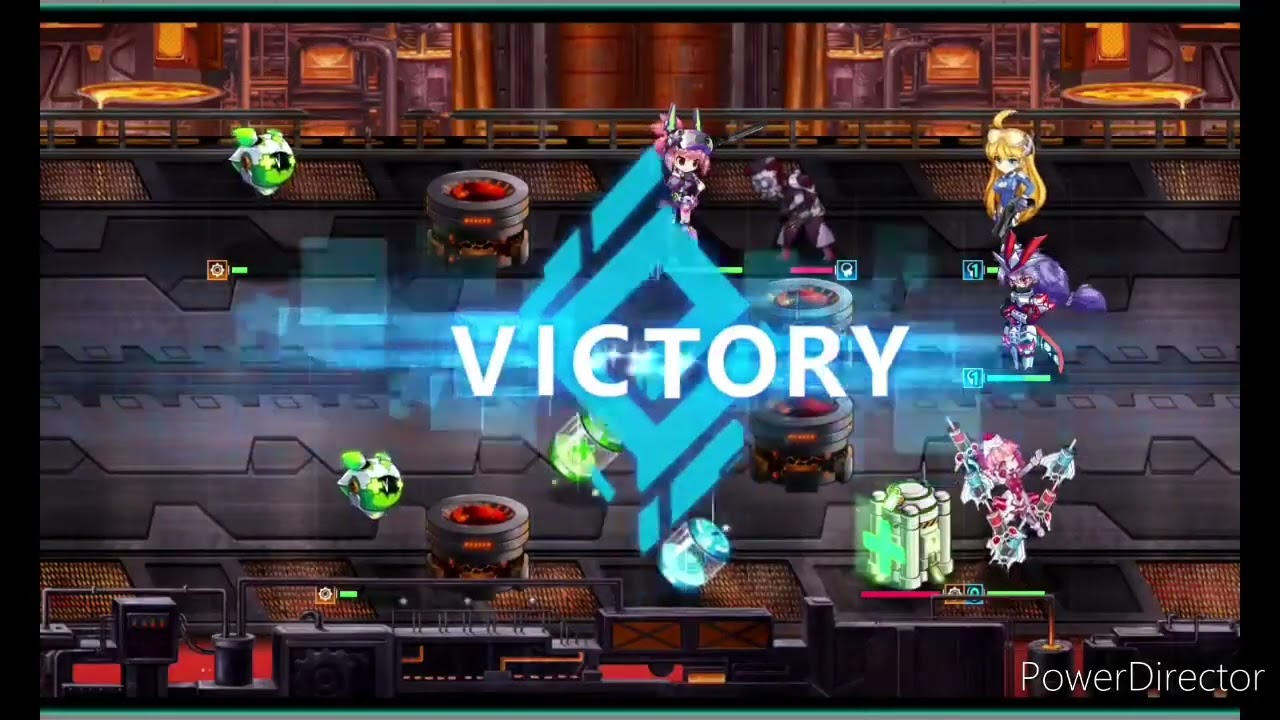
Chapter 3-4 in Battlezone Saga: Gacha Diva serves as the first major "skill check" for commanders. While earlier stages can be cleared effortlessly using the auto-combat function, Chapter 3-4 introduces resilient mecha formations and aggressive damage spikes that punish unoptimized squads. To progress, you must transition from a passive observer to an active tactician, utilizing manual ability timing and precise formation management to dismantle the enemy’s advantage.
Understanding the Chapter 3-4 Difficulty Spike
The primary reason players stall at Chapter 3-4 is the shift in enemy composition. You are no longer fighting generic mobs; you are facing specialized mecha units that possess high armor ratings and synchronized ultimate attacks. These enemies are designed to focus-fire your squishiest support units first, which can cause a cascading failure of your squad’s health regeneration.
If you find your frontline collapsing or your support heroes dying within the first thirty seconds, it is a clear indicator that your current "Auto" strategy is failing to account for enemy target prioritization. In this stage, the enemy AI is programmed to identify the unit with the lowest physical defense, often your healers or backline DPS, and coordinate their attacks accordingly. Success requires you to disrupt this pattern manually.
Mastering Manual Ability Rotations
In Battlezone Saga: Gacha Diva, the difference between a loss and a three-star victory often comes down to timing. When playing manually, you gain full control over your ultimate ability gauges. Instead of firing skills the moment they become available, adopt these three tactical rules:
- The Interruption Rule: Save your crowd control (CC) ultimates—such as stuns, silences, or knockbacks—exclusively for when you see an enemy mecha beginning a "telegraphed" attack animation. Interrupting a high-damage channel is worth more than dealing raw damage.
- Target Prioritization: Use your primary DPS ultimates to focus on enemy healers or support units first. Removing the enemy's sustain allows your squad to slowly chip away at the remaining tanky mecha units without the fear of the enemies recovering their health.
- Cooldown Stacking: If your team has synergy-based passives (e.g., a unit that increases team-wide damage for 5 seconds), trigger your heavy-hitting ultimates during this window rather than firing them in isolation.
Strategic Positioning and Formation Management
The grid-based combat in Battlezone Saga: Gacha Diva is sensitive to positioning. Many enemies in Chapter 3-4 utilize Area of Effect (AoE) attacks that hit multiple tiles in a line or a cone. If your units are clumped together, a single enemy ability can wipe out 30–40% of your total squad HP in one strike.
- Spread the Formation: Whenever possible, position your units at maximum distance from each other to minimize the impact of enemy AoE abilities.
- The Tank Swap: If your lead tank is taking critical damage, monitor their health bar closely. If the game mechanics allow for movement within your deployment grid, move the damaged tank to the back and shift a secondary, healthier unit to the front to absorb the incoming fire.
- Backline Protection: Keep your support heroes in the corners of the grid. While this makes them vulnerable if an enemy flanks you, it typically keeps them outside of the "cone" range of most front-facing mecha artillery.
Pre-Engagement Resource Optimization
Before entering the battle, perform a "Readiness Audit." Many commanders attempt 3-4 while under-leveled or with outdated gear. Because this stage is a DPS check, you must ensure your squad is performing at its peak.
- Weapon and Chassis Upgrades: Ensure every hero in your active roster has their weapon and chassis at the current level cap. Even a small increase in base damage or health can be the difference between surviving an enemy ultimate and being wiped out.
- Module Selection: Check your inventory for modules that offer "Mecha-Slayer" or "Anti-Armor" bonuses. Equipping these on your primary damage dealers significantly reduces the time-to-kill for elite mecha units, preventing them from cycling through their own offensive cooldowns multiple times.
- Material Farming: If you are consistently running out of time, you likely lack the necessary DPS. Spend your remaining daily energy on farming materials from previous cleared stages to upgrade your gear by one tier. Do not bash your head against 3-4 if your stats are objectively too low to meet the DPS requirement.
Managing the Trade-offs of Manual Control
Shifting to manual control is a double-edged sword. While it is essential for clearing Chapter 3-4, it requires a high level of mental focus. You will notice that your clear times are slower because you are waiting for the "perfect" moment to trigger skills rather than letting the AI spam them.
Accept that your first few manual attempts may fail as you learn the enemy’s attack patterns. Watch for the visual cues—the "telegraphs"—that precede an enemy's special move. These are often highlighted by glowing weapon parts or specific audio cues. Once you identify these, your focus should be split between your own cooldown bars and the enemy’s animation frames. Mastery of this split-focus is what separates casual players from elite commanders in Battlezone Saga: Gacha Diva.
By staying patient, managing your resources effectively, and prioritizing the removal of enemy support units, you will overcome the bottleneck of Chapter 3-4. Remember that this stage is meant to teach you the importance of tactical decision-making over pure raw power; once you master these manual mechanics, you will find the rest of the campaign significantly more manageable.

Free Battlezone Saga: Gacha Diva Codes
Current active codes and how to redeem them.

Emily Johnson
Emily writes practical mobile strategy guides with a focus on resource planning, base progression, and the early decisions that shape a long-term account.
COMMUNITY
Player Comments
91 players commented on this guide.
I wish I had read this before upgrading the wrong thing.
The explanation is clear, especially for beginners.
Can you add more details about strategy in a future update?
Nice guide. I am checking the other Battlezone Saga: Gacha Diva articles next.