
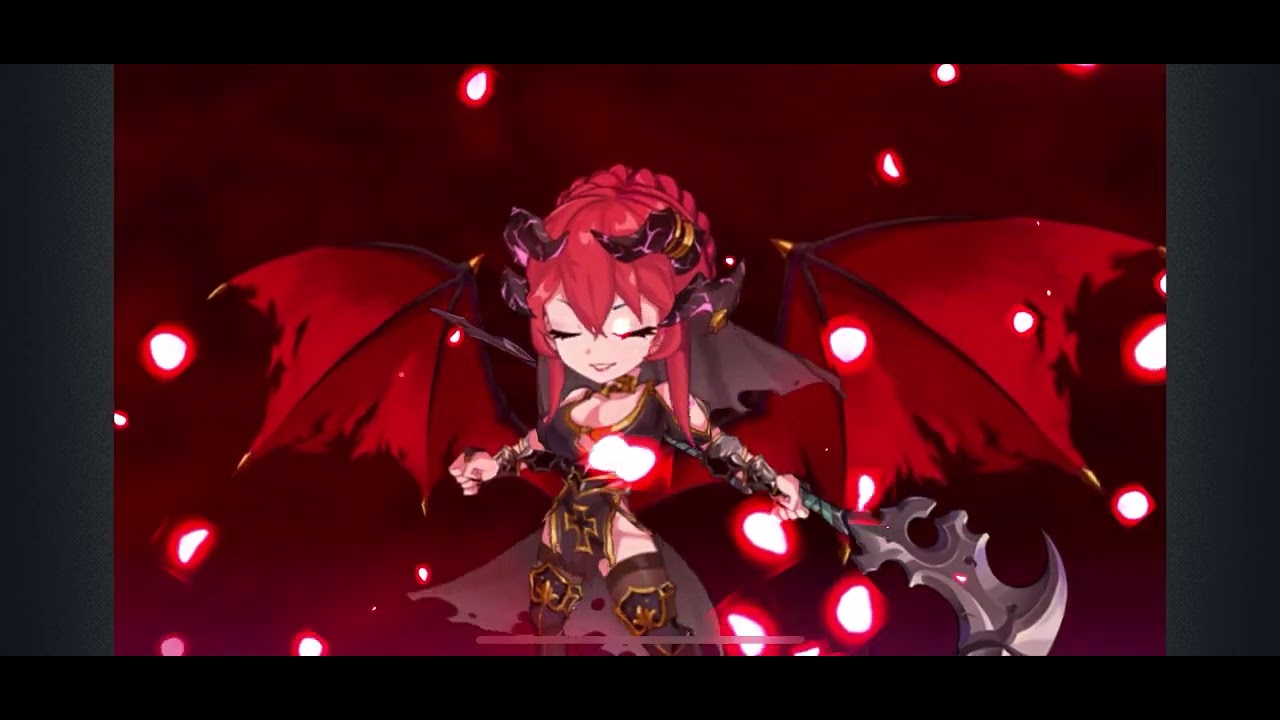
Stage 5-9, "Sabotage the Trade," serves as a definitive mid-game skill check in Battlezone Saga: Gacha Diva. Unlike earlier missions that favor brute force, this stage demands precise tactical execution, efficient energy management, and a deep understanding of grid-based combat. To clear this mission, you must transition from reactive play to a proactive, rhythm-based approach that prioritizes target selection and positioning.
Understanding the "Sabotage the Trade" Combat Environment
"Sabotage the Trade" is designed to punish commanders who lack a cohesive strategy for handling enemy density. The stage features a high volume of low-health "scout" units accompanied by durable "trade guard" elites. The combat pacing is intentionally accelerated; if you do not clear the initial waves quickly, you will be overwhelmed by the sheer number of enemies converging on your backline.
The primary environmental factor here is the limited maneuvering room on the grid. Because the enemy units are designed to force your frontline to collapse, you must identify the primary damage dealers—usually the ranged support units at the back of the enemy formation—before they can shred your team's health pool. Failing to break these clusters early is the most common cause of failure for players attempting this stage.
Optimizing Hero Ability Rotations for Sustained DPS
Consistency is the cornerstone of success in Battlezone Saga: Gacha Diva. In Stage 5-9, the biggest mistake players make is "cooldown dumping," where they activate all ultimate abilities at the start of the first wave.
Instead, implement a staggered rotation:
- Wave 1 (Cleanup): Use only basic skills and low-cost area-of-effect (AoE) abilities to thin out the initial swarm. Do not burn your high-cooldown ultimates yet.
- Wave 2 (Pressure): As the elite units appear, activate one primary DPS ultimate to focus fire on the highest-threat target. Save your crowd-control (CC) skills for when the elite units attempt to channel their own special abilities.
- Final Skirmish: Ensure at least 60% of your squad’s energy meters are full before the final wave. This allows for a "burst phase" where you can stack multiple ultimates to quickly dismantle the stage boss.
Managing your energy meter is not just about damage; it is about efficiency. If your team is stuck in a long animation lock while enemies are attacking, you are losing valuable time and health. Time your abilities to interrupt enemy casts, which effectively provides "free" mitigation for your squad.
Tactical Positioning and Grid Awareness
In Battlezone Saga: Gacha Diva, the grid is your most important tool. For Stage 5-9, you must master the "Choke Point" formation. Position your tanks in the front-center tiles, forcing the enemy AI to path around them or engage them directly. This prevents the enemy from reaching your DPS units, who should be placed in the back-row corner tiles.
Pro-Tips for Grid Management:
- Avoid Over-Extension: Do not move your DPS units into the middle of the grid to chase low-health enemies. Let the enemies come to your tank line.
- Aura Stacking: Ensure your support heroes are positioned adjacent to your damage dealers. Many support abilities in Battlezone Saga: Gacha Diva function as proximity-based auras; if your units are too spread out, you lose the crucial defensive or offensive buffs needed to survive the mid-chapter difficulty spike.
- Target Switching: Use the manual targeting function to drag your primary damage dealer’s attack path specifically toward the enemy backline if they have high-damage sniper units.
Managing Resource Consumption and Team Synergy
If you find yourself repeatedly failing "Sabotage the Trade," it is rarely a lack of gear—it is usually a lack of elemental synergy. Battlezone Saga: Gacha Diva features a robust elemental advantage system that can increase your damage output by up to 25% if exploited correctly.
Elemental Check
Review the enemy composition of Stage 5-9. If the enemy units are primarily of a specific element (e.g., Fire), ensure your frontline tank is of the counter-element (e.g., Water). This simple swap provides a passive damage reduction that can keep your tank alive for an extra 10–15 seconds, which is often all the time your DPS needs to secure the win.
Resource Allocation Mistakes
Stop relying on consumable items to brute-force stages. If you are struggling, check your gear levels. A common pitfall is spreading resources too thin across five heroes. In Battlezone Saga: Gacha Diva, it is objectively better to have one "hyper-carry" hero at the current level cap with maxed-out gear than to have five heroes at mid-tier levels. Focus your gold and upgrade materials on your primary damage dealer first, then your tank.
Identifying When to Regroup
Sometimes, the best strategy is to step away from the stage. If your squad is consistently wiped out before reaching the final wave, your team level is likely insufficient.
The Progression Checklist:
- Check Hero Level: Are your units within 5 levels of the enemy average?
- Verify Gear: Have you upgraded your weapon cores to the current tier?
- Review Synergy: Do your skills actually complement each other? (e.g., Do you have a tank that shields while your healer provides a constant HoT—Heal over Time?)
If you fail these checks, return to the "Grind Zones" in earlier chapters. Replaying stages for XP and materials is not a sign of weakness; it is a fundamental part of the Battlezone Saga: Gacha Diva progression loop. By optimizing your team through steady, incremental upgrades rather than attempting to brute-force high-difficulty stages, you ensure that when you finally tackle Stage 5-9, you do so with a team that is fully prepared to dominate.
Mastering "Sabotage the Trade" is a rite of passage. By controlling the pace of combat, positioning your team to maximize efficiency, and respecting the elemental mechanics, you will clear this hurdle and continue your campaign with confidence.

Free Battlezone Saga: Gacha Diva Codes
Current active codes and how to redeem them.

James Brown
James focuses on Android gaming on PC, emulator setup, controls, performance tuning, and practical troubleshooting for longer play sessions.
COMMUNITY
Player Comments
157 players commented on this guide.
The tips are practical and easy to follow.
I tried this today and it worked better than my old setup.
Nice guide. I am checking the other Battlezone Saga: Gacha Diva articles next.
This guide answered the exact question I had.