
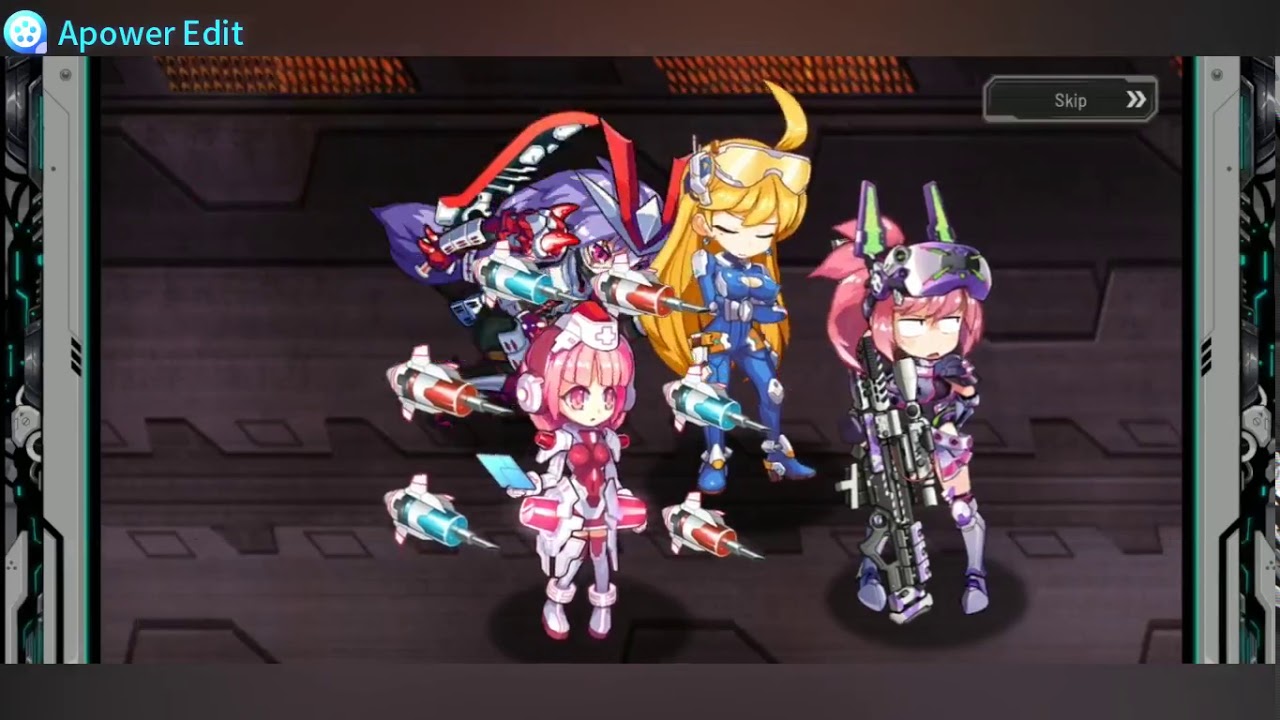
Shion Muramasa serves as the definitive "gear check" encounter in Battlezone Saga: Gacha Diva. Many commanders find themselves hitting a wall against her, as her kit is specifically designed to punish slow, reactive, or overly defensive playstyles. To overcome this boss, you must shift your focus from simple attrition to a high-tempo offensive rhythm that balances burst damage with predictive damage mitigation.
Understanding the Shion Muramasa Threat
Shion Muramasa is not a boss you can simply out-sustain. Her mechanics focus on rapid, high-damage rotations that punish teams that take too long to finish the fight. The longer the battle lasts, the more opportunities she has to unleash her area-of-effect (AOE) abilities, which typically wipe out teams that lack high-mobility or high-mitigation capabilities.
The core of her threat is the "Snowball Effect"—she grows significantly more dangerous as the combat clock ticks down. If your squad is built purely for survivability, you will inevitably find your healing output eclipsed by her escalating damage. To defeat her, you must stop viewing the fight as a test of your tankiness and start viewing it as a race to maximize your Damage Per Second (DPS) window while keeping your most critical units alive.
The Case for Burst Over Attrition
In Battlezone Saga: Gacha Diva, the most effective way to deal with high-pressure bosses like Shion is to shorten the duration of the encounter. Every extra round you spend in combat is another round where her damage scaling can strip away your frontline’s armor.
Strategic Deployment Tips:
- Prioritize Critical Hit Synergy: If your heroes have passives that increase critical hit damage, prioritize gear sets that boost your Crit Rate. Shion’s health pool is deceptive; you need to bypass her defensive checks with high-impact spikes rather than chip damage.
- Ultimate Ability Syncing: Never fire your ultimate abilities as soon as they are available. Instead, hold them until you have triggered a defense-down debuff on Shion or when your team’s buffs are fully stacked.
- Focus-Fire Mechanics: Ensure your AI settings or manual targeting priorities are set to focus Shion immediately. Wasting damage on secondary mobs in this specific encounter is a common mistake that leads to "enrage" wipes.
Mastering Health Pools and Mitigation
Survival against Shion Muramasa relies on the "Proactive Protection" philosophy. Because her damage often comes in singular, massive bursts, reactive healing—waiting for the health bar to drop before casting a heal—will almost always result in a unit death.
How to Manage Incoming Damage:
- Pre-emptive Shielding: Deploy shields at the start of her visible wind-up animations. Even a small shield can prevent a "one-shot" scenario if it absorbs the initial hit of an AOE ability.
- Staggered Healer Rotations: If you are running two healers, do not use their active skills simultaneously. Use them in an alternating cycle to ensure that at least one form of sustained regeneration is always active on your most exposed units.
- Positional Dispersion: Shion’s most dangerous attacks are often grid-based AOE strikes. Do not cluster your units in a tight formation. Spreading your damage dealers and support units across the grid forces her to choose between hitting one target or wasting her AOE potential on empty spaces.
Analyzing Failed Attempts
If you have failed to clear Shion Muramasa multiple times, the issue is likely a lack of "Cycle Efficiency." This is the synchronization between your team’s cooldowns and the boss's attack frequency.
- The Cooldown Audit: After a failed run, check your logs. Did your healers die because their ultimates were on cooldown? If yes, you need more Haste/Cooldown Reduction gear on your support units.
- The Utility Trade-off: If your team is surviving the full duration but failing to kill her, you are likely over-indexed on defense. Swap one secondary healer or low-damage tank for a "Support-DPS" hybrid—a unit that provides a debuff while still contributing to the overall damage pool.
- Gear Optimization: Sometimes, the difference between success and failure is as simple as upgrading your DPS units' weapons. In Battlezone Saga: Gacha Diva, raw attack power is the most valuable stat when facing a time-sensitive wall like Shion.
Advanced Tactical Decisions
Beyond team composition, your tactical choices during the grid movement phase are critical. Shion Muramasa moves with predictable intent. Use this to your advantage by baiting her into corners of the map. By forcing the boss to move toward a specific tile, you can dictate when and where she initiates her attacks, effectively controlling the flow of the battle.
Checklist for Success:
- Check Elemental Advantage: Ensure your damage dealers are the correct element against Shion. The damage bonus from elemental alignment is often the difference between a sub-optimal run and a clear.
- Consumables: Don't hesitate to use combat items if the game mode allows. Attack buffs or temporary invulnerability items can bridge the gap during the final 20% of her health bar when she typically enters her most aggressive phase.
- Watch the Turn Order: If the UI shows Shion’s turn coming up, prioritize defensive maneuvers. If your turn is coming up, go all-in on offensive cooldowns.
By shifting your strategy from defensive grinding to a calculated, burst-oriented approach, you will find that Shion Muramasa’s mechanics become manageable. Stay mobile, keep your cooldowns synced, and do not be afraid to adjust your gear to favor raw offensive output. The war-torn world of Battlezone Saga: Gacha Diva demands adaptation; master this boss, and you will be well-prepared for the even greater challenges that await in the later stages of the campaign.

Free Battlezone Saga: Gacha Diva Codes
Current active codes and how to redeem them.

Emily Johnson
Emily writes practical mobile strategy guides with a focus on resource planning, base progression, and the early decisions that shape a long-term account.
COMMUNITY
Player Comments
59 players commented on this guide.
This helped me understand strategy much better.
This guide answered the exact question I had.
The tips are practical and easy to follow.
Nice guide. I am checking the other Battlezone Saga: Gacha Diva articles next.