
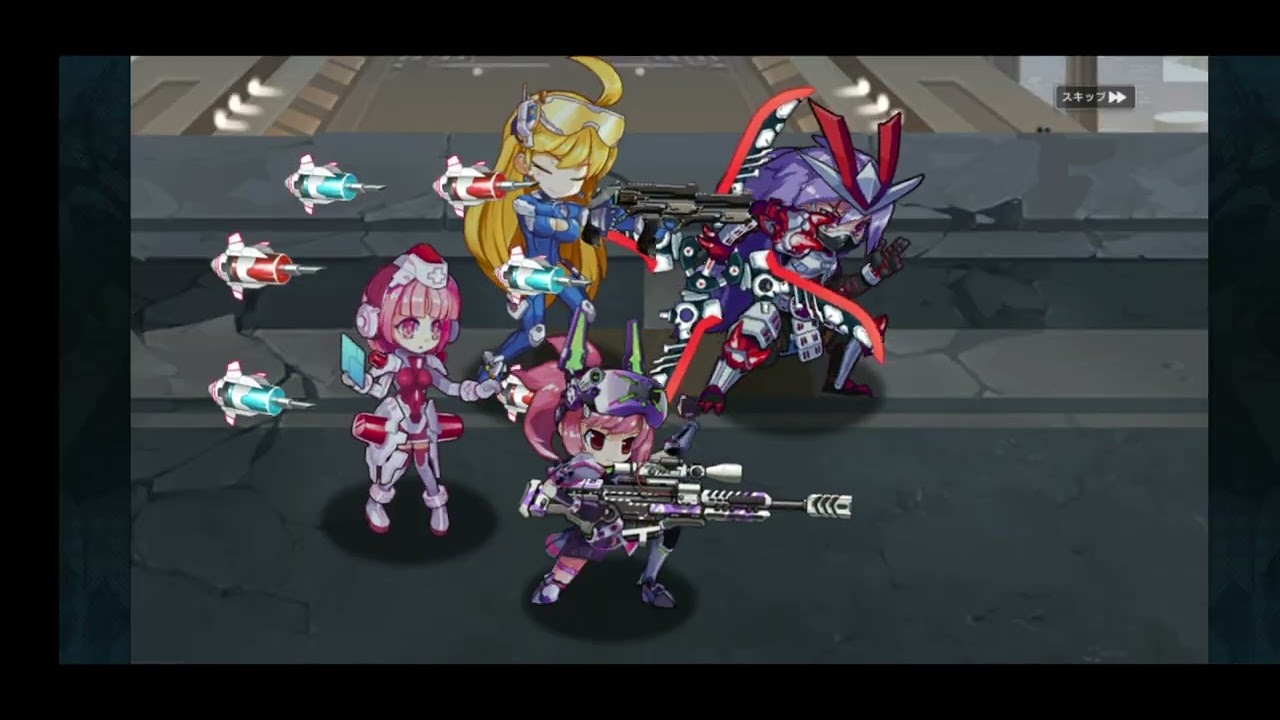
Success in Battlezone Saga: Gacha Diva is not merely about having the highest level heroes; it is about the mastery of the grid. As a tactical, story-rich idle RPG, the game demands that commanders look past the auto-battle features to understand the underlying mechanics of positioning and skill synchronization. By aligning your hero’s specific grid-based ability ranges with enemy movement patterns, you can clear challenging campaign stages with minimal losses.
This guide provides the expert framework needed to transition from basic gameplay to advanced tactical dominance.
Understanding the Grid: The Foundation of Strategy
The battlefield in Battlezone Saga: Gacha Diva is a dynamic grid. Unlike traditional turn-based games where positioning is static, this game rewards players who understand "zone control." Every hero has a specific effective range, and every enemy type operates under predictable AI movement logic.
- Center-Grid Dominance: Place your high-damage AoE (Area of Effect) dealers in the central tiles. This maximizes their reach, allowing their abilities to clip the edges of enemy formations.
- The Front-Back Synergy: Keep your "Tank" or high-defense units on the outer edges or the front-most tiles to act as a physical barrier. This prevents enemy units from reaching your back-line support or fragile snipers, ensuring they remain undisturbed to cast their support skills.
- Mobility as Defense: If an enemy unit utilizes a "push" or "pull" mechanic to shift your formation, prioritize re-centering your heroes over firing a secondary skill. A hero pushed out of their ideal grid quadrant loses significant damage efficacy.
The Art of Skill Sequencing
In Battlezone Saga: Gacha Diva, firing your special abilities the moment they become available is a common mistake that leads to "overkill" on weak mobs, leaving you defenseless against heavy-hitting bosses.
Developing a Skill Chain
- The Setup: Use low-cost, crowd-control (CC) abilities first to cluster enemies or freeze them in place.
- The Debuff: Follow up with defense-reduction skills. Many heroes in the game have "Armor Shred" or "Evasion Down" passives that stack; applying these before your heavy-hitters attack is the key to massive damage numbers.
- The Execution: Unleash your high-cost AoE nukes only when the targets are debuffed and clustered.
- The Sustain: Save healing or shielding abilities for the turn immediately following an enemy's telegraphed "Special Attack" phase.
Managing Energy and Cooldowns
Energy is the lifeblood of your tactical rotation. In high-intensity campaign stages, you will find that resource management determines the outcome of the battle.
- Avoid Resource Spikes: Do not exhaust your entire energy bar in a single turn. If you use all your high-cost abilities during the first wave, you will be left with nothing but basic attacks for the boss encounter.
- Rotation Logic: Rotate your hero skills so that at least one high-impact ability is always available. If your primary DPS is on cooldown, use your support units to cycle through utility buffs that keep the team alive until the DPS skill refreshes.
- UI Awareness: Keep your eyes on the cooldown indicators beneath your character portraits. If a hero’s ultimate is one turn away, consider delaying the engagement slightly to ensure they arrive in time to contribute to the combo.
Strategic Target Prioritization
Not all enemies in Battlezone Saga: Gacha Diva are created equal. AI-controlled teams often rely on a "healer-protector" archetype. If you focus your fire on the tanky front-line enemy, you are playing into the enemy's hands.
- Identify the Threat: Always prioritize units that provide healing, buffs, or high-burst damage to your team. These "high-value targets" are often located in the back rows.
- The Cornering Tactic: Use your grid movement to force enemies into corners. When an enemy is pinned against the edge of the grid, their ability to reposition is limited, making them perfect targets for your linear or column-based attacks.
- Focus Fire: Never split your team’s damage across three different targets if you can focus all fire on one. Removing an enemy unit completely from the board reduces the amount of incoming damage your team sustains per turn, effectively acting as a defensive strategy.
Common Tactical Mistakes to Avoid
Even veteran players often fall into these three traps during difficult campaign stages:
- Ignoring Telegraphed Attacks: The game provides visual indicators when an enemy is preparing a "charged" attack. If you ignore these, you risk losing your core DPS heroes early. Use your movement phase to dodge out of the projected strike zone.
- Over-Relying on Auto-Combat: While auto-battle is excellent for grinding lower-level resources, it lacks the nuance of target prioritization. When you hit a "wall" in the campaign, switch to manual mode immediately.
- Neglecting Support Utility: Players often prioritize offensive heroes over utility. However, a support character who can manipulate the grid or boost team energy can often increase your total team DPS more effectively than an extra attacker.
Final Decision-Making Framework
When you are staring down a difficult boss in Battlezone Saga: Gacha Diva, use this checklist before you take your turn:
- Who is the biggest threat? (Target them first).
- Is my team in range? (Check grid positioning before committing).
- Do I have enough energy for a combo? (Wait one turn if the answer is no).
- Can I avoid incoming damage? (Move before you attack).
By applying these principles, you will find that the difficulty spikes in the campaign become much more manageable. Battlezone Saga: Gacha Diva is a game of patience and precision; by treating the grid as a chess board rather than a simple arena, you will consistently overcome the odds and progress through the story-driven content.

Free Battlezone Saga: Gacha Diva Codes
Current active codes and how to redeem them.

James Brown
James focuses on Android gaming on PC, emulator setup, controls, performance tuning, and practical troubleshooting for longer play sessions.
COMMUNITY
Player Comments
121 players commented on this guide.
Can you add more details about strategy in a future update?
Good guide for Battlezone Saga: Gacha Diva players. The strategy part was useful.
The explanation is clear, especially for beginners.
The tips are practical and easy to follow.