
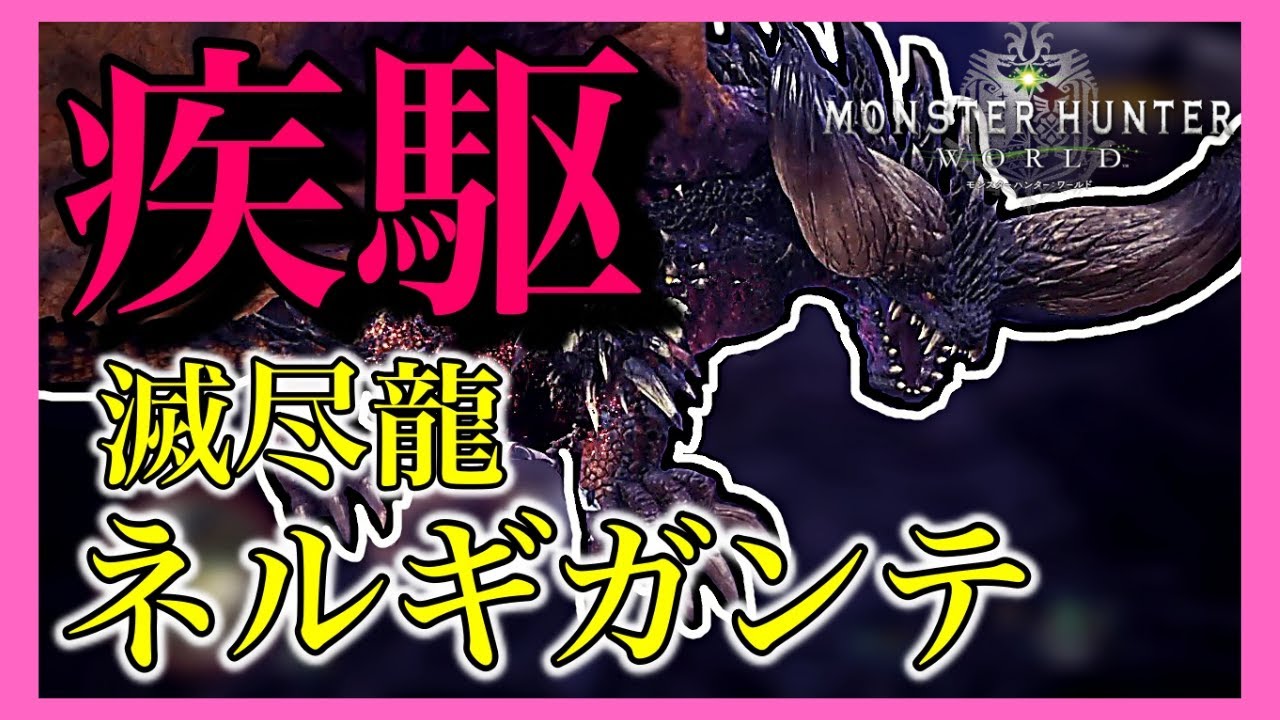
To beat Nergigante in Monster Hunter: World, your main priority is dodging its high-damage dive-bomb attack by rolling laterally the moment the boss launches. Stop your attack combo as soon as Nergigante pauses and pulls back its stance, then move sideways rather than backward to escape the attack's forward hitbox.
How to Avoid Nergigante's Dive-Bomb Attack
Nergigante’s dive-bomb is its most punishing attack, capable of taking down underprepared players in a single hit. Recognizing the wind-up animation is essential for survival:
- Identify the telegraph: Watch for Nergigante to pull back, adjust its stance, and pause briefly in place. This stillness signals an incoming dive-bomb.
- Stop attacking immediately: Cancel your current attack chain the moment you see the wind-up phase so your movement actions are ready.
- Evade sideways: Time your dodge roll or evade for the moment Nergigante launches forward. Always roll laterally; rolling backward leaves you inside the attack's straight-line trajectory.
Positioning and Camera Management
Maintaining visual awareness and staying mobile prevents Nergigante from trapping you in multi-hit melee sequences.
- Control the camera manually: Keep Nergigante near the edge of your screen rather than relying solely on target locks. This ensures wind-up animations remain visible while you scan the area.
- Avoid arena walls: Stay out of the center and stay clear of boundary walls to prevent being pinned during wide-sweeping attacks.
- Use terrain features: Take advantage of ledges and slopes to execute jumping or sliding attacks, which provide safer engagement angles and high reach.
Managing Damage Windows and Support Units
Greed during recovery animations is a primary cause of failure in this encounter. Nergigante recovers quickly and frequently counters with sudden tail swipes or repositioning jumps.
- Limit counter-attacks: Restrict your strikes to two or three hits per opening, then immediately return to a defensive stance to preserve stamina and movement options.
- Utilize support units: Allow your automated palico support unit to draw boss aggro. Use these distraction windows to heal or reposition, but do not rely on support units to tank primary damage strings.

Free Battlezone Saga: Gacha Diva Codes
Current active codes and how to redeem them.

Sarah Williams
Sarah specializes in RPG and collection games, explaining team building, character growth, and beginner-friendly ways to avoid expensive early mistakes.
COMMUNITY
Player Comments
80 players commented on this guide.
This guide answered the exact question I had.
The tips are practical and easy to follow.
Good guide for Battlezone Saga: Gacha Diva players. The strategy part was useful.
I tried this today and it worked better than my old setup.