
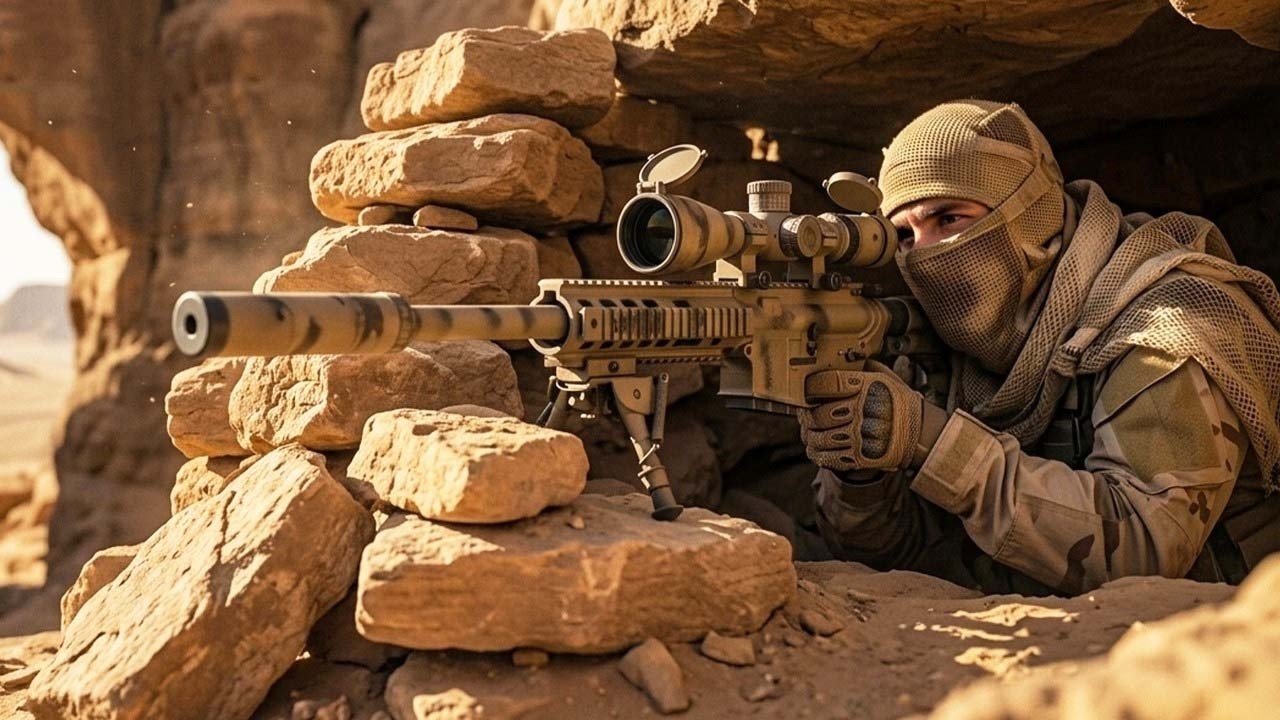
To achieve superior combat efficiency in Battlezone Saga: Gacha Diva, players must move beyond basic auto-battling and embrace the depth of the game’s tactical sniping mechanics. Mastering long-range engagement allows you to neutralize high-value threats from over 1,000 meters away, effectively tilting the odds in your favor before a general skirmish even begins. This guide provides the expert framework for positioning your sniper-class heroes, managing the game's aggressive AI, and optimizing your gear for maximum lethality.
Mastering Concealment and Positioning
Success in long-range engagements relies on your ability to exploit the map’s verticality and environmental clutter. In Battlezone Saga: Gacha Diva, sniper units receive massive damage multipliers when attacking from a "Concealed" state. To trigger this, you must remain undetected by the enemy’s surveillance grid.
When scouting a mission, look for "Hidden Nest" zones. These are specific map sectors designed to provide a stealth buff to units with the "Sniper" trait. Positioning your hero here prevents the AI from initiating a counter-offensive immediately upon your first shot. Avoid the temptation to simply climb the highest point on the map; while high ground offers a view, it often lacks the necessary foliage or debris to break your silhouette, making you an easy target for enemy mortar teams.
The Mechanics of the "Lock-On" System
The core of effective sniping lies in the "Lock-On" mechanic. This system requires your hero to remain stationary for a brief "Aiming Window" to maximize critical strike probability. Attempting to fire while moving or immediately after changing position will result in a "Snap Shot," which significantly reduces accuracy and may alert nearby patrols.
- Synchronize with Patterns: Observe enemy patrol routes. The AI follows predictable loops; wait until the target enters a "Clear Sight" window, which occurs when they stop to scan an area.
- Prioritize High-Value Targets: Focus your fire on enemy scouts or communication officers first. Eliminating these units prevents the opposition from calling in reinforcements or artillery strikes, effectively neutralizing the map’s difficulty before you engage the main force.
- The Patience Tax: Strategic patience is your most valuable resource. A shot taken at a stationary target has a nearly 100% hit rate compared to a 40% rate when firing at a moving target.
Managing Stealth and Aggro
Maintaining stealth is not just about where you stand, but how you manage the game's line-of-sight system. If a sniper unit fires a shot that fails to secure a kill, the AI will immediately scan the sector for the source of the projectile.
To mitigate this, utilize "Tactical Repositioning" skills immediately after firing if the target remains standing. Furthermore, you can manipulate enemy movement by using secondary units—preferably those with high mobility or decoy abilities—on the opposite side of the map. While the AI focuses on your decoy team, your sniper can operate from the flank, safely clearing the path for the rest of your squad. Never remain in the same sniping spot for more than two consecutive shots, as the game’s "Detection Radius" mechanic will mark your position, making you vulnerable to incoming fire.
Weaponry and Gear Optimization
For long-range specialists in Battlezone Saga: Gacha Diva, your gear choices should prioritize "Range Extension" and "Stealth Duration" over raw damage output.
- Scope Attachments: Always equip a scope with high-magnification factors for 1,000-meter engagements. This increases your hit-rate percentage against small targets, which is vital for maintaining stealth.
- Lightweight Chassis: Upgrading your armor with "Lightweight Chassis" mods allows for faster movement between firing cycles, critical for repositioning after a shot.
- Precision vs. Damage: In long-range sniping, a single, precise shot that disables a target is significantly more efficient than a high-damage weapon that alerts the entire map due to missed shots or low-accuracy volleys.
- Maintenance: Keep your weapon barrel maintained with "Tactical Lubricant" consumables to prevent jamming. A jammed rifle during a critical stealth operation is often a mission-ending mistake.
Environmental Adaptability
Adaptability is the final pillar of sniping proficiency. Battlezone Saga: Gacha Diva features diverse environments, and your approach must shift accordingly to maintain your stealth rating:
- Urban Environments: Prioritize breaking glass and avoiding metallic surfaces. Reflections and glints from windows can reveal your position even if you are technically hidden.
- Forest Environments: Focus on utilizing "Ghillie" gear sets. These provide a natural bonus to your stealth rating when near dense vegetation.
- Weather Conditions: Always verify the wind direction and ambient weather before committing to a long-range shot. While these mechanics are subtle, they do influence projectile deviation in high-difficulty missions. Observe the sway of trees or debris particles to calculate the necessary offset, ensuring your shot lands center-mass.
Common Mistakes to Avoid
Even veteran commanders often fall into traps that compromise their sniper units. The most common error is "Over-Extension"—trying to clear an entire map with a single sniper. While powerful, your sniper is meant to be a surgical tool. Once the enemy becomes aware of your presence, the "Concealed" bonus vanishes, and your sniper’s defensive stats will not hold up against direct assault.
Another frequent mistake is ignoring the "Detection Radius" indicator. If this icon turns yellow, you are being scouted; if it turns red, you have been spotted. Always move to a new "Hidden Nest" the moment you see the indicator turn yellow. By rotating your positioning and leveraging the decoy tactics mentioned above, you can maintain the element of surprise for the duration of the mission, turning the tide of the war in Battlezone Saga: Gacha Diva one precise shot at a time.

Free Battlezone Saga: Gacha Diva Codes
Current active codes and how to redeem them.

Emily Johnson
Emily writes practical mobile strategy guides with a focus on resource planning, base progression, and the early decisions that shape a long-term account.
COMMUNITY
Player Comments
69 players commented on this guide.
Nice guide. I am checking the other Battlezone Saga: Gacha Diva articles next.
I wish I had read this before upgrading the wrong thing.
This helped me understand strategy much better.
I tried this today and it worked better than my old setup.