
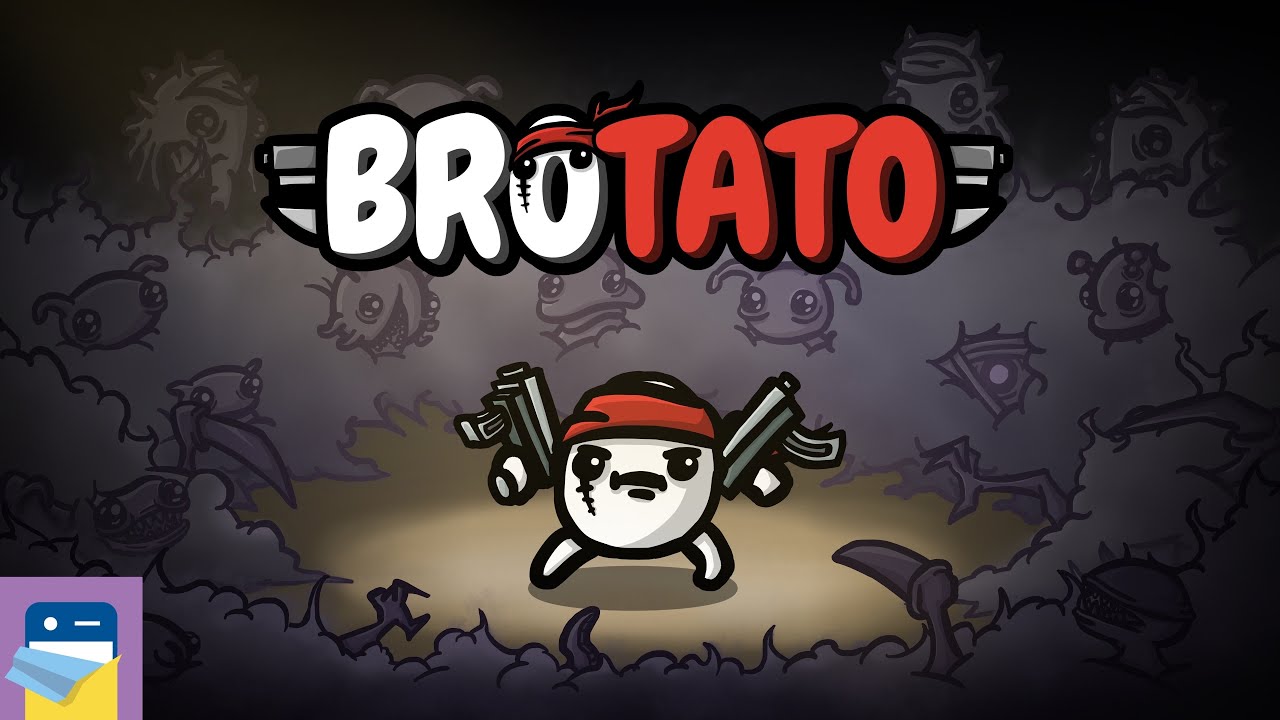
Surviving the opening minutes of Brotato:Premium is the most critical hurdle for any run. Success in this roguelite is not about luck; it is about mathematical efficiency and aggressive resource management. By the end of wave five, your goal is to have a full loadout of six weapons and a solid foundation of passive income. If you fall behind on your damage-per-second (DPS) or fail to accumulate enough materials for mid-game scaling, the difficulty spike in later waves will quickly overwhelm you.
This guide breaks down exactly how to navigate the shop, stat allocation, and combat movement to ensure you enter the mid-game with a powerful, cohesive build.
The "Six-Weapon" Rule: Prioritizing Early Inventory
In the first two waves of Brotato:Premium, your absolute priority is filling all six weapon slots. A common-tier weapon is exponentially more valuable than an empty slot. Many players make the mistake of hunting for high-tier weapons or specific legendary items too early. This is a trap.
- Quantity over Quality: In waves 1–3, prioritize filling slots with cheap, common weapons. Even if they don't perfectly match your eventual endgame build, the raw damage output of six weapons allows you to clear the screen faster, which in turn helps you collect more materials.
- Synergy Check: As you fill your slots, look for weapon tags (e.g., Primitive, Elemental, Precise). Stacking weapons with shared tags activates set bonuses that provide massive stat boosts early on.
- Avoid Over-Refining: Do not spend your hard-earned materials refreshing the shop in the first three waves. Use what the game gives you. Saving your materials for later waves is almost always more efficient than fishing for a specific item when you only have a few dozen materials to spend.
Mastering the Shop Economy
The shop in Brotato:Premium is where runs are won or lost. You must learn to balance immediate survival needs with long-term economic growth.
Harvesting is King
Early in the game, Harvesting is the most important stat you can invest in. While it provides no combat benefit, it compounds over time. Every point of Harvesting you gain before wave 5 pays for itself by mid-game. If the level-up menu offers you a choice between a small amount of damage and a boost to Harvesting, take the Harvesting early.
Spend or Save?
- Waves 1–3: Spend almost everything. Your primary goal is to reach six weapons and boost your base damage stats (Melee/Ranged Damage).
- Waves 4–5: Start looking for items that provide defensive utility, such as HP Regeneration or Life Steal, as the enemy density begins to scale. Only save materials if you have a full loadout and are preparing to hunt for specific high-tier items in the next shop phase.
Strategic Stat Allocation
When you level up, the choices can be overwhelming. Avoid the "jack-of-all-trades" trap. Focus your points into two offensive stats and one defensive stat.
- Offensive Focus: Choose either Melee Damage or Ranged Damage based on your loadout, then supplement it with Attack Speed. Attack Speed is often better than flat damage early on because it applies to all weapons simultaneously and helps with knockback, which is a hidden layer of defense.
- Defensive Focus: Max HP is the safest bet for beginners. It provides a buffer against mistakes. Avoid "Dodge" or "Armor" until you have at least 50–60 Max HP, as these percentage-based stats are much more effective once you have a larger health pool to protect.
- The Experience Trap: Avoid investing in "Luck" or "Engineering" during the first five waves unless you are playing a specific character designed for those stats (like the Engineer). Stick to the core stats that keep you alive and help you clear waves.
Advanced Combat Positioning and Movement
Movement in Brotato:Premium is not just about avoiding damage; it is about "farming" efficiency. Enemies drop materials that vanish if not collected, and those materials are your experience points.
The Circular Kite
Do not run in straight lines. If you run straight away from enemies, they will eventually surround you. Instead, move in wide, consistent circles around the edge of the arena. This keeps the enemy horde bunched together in a "death ball," which makes your weapons—especially those with piercing or area-of-effect (AoE) properties—far more effective.
Managing the "Safety Bubble"
As the density of enemies increases, maintain a "safety bubble" around your potato. If you find yourself pinned, don't panic. Look for the thinnest part of the enemy line and dash through it. Being hit once is better than being trapped and taking damage from ten enemies simultaneously.
Picking Up Materials
Don't prioritize material collection over survival. It is tempting to chase a pile of materials into the middle of a swarm, but this is how most runs end early. Let the materials pile up and only move in to collect them once you have created a clearing or when the enemies are moving away from the loot.
Common Mistakes to Avoid
- Ignoring Weapon Tags: If you are using a Shotgun, you need Ranged Damage. If you are using a Stick, you need Melee Damage. Scaling the wrong stat for your weapon type is the number one cause of failing to clear waves in time.
- Hoarding Rerolls: A reroll costs 1 material in the early game. Use it if you are missing a weapon slot. Don't die with 50 materials in the bank because you were "waiting for something better."
- Neglecting HP Regen: Even 1 or 2 points of HP Regeneration can save a run. You will inevitably take chip damage; having a way to recover that health between waves—or during the wave—is essential for sustaining your run through the mid-game.
By focusing on these pillars—filling your weapon slots, prioritizing Harvesting, and moving in deliberate patterns—you will find the first five waves of Brotato:Premium become a consistent, manageable part of your successful runs. Master these basics, and you will have the economy and firepower necessary to handle the escalating threats of the later waves.

Free Brotato:Premium Codes
Current active codes and how to redeem them.

Emily Johnson
Emily writes practical mobile strategy guides with a focus on resource planning, base progression, and the early decisions that shape a long-term account.
COMMUNITY
Player Comments
51 players commented on this guide.
I wish I had read this before upgrading the wrong thing.
This saved me time in the early game.
Can you add more details about early game in a future update?
This guide answered the exact question I had.