
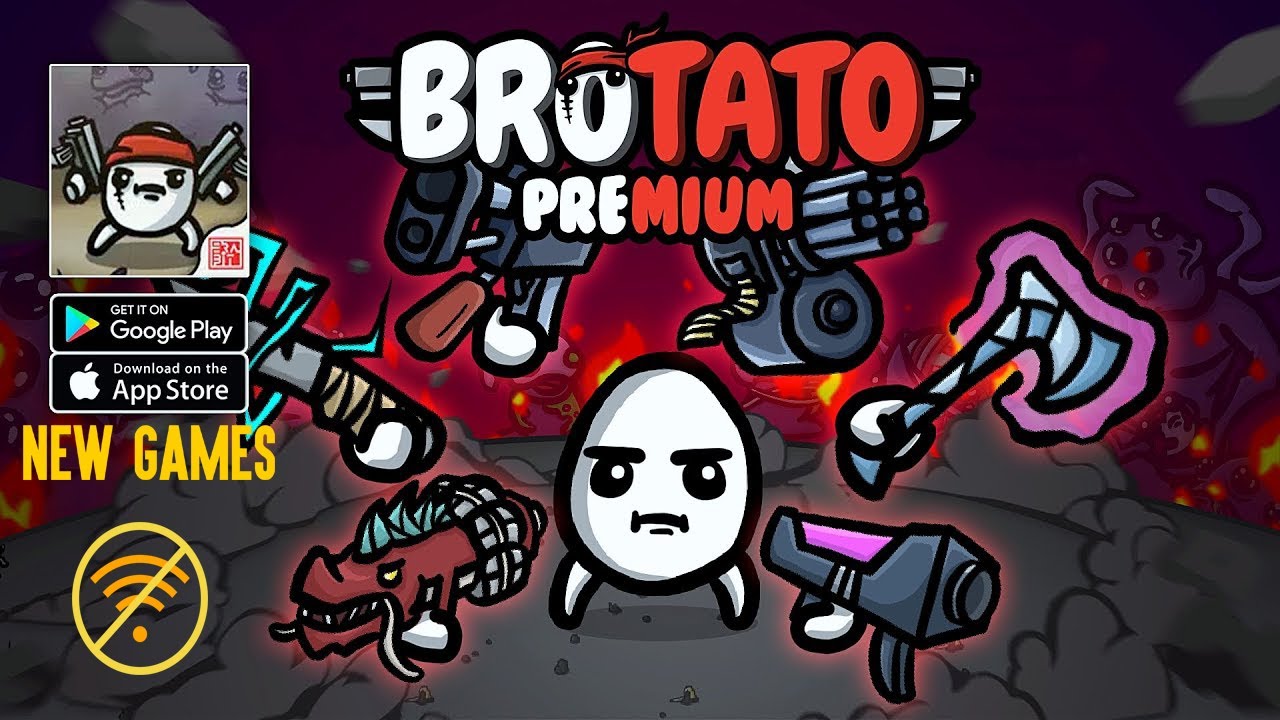
To consistently survive the relentless waves of Brotato:Premium, you must balance aggressive damage scaling with defensive sustainability. Success is not determined by a single overpowered item, but by how effectively your chosen character’s traits synergize with your weapon loadout and stat investments. By mastering the rhythm of the shop and the geometry of the arena, you can navigate even the most chaotic waves with precision.
Strategic Weapon Selection for Wave Scaling
In Brotato:Premium, your weapon loadout is the foundation of your survival. Filling all six slots as early as possible is non-negotiable. Early-game focus should be on quantity over quality; six basic-tier weapons are vastly superior to one or two high-tier weapons, as they provide the necessary coverage to clear hordes before they can trap you.
When choosing weapons, prioritize synergy tags—such as "Primitive," "Ghost," or "Explosive." These tags provide flat bonuses to your stats, which are more impactful in the early game than percentage-based increases. As you move into the mid-game, look to upgrade these into higher-tier versions. A common mistake is holding onto a low-tier weapon simply because it has a high damage number; prioritize weapons with area-of-effect (AOE) capabilities or high projectile counts, as these are essential for crowd control when enemy density spikes in waves 10 through 20.
Balancing Defensive Stats and Mobility
Survival in Brotato:Premium is a game of damage mitigation. While it is tempting to dump all your points into Attack Speed or Damage, your run will inevitably end if your defensive stats do not scale with the enemy’s increasing health and damage output.
- Movement Speed: Aim for at least +10% to +15% by wave 10. This is your most important "defensive" stat, as it allows you to manipulate enemy pathing and escape tight corners.
- Dodge: Highly effective for classes that don't rely on armor. Aiming for the cap of 60% makes you significantly harder to hit, but it is a "feast or famine" stat—if you aren't committing to it, don't waste resources on it.
- Life Steal vs. Regeneration: Life Steal is superior if you have high attack speed or multi-hit weapons. Regeneration is better for slower, tankier builds. Never neglect these; you need a way to recover from "chip damage," which is inevitable in later waves.
Efficient Shop Management and Economy
The shop is where runs are won or lost. The most common error players make is over-rerolling. In the first five waves, you should rarely reroll; focus on buying items that increase your "Harvesting" stat. Harvesting provides an interest-based income at the end of each wave, which compounds significantly if invested in early.
When selecting items, always look at the trade-offs. An item that grants +10% Damage but -5% Speed might look attractive, but if you are already struggling to dodge, that speed penalty could be fatal. Prioritize items that offer permanent stat growth. If you are offered a choice between a damage-boosting item and a stat-neutral item that provides a utility effect (like more luck or projectile speed), consider your current build's primary bottleneck. If you are killing fast but dying faster, skip the damage.
Managing Wave Intensity and Positioning
The arena is not just a place to fight; it is a resource to be managed. As the timer counts down, the density of enemies increases. You should never stand still. Even if your build is tanky, standing in one spot allows enemies to surround you, cutting off your escape routes.
- The "L" Pattern: Move in large loops around the arena to keep enemies clumped together. This allows your AOE weapons to hit more targets simultaneously, maximizing your Life Steal efficiency.
- Material Collection: Do not be afraid to stop attacking for a second to collect dropped materials. These materials are your lifeblood; if you leave too many on the ground, you are actively sabotaging your future shop potential.
- Corner Management: Never walk into a corner. If you find yourself approaching the edge, use your movement speed to "kite" the enemies toward the center, then dash through the thinnest part of the wave to reset your position.
Adapting to Mid-Wave Difficulty Spikes
Around wave 11, the game introduces elite enemies and more complex projectile patterns. These waves require a shift in mindset from "farming" to "surviving." If you are struggling with a specific wave, pause and analyze your death.
Did you die because your damage wasn't high enough to kill the elite? Or did you die because you couldn't dodge the incoming bullet patterns? If it's the former, pivot your next shop trip toward pure damage stats. If it's the latter, prioritize movement speed and armor. Brotato:Premium rewards players who treat each run as a learning opportunity; by identifying which stat (Damage, Speed, or Sustainability) caused your failure, you can incrementally improve your build for the next attempt. Always remember: a build that is 80% effective at everything is significantly more dangerous than a build that is 100% effective at only one thing.

Free Brotato:Premium Codes
Current active codes and how to redeem them.

Sarah Williams
Sarah specializes in RPG and collection games, explaining team building, character growth, and beginner-friendly ways to avoid expensive early mistakes.
COMMUNITY
Player Comments
104 players commented on this guide.
I wish I had read this before upgrading the wrong thing.
This guide answered the exact question I had.
This saved me time in the early game.
The explanation is clear, especially for beginners.