
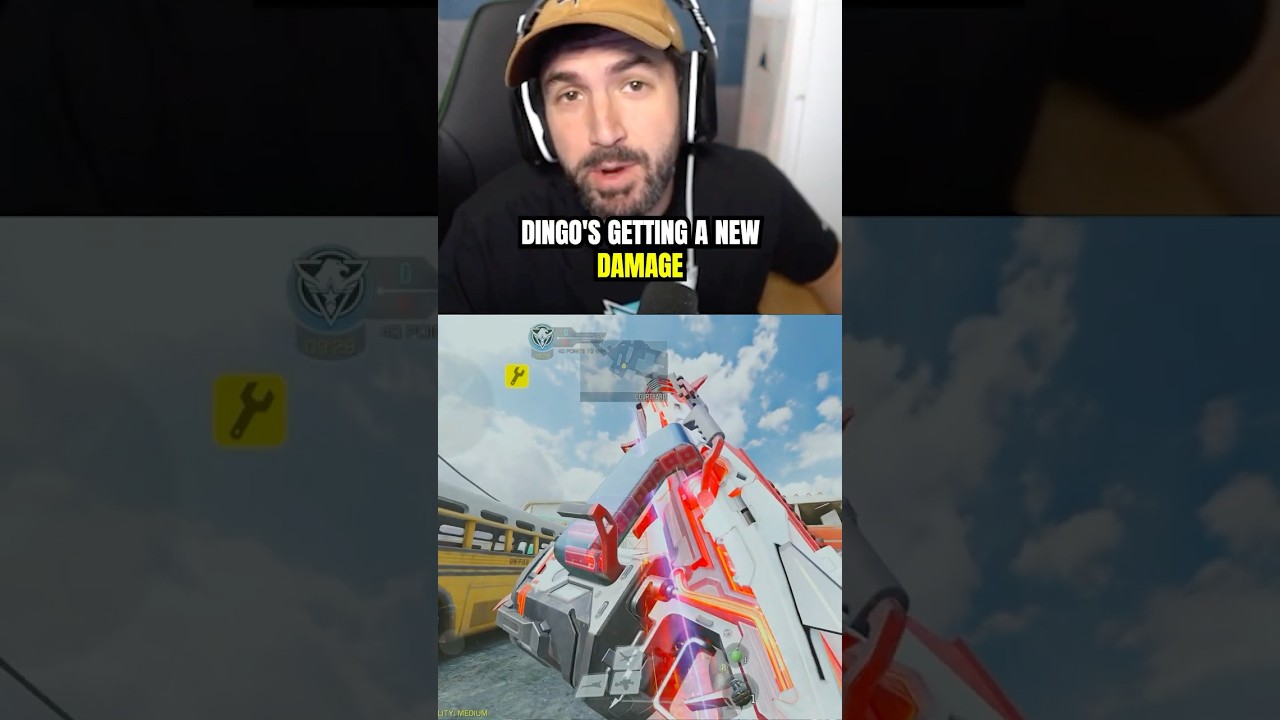
Call of Duty®: Mobile Season 6 introduces major tactical additions across Multiplayer and Battle Royale, including the mid-range Grau 5.56 assault rifle, the defensive Kinetic Station class, third-person executions, the naval map Armada Strike, and expanded Practice Range telemetry. To adapt immediately, adjust your custom HUD layout to isolate the execution button, build the Grau 5.56 for recoil stability at 15 to 35 meters, and deploy the Kinetic Station behind solid cover rather than in the open.
Tuning and Positioning with the Grau 5.56
The Grau 5.56 is engineered for mid-range precision, featuring a steady vertical recoil pattern and clean default iron sights.
- Attachment Priority: Equip the Tempus 26.4" Archangel barrel. This barrel offers exceptional iron sight clarity, allowing you to skip optic attachments and dedicate Gunsmith slots to sprint-to-fire speed, aim-down-sights (ADS) mobility, or expanded magazine capacity.
- Engagement Ranges: In Multiplayer, take fights between 15 and 35 meters to exploit its four-shot elimination profile. In Battle Royale, equip extended magazines to maintain sustained suppression against vehicle rotations and elevated positions.
- Close-Quarters Weakness: Inside 10 meters, high-fire-rate submachine guns like the Switchblade X9 achieve a faster theoretical time-to-kill. Counter this deficit by pre-aiming corners or equipping hip-fire laser attachments if playing as an aggressive point man.
Deploying and Countering the Kinetic Station Class
The Kinetic Station is a deployable Battle Royale class beacon that provides localized ballistic armor plating to the user and nearby squadmates, absorbing bullet fire before health is drained.
- Placement Strategy: Always place the station beacon behind indestructible obstacles such as low stone walls, boulders, or vehicle hulls. Direct gunfire can destroy the beacon prematurely, cutting off squad protection.
- Late-Game Defense: The station is most effective during late-game circle collapses when natural cover is sparse, allowing teams to reset armor mid-fight.
- Vulnerabilities and Counters: Kinetic Station armor only shields against standard bullet damage. It provides no defense against tactical explosives, EMP grenades, operator skills, or airstrikes. Squads clustered tightly around a beacon remain vulnerable to targeted cluster strikes.
Navigating Routes and Spawns on Armada Strike
Armada Strike features a multi-tiered naval vessel layout that separates close-quarters interior combat from long-range deck sightlines.
- Interior Control: Use submachine guns or shotguns to clear the narrow lower corridors and stairwells connecting the ship's compartments.
- Exterior Zip Line Danger: Avoid riding exterior zip lines without active smoke cover or dedicated sniper overwatch. Using a zip line locks your operative into a fixed trajectory where you cannot fire weapons or deploy equipment, leaving you defenseless against elevated marksmen.
- Upper Bridge Dominance: Take and hold the elevated bridge to command views over both capture points and secondary deck access ladders. This position serves as the primary anchor for controlling objective spawns in Hardpoint and Domination.
HUD Configuration and Execution Rules
Executions allow players to eliminate opponents with a guaranteed takedown that bypasses downed armor states in Battle Royale, but the mechanic locks your operative into a multi-second cinematic animation.
- Open your control settings and separate the execution button from standard reload, weapon swap, and hip-fire icons to prevent accidental triggers during close-range gunfights.
- Only initiate an execution when sneaking behind isolated snipers, stationary players holding head-glitches, or downed enemies in safe cover.
- If mini-map radar indicators show secondary enemies nearby, skip the execution prompt and eliminate the target with standard gunfire to retain full movement and defensive responsiveness.
Benchmarking Loadouts in the Upgraded Practice Range
The expanded Practice Range provides live damage-per-second (DPS) readouts, distance adjustment, and simulated health pools to test Gunsmith combinations before ranked matches.
- Set Distance Intervals: Test weapons at 10, 20, 30, and 40 meters to identify exact bullet damage falloff thresholds.
- Configure Armor Pools: Set target dummy hit points to 300 to match fully armored Battle Royale opponents and measure true shots-to-kill.
- Enable Movement Tracking: Turn on continuous horizontal sprint movement to evaluate recoil stability, bullet velocity, and lead requirements while tracking moving targets.
Season 6 Tactical Comparison
| Feature | Core Function | Optimal Tactical Use | Key Vulnerability |
|---|---|---|---|
| Grau 5.56 | Low-recoil assault rifle | Mid-range lane control (15–35m) | Slower TTK under 10m vs. SMGs |
| Kinetic Station | Deployable squad over-armor | Final-circle holds and armor resets | Vulnerable to EMPs, explosives, and airstrikes |
| Armada Strike | Multi-deck warship map | Interior corridor clearing and bridge holds | Exposed, non-defensible zip line transits |
| Execution System | Guaranteed takedown animation | Punishing flank targets and downed players | Complete immobility against third-party fire |
Free Call of Duty®: Mobile Codes
Current active codes and how to redeem them.

Sarah Williams
Sarah specializes in RPG and collection games, explaining team building, character growth, and beginner-friendly ways to avoid expensive early mistakes.
COMMUNITY
Player Comments
29 players commented on this guide.
Good guide for Call of Duty®: Mobile players. The strategy part was useful.
The explanation is clear, especially for beginners.
This guide answered the exact question I had.
This helped me understand strategy much better.