
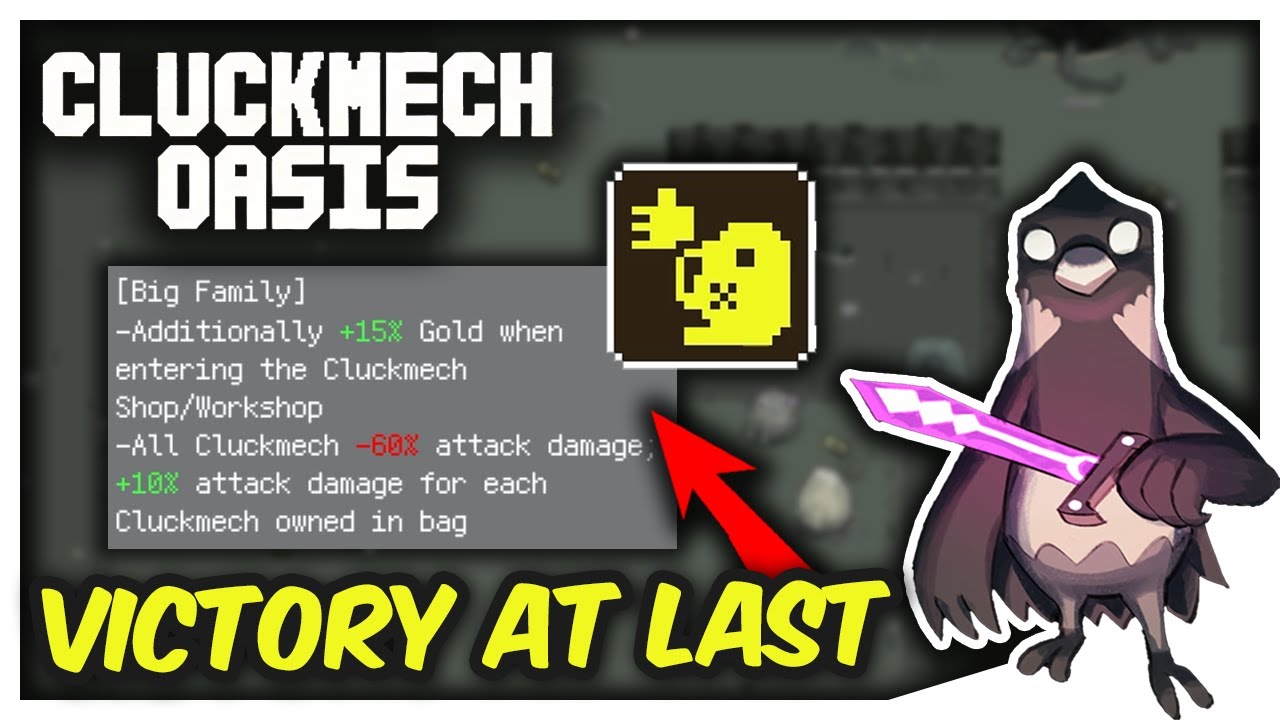
To conquer the final challenge in Cluckmech Oasis, you must pivot your mindset from balanced utility to absolute, concentrated damage output and precise, layered unit placement. This endgame stage is designed to overwhelm players with enemy density, punishing passive defensive setups and slow resource scaling. By mastering the specific interaction between high-tier area-of-effect (AoE) units and the map-specific pathing, you can break through the encounter’s difficulty spikes and secure your victory in this demanding, high-stakes tactical environment.
The Shift Toward High-Damage AoE Dominance
Success in the final stages of Cluckmech Oasis relies entirely on your ability to clear waves before they reach your mobile base. A common trap for intermediate players is investing in single-target units, which are quickly bypassed or overwhelmed by the sheer volume of plant enemies in the late game.
To succeed, prioritize units that provide persistent damage zones or wide-sweeping attacks. In Cluckmech Oasis, space is your most valuable resource; units that can hit multiple targets simultaneously effectively multiply the value of every tile they occupy.
- The Power Spike Strategy: Identify which of your units provides the highest "damage per tile." Invest your early-game resources into these specific units so they hit their final power spikes before the intensity peaks in the last wave.
- Scaling Efficiency: A few max-level units that cover the entire width of a lane will always outperform a disorganized collection of low-level, high-variety turrets.
Mastering Unit Positioning and Lane Control
Positioning in Cluckmech Oasis is not just about coverage; it is about managing the engagement duration. If your units kill enemies at the edge of the map, they are safe. If enemies reach your core, your defense has already failed.
- Frontline Distraction: Utilize low-cost, high-health "distraction" units to anchor enemy swarms in place. By forcing enemies to target these units, you create a stationary target for your high-damage AoE units.
- Symmetrical Coverage: Most final maps in Cluckmech Oasis feature multiple entry points. Divide your damage-dealing units into two distinct "killing squads" that cover the left and right approaches. Avoid clustering, as this exposes your core to flanking maneuvers.
- The Core Guard: Always reserve one slot near the mobile base for a high-rate-of-fire, single-target unit. This serves as your "fail-safe" to pick off any stray, high-speed enemies that survive your primary defensive gauntlet.
Strategic Resource Management and Spending
The final challenge provides a massive influx of resources, but it also features the game’s deadliest enemy compositions. Managing this currency effectively is the difference between a controlled victory and a sudden, catastrophic core breach.
- The Upgrade Buffer: Never spend every credit you earn. Keep a "reserve fund" of approximately 15-20% of your current income. This allows you to purchase an emergency unit or instant-upgrade mid-wave if an unexpected enemy surge breaks your frontline.
- Avoid Diversification: In the final challenge, your goal is to optimize what you already have. Avoid the temptation to build new, untested units when the timer is ticking toward the final boss. Instead, funnel every spare credit into upgrading your existing, high-performing units.
- Timing the Spikes: Pay close attention to the wave timer. If a massive difficulty spike is approaching, stop all non-essential upgrades ten seconds prior. This ensures you have the liquidity to respond to the surge immediately.
Adapting to Unpredictable Difficulty Spikes
The most challenging aspect of Cluckmech Oasis is the dynamic nature of enemy waves. A strategy that worked in the previous stage may be completely countered by the plant enemies in the final encounter. Flexibility is your greatest asset.
- Active Auditing: Constantly monitor which units are struggling to keep up with the kill count. If a unit's damage output is not matching the incoming wave density, do not hesitate to sell it. The resources recovered are often better spent on a different, more effective unit type.
- Identify Counter-Play: If your defense is falling to high-health "tank" plants, pivot your build toward armor-piercing or high-damage single-target options. If you are being overwhelmed by swarms, double down on wide-range AoE or status-effect units that slow enemy movement.
- The "Sell and Swap" Tactic: Experienced Cluckmech Oasis players often sell their early-game defensive perimeter once the final boss spawns, using those funds to build a high-density "kill zone" directly in front of the core. This is a high-risk, high-reward maneuver that can save a run when your original defensive setup starts to buckle under pressure.
Why This Strategy Works
The mechanics of Cluckmech Oasis heavily favor damage density over defensive depth. Because the mobile base is vulnerable and the enemy count scales exponentially, you are effectively racing against a clock. By focusing on AoE efficiency and maintaining a resource buffer, you mitigate the "luck" factor often associated with high-difficulty roguelikes.
Remember, the final challenge is not just a test of your base-building skills; it is a test of your ability to recognize when a tactical pivot is required. By staying calm, managing your liquidity, and prioritizing high-damage output, you can navigate the most unfair scenarios Cluckmech Oasis throws at you. Use these principles, keep your core protected, and you will eventually secure the win.

Free Cluckmech Oasis Codes
Current active codes and how to redeem them.

Emily Johnson
Emily writes practical mobile strategy guides with a focus on resource planning, base progression, and the early decisions that shape a long-term account.
COMMUNITY
Player Comments
71 players commented on this guide.
This saved me time in the early game.
The explanation is clear, especially for beginners.
Nice guide. I am checking the other Cluckmech Oasis articles next.
Good guide for Cluckmech Oasis players. The strategy part was useful.