
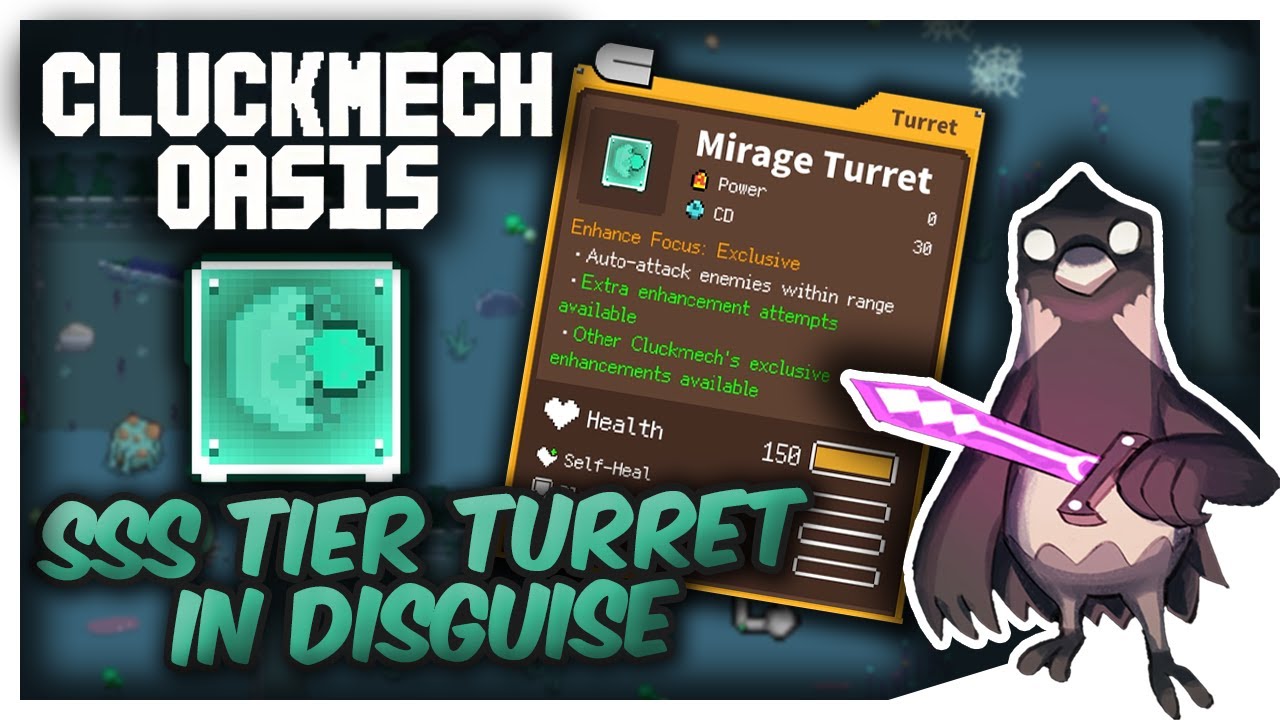
To dominate mid-to-late game encounters in Cluckmech Oasis, you must pivot your mobile base defense strategy toward the Cannon Turret. This heavy-hitting weapon offers a massive boost in raw damage output, allowing players to clear clustered enemy groups that would otherwise overwhelm standard defensive setups. By understanding its firing mechanics, projectile speed, and optimal placement requirements, you can effectively turn your mobile fortress into a powerhouse capable of handling high-density combat scenarios with consistent, lethal reliability.
Why the Cannon Turret Outclasses Standard Defenses
In Cluckmech Oasis, the progression curve shifts rapidly from managing small swarms to dealing with armored, high-health plant units. While early-game turrets provide consistent DPS, they often fail to penetrate the health pools of mid-game enemies, leading to "base clogging" where enemies reach your mobile unit faster than you can kill them.
The Cannon Turret serves as your primary "burst" solution. Unlike the rapid-fire turrets, the Cannon is designed for single-target deletion and area-of-effect (AoE) disruption. When a projectile impacts, it doesn't just deal damage; it generates a physical impact that staggers enemies. This knockback effect is vital for survival, as it resets the pathfinding of incoming mobs, giving your secondary defenses time to recover or your mobile base time to reposition. Choosing the Cannon is not just about damage—it is about dictating the tempo of the fight.
Strategic Placement and Mobility Tactics
Because the Cannon Turret features a slower fire rate and a pivot-based rotation speed, placement is the most critical factor for success.
- High-Visibility Mounts: Always prioritize mounting the Cannon on the top or most unobstructed side of your mobile base. If the turret is blocked by other structures, its rotation speed will be effectively halved, making it useless against flanking enemies.
- The "Kiting" Loop: Your mobile base is your greatest asset. With the Cannon mounted, do not stay static. Use your base to kite enemies into a line. By keeping the enemy at a medium distance, you allow the Cannon to focus on the lead units while the splash damage from the impact hits the trailing pack.
- Rotation Management: If an enemy manages to get into your "blind spot," do not wait for the Cannon to rotate. Move your base in a wide arc. The momentum of your movement often helps the Cannon’s targeting reticle track moving targets more accurately than the turret’s own internal motor.
Mastering the Mechanics: Lead and Recoil
The Cannon Turret is not a hitscan weapon; it fires a physical projectile that travels through the air. Many novice players struggle with the Cannon because they expect the damage to be instantaneous.
To become an expert, you must learn to "lead" your shots. When engaging fast-moving swamp or desert plant enemies, aim slightly ahead of their current trajectory. If you aim directly at the enemy, the projectile will land behind them by the time it reaches their coordinate. Furthermore, the Cannon has a significant recoil delay. After every shot, the turret enters a brief wind-down period. Use this downtime to check your energy levels or maneuver your base. If you time your shots correctly, you can weave movement and fire into a rhythmic dance that keeps your DPS high while staying mobile.
Synergizing Your Loadout for Efficiency
The Cannon Turret should never be your only defense. Its greatest weakness is its inability to deal with high-speed, low-health "trash mobs" that can swarm your base while the Cannon is busy reloading.
- Pair with Slowing Effects: Use ice-based towers or slowing ground traps to cluster enemies. When enemies are slowed, the Cannon's splash damage becomes exponentially more effective, as it can hit three or four enemies with a single high-caliber shell.
- Rapid-Fire Support: Always keep at least one light-caliber turret on your base. These act as your "trash clearers," handling the smaller units while your Cannon Turret focuses exclusively on high-priority, armored, or boss-tier threats.
- Energy Management: The Cannon draws significant power. Ensure your base upgrades include improved energy storage or faster recharge rates. If your power cuts out mid-volley, you lose your primary damage dealer and your main method of crowd control, which usually results in a base breach.
Common Mistakes to Avoid
Even veteran players often fall into these traps when building out their Cannon setups:
- Over-Investing Early: Do not rush to build a Cannon if your base mobility isn't upgraded yet. A powerful Cannon on a slow, clunky base is a recipe for disaster. Prioritize base maneuverability so you can actually utilize the Cannon’s line-of-sight requirements.
- Ignoring Ammunition Constraints: The Cannon is resource-intensive. If you find your ammo reserves dipping during the middle of a wave, you are likely firing too often at low-value targets. Conserve your shots for when the enemy density is at its peak.
- Neglecting Repairs: Because the Cannon is your most important defensive asset, enemies will naturally prioritize the side of the base it is mounted on. Keep your repair drones or passive health-regen items nearby. If your Cannon is destroyed, your DPS potential drops by over 60% in most builds, making the remainder of the wave a defensive nightmare.
By treating the Cannon Turret as a tactical tool rather than a "set and forget" weapon, you will find that the harder, late-game maps in Cluckmech Oasis become significantly more manageable. Focus on the synergy between your mobility, your secondary fire support, and the Cannon’s raw stopping power to achieve consistent victory.

Free Cluckmech Oasis Codes
Current active codes and how to redeem them.

Michael Smith
Michael covers live-service games, events, reward systems, and efficient daily routines, turning frequent updates into clear actions for players.
COMMUNITY
Player Comments
92 players commented on this guide.
Nice guide. I am checking the other Cluckmech Oasis articles next.
This helped me understand strategy much better.
The explanation is clear, especially for beginners.
Good guide for Cluckmech Oasis players. The strategy part was useful.