
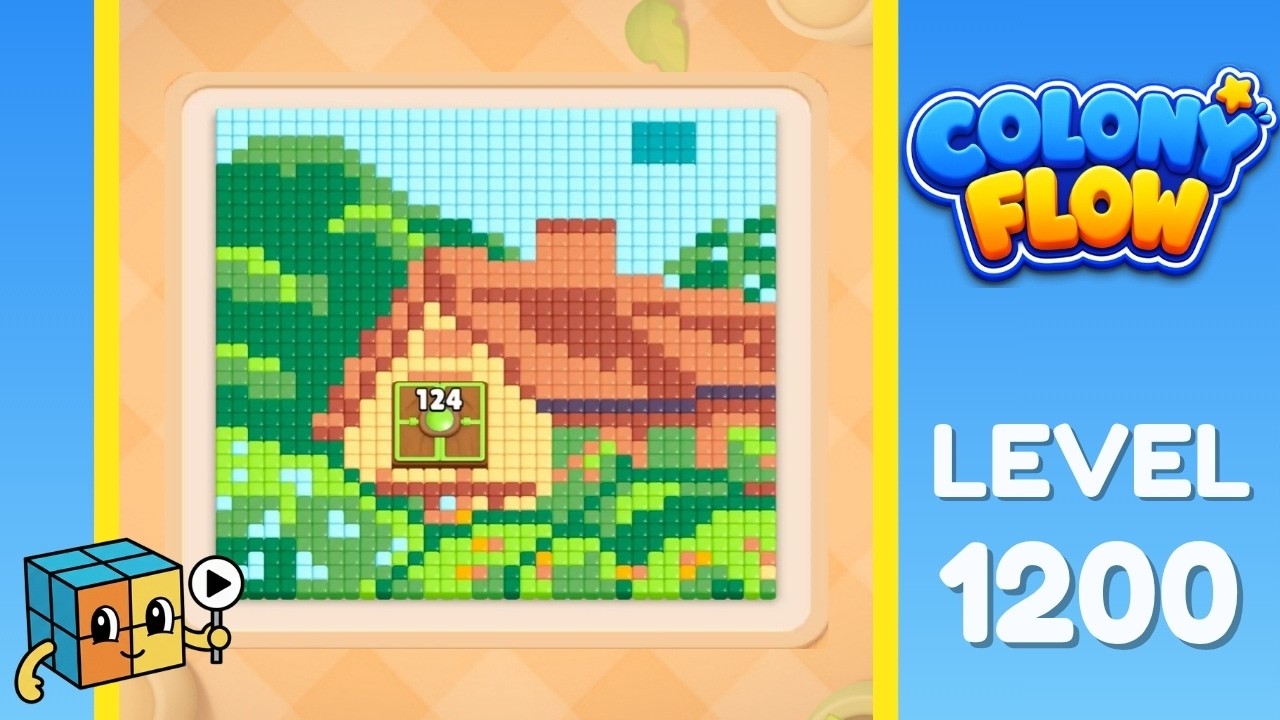
To beat Level 1200 in Colony Flow!, you must untangle the inward-pointing arrows at the center of the board before deploying units from congested feeder tracks. The primary objective is draining unobstructed exterior lanes first to create clearance, then routing intermediate streams to break the central junction lock. Managing your moves this way keeps the staging slots at the bottom of the screen empty and prevents an instant failure caused by stalled units.
| Board Area | Primary Hazard | Clearing Priority |
|---|---|---|
| Central Core | Inward-facing directional arrows that lock the junction | Dismantle exit obstructions before releasing intersecting lines |
| Outer Borders | Narrow single-lane feeders pointing toward crowded paths | Drain unobstructed lanes first to create bypass space |
| Color Depots | Shared crossings that cause cross-traffic blockages | Route complete matching streams sequentially |
Opening Move Order for the Central Bottleneck
Level 1200 sets its primary trap at the center of the grid, where two interlocking arrows point directly toward each other. Tapping peripheral units while these center pieces remain locked will divert traffic into dead ends and instantly crowd your staging buffer.
Follow this sequential order to open the board safely:
- Scan the outer edges to find the leading node with a direct, unobstructed line into its matching color nest.
- Tap the leading node to drain that perimeter lane completely.
- Identify the first locked interior arrow that was blocked by the tail of the drained perimeter line.
- Tap that unlocked inner arrow, routing its color stream through the cleared corridor to open the central junction.
Draining the board from the outside inward gives the inward-facing center arrows the physical room they need to clear without backing up.
Mid-Puzzle Traffic and Buffer Management
Once the central lock is broken, multiple high-volume color lines will compete for the same central highway. Because crossing paths share single intersection points, an active stream will halt any unit that tries to cut across it.
To keep traffic moving and avoid filling your limited staging slots, follow these operational rules:
- Commit full color lines: Release an entire color group only when its path to the matching nest is completely clear from start to finish.
- Treat intersections as single-occupancy zones: Never tap an arrow if another color stream is actively traveling across its projected path.
- Trace before tapping: Trace the path from the arrow head to the target nest with your finger to verify that no static obstacles remain on the route.
- Protect the staging buffer: Keep the holding slots at the bottom of the screen as empty as possible so an accidental delay does not end the run.
Late-Game Corner Clearance
After the center is clear, the remaining units will sit in dense clusters pinned against the corners of the grid. While the threat of a massive central traffic jam is gone, fewer alternate routes remain to absorb ordering mistakes.
Inspect the final clusters to identify which corner piece serves as the linchpin holding the adjacent color line in place. Tap the linchpin node to send its stream down the wide-open central highway into its nest. Once that lane is completely vacant, release the final corner stream to finish the board and reveal the completed pixel art image.

Free Colony Flow! Codes
Current active codes and how to redeem them.

Emily Johnson
Emily writes practical mobile strategy guides with a focus on resource planning, base progression, and the early decisions that shape a long-term account.
COMMUNITY
Player Comments
77 players commented on this guide.
Nice guide. I am checking the other Colony Flow! articles next.
I tried this today and it worked better than my old setup.
The explanation is clear, especially for beginners.
The tips are practical and easy to follow.