
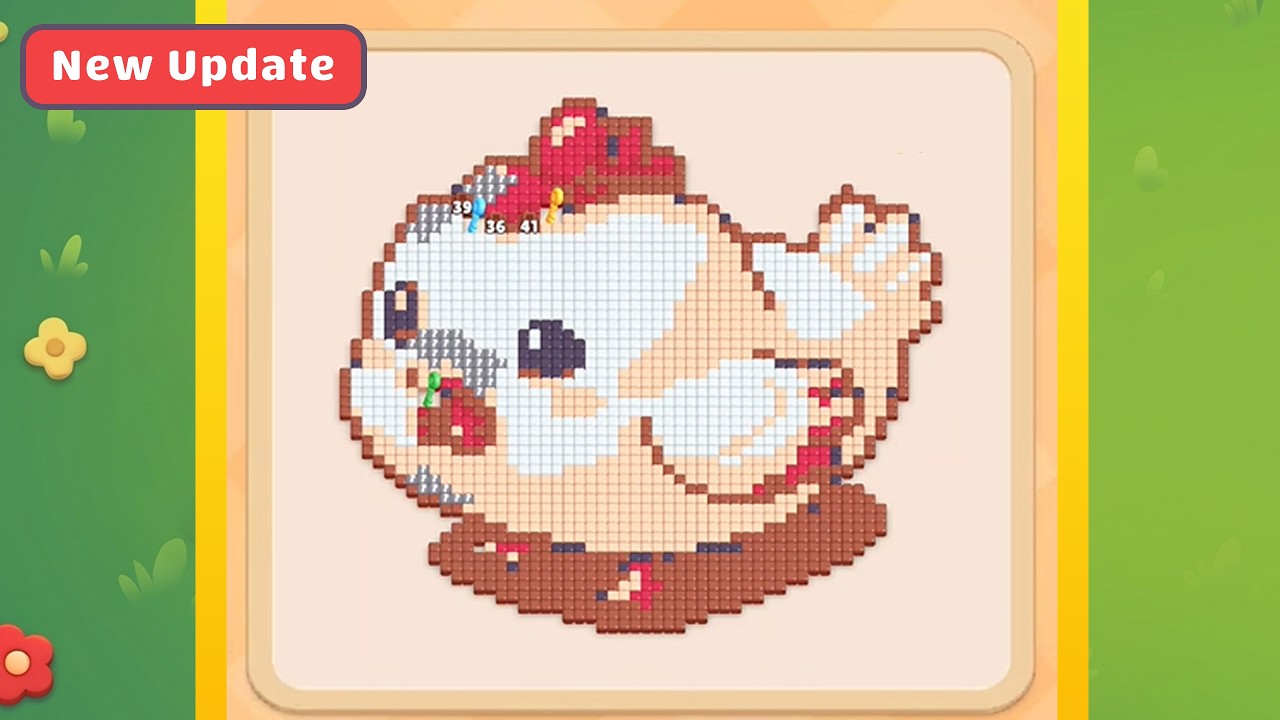
To clear Level 957 in Colony Flow!, release unblocked perimeter ants first to open lateral runways, then route interior ants toward the central roasted chicken while keeping at least two of your five holding dock slots empty. Level 957 fails most often when players send mismatched ants into the dock to unblock lanes, filling all five slots before clearing the active color layer on the chicken.
Step-by-Step Clearing Sequence
The central chicken objective is divided into color-coded sections that must be dismantled in layers. Because interior ants face multiple 90-degree intersections, tapping inward-facing units early creates immediate traffic jams. Follow this sequence to maintain open board flow:
- Clear Outer Border Ants: Tap the unblocked ants facing along the outer left and right edges. Because these ants run parallel to the grid borders rather than directly into the chicken, removing them clears bypass lanes without consuming center space.
- Remove Corner Keystone Units: Look for corner and connector ants that sit perpendicular to long interior lines. Clearing these keystone units unlocks multi-ant columns trapped behind them.
- Feed Exposed Chicken Colors: Check which color layer is currently exposed on the roasted chicken. Release ants matching that exact color along direct paths into the center.
- Rotate to the Next Exposed Layer: Once the active color segment is consumed, the underlying layer reveals a new color target. Repeat the process by finding matching interior ants that now have unobstructed routes.
Holding Dock Buffer Management
The bottom dock buffer has five total slots. When an ant cannot feed directly onto an exposed chicken segment, it moves into an open dock slot. If all five slots fill with mismatched ants, the run ends.
Use the dock capacity table below to govern when it is safe to tap path blockers:
| Occupied Dock Slots | Safe Action | Tactical Priority |
|---|---|---|
| 0 to 2 Slots | Tap blocking ants freely | Clear outer border tracks and expose interior columns. |
| 3 Slots | Controlled moves only | Tap an ant only if it immediately clears an exposed chicken layer. |
| 4 Slots | Direct match execution | Do not tap blockers; send only direct-matching ants to avoid failure. |
Never tap an ant into the fourth dock slot unless its matching partners on the board are already clear and ready to follow it immediately.
Breaking Mid-Stage Bottlenecks
When central feeding lanes become congested mid-puzzle, use reverse pathing rather than guessing from the outside in:
- Identify the target color: Look at the active segment on the central chicken.
- Locate matching ants on the board: Find the specific ants that can satisfy that color.
- Trace their path backward: Identify the exact cross-lane unit blocking the feeder ant's forward turn.
- Clear the obstruction: If you have two or fewer dock slots filled, tap the obstructing unit into the dock or down an open perimeter lane. This frees the feeder lane and allows several ants to march directly to the chicken in sequence.
Endgame Cleanup
Once the main meat of the chicken is dismantled and only the final bone fragments remain, the board opens up significantly. Take care during the final moves: verify that every remaining ant has a clear line to the final target before tapping, as an accidental misdirection into an occupied dock can still cause a late failure. Methodical perimeter-first clearing clears Level 957 cleanly without spending gold coins or boosters on undos or extra dock slots.

Free Colony Flow! Codes
Current active codes and how to redeem them.

Sarah Williams
Sarah specializes in RPG and collection games, explaining team building, character growth, and beginner-friendly ways to avoid expensive early mistakes.
COMMUNITY
Player Comments
60 players commented on this guide.
This saved me time in the early game.
The explanation is clear, especially for beginners.
Can you add more details about strategy in a future update?
I tried this today and it worked better than my old setup.