
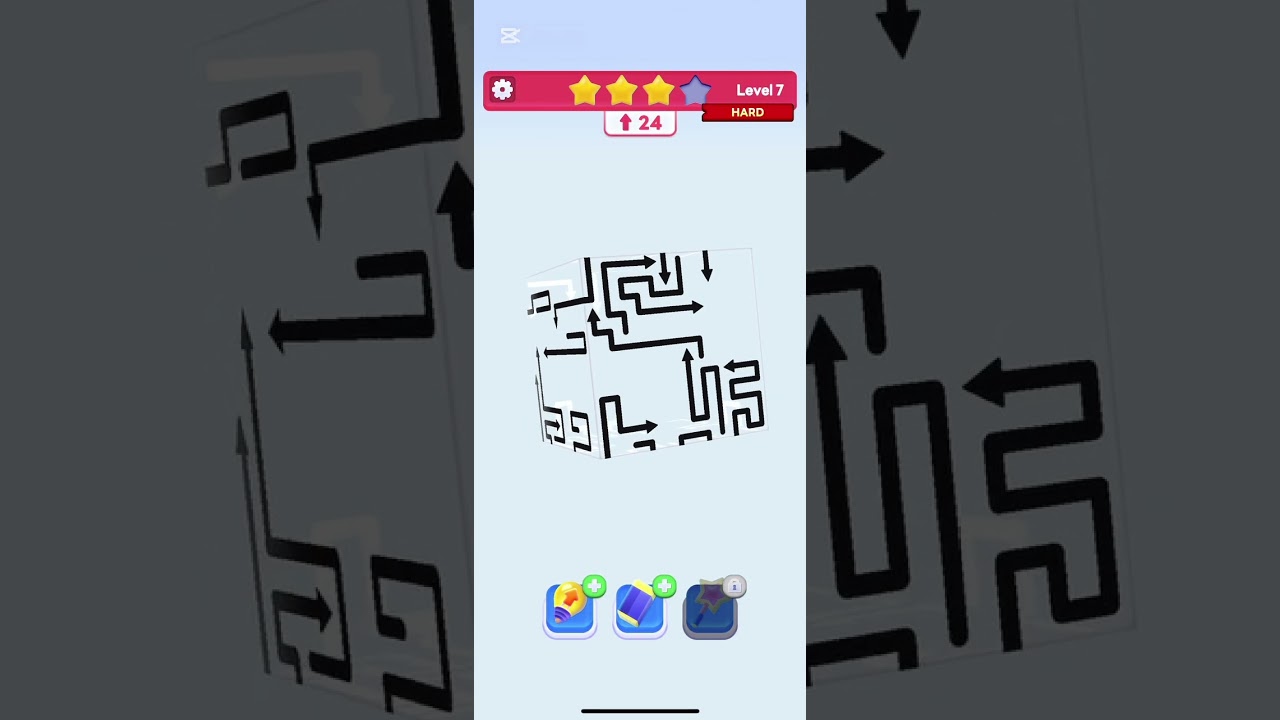
Level 7 of CubeAway represents a significant spike in complexity, acting as a "skill check" for players who have become accustomed to the simpler, linear puzzles of the early game. At this stage, the game transitions from basic clearing to advanced spatial reasoning. You are no longer just looking for blocks that can move; you are managing a complex, multi-layered grid where your choices in the first thirty seconds dictate your ability to finish the level.
To solve Level 7, you must master the art of "peeling"—removing outer-layer blocks in a specific sequence to expose the central core—without trapping yourself in a dependency loop. This guide provides the tactical framework required to dismantle the cube structure systematically.
Understanding the Spatial Geometry of Level 7
In CubeAway, the primary constraint is the directional arrow on each block. In Level 7, the game introduces more densely packed clusters than previous levels. A block can only be removed if the path indicated by its arrow is entirely empty. If even one block sits in that line of fire, the cube is "locked."
The biggest mistake players make in Level 7 is tunnel vision. It is tempting to clear blocks as soon as they become available, but this often leads to "orphaning" essential blocks. An orphaned block is one that is technically clearable but, once removed, blocks the path of a more critical piece you need to move later.
Pro-Tip: Before touching any block, rotate the camera a full 360 degrees. Level 7 is designed with "hidden" faces—blocks that appear to be blocking a path but are actually positioned on a different plane. Understanding the depth of the 3D grid is the first step toward mastery.
The "Peel-Back" Strategy: Systematic Removal
The most reliable way to clear Level 7 is the "Peel-Back" method. Think of the cube structure like an onion. You must systematically remove the outermost layer to reduce the total surface area and increase your maneuverability.
- Identify the Perimeter: Start by scanning the edges of the structure. Look for blocks whose arrows point directly away from the center of the mass. These are your "low-hanging fruit."
- Establish a Directional Flow: Choose one primary direction (e.g., all blocks pointing "up" or "right") and clear those first. This creates a clear channel, reducing the density of the grid and making it easier to see the arrows on the interior blocks.
- Avoid Center-First Clearing: If you clear blocks from the middle of the stack, you create "holes" that can be awkward to navigate. By clearing the edges first, you maintain a consistent, predictable structure that keeps your options open.
Managing Arrow Dependencies and Bottlenecks
Level 7 introduces "dependency chains." These are sets of two or three blocks where removing one block is the only way to free the next. If you remove the wrong block in the chain, you will permanently lock the others, forcing a reset.
Identifying the Bottleneck
A bottleneck occurs when a block has an arrow pointing inward, toward the core of the puzzle. These blocks are often the "keys" to the level. If you see a cluster of blocks that seem impossible to move, locate the block that is currently obstructing their path.
- Ask yourself: "If I remove this block, will it open up a path for two other blocks, or will it just sit there?"
- The Rule of Two: Try to prioritize moves that clear paths for at least two other blocks. If a move only clears one block and potentially blocks another, it is a high-risk move that should be avoided until you have no other options.
Balancing the Stack: Height Reduction Techniques
As you reach the mid-game of Level 7, the height of the cube structure becomes your biggest enemy. A tall, jagged stack of blocks is much harder to navigate than a flat, uniform one.
- Top-Down Priority: Always try to remove blocks from the top layer. By keeping the top of the stack flat, you ensure that you don't accidentally create "chimneys"—tall, narrow gaps that hide blocks from view and prevent you from seeing which way their arrows are pointing.
- Side-to-Side Alternation: If the puzzle is leaning, clear blocks from the opposite side. This "balancing" acts as a form of insurance, ensuring that you don't end up with an unmovable wall on one side of the screen.
Troubleshooting Common Level 7 Failures
Even experienced players hit dead ends. When you find yourself unable to make a move, don't panic. Use this checklist to diagnose the issue:
- The "Hidden Path" Check: Rotate the camera again. Often, a block you think is blocked by another is actually sitting at a slightly different depth. Check the alignment of the arrows against the grid lines.
- Reverse Engineering: If you are truly stuck, look at the blocks that cannot be moved. Trace their arrow path backwards to the edge of the board. The block currently sitting in that path is the one you need to prioritize.
- The "Undo" Strategy: If your game version allows for an undo function, use it to step back three or four moves. In Level 7, the "point of failure" is usually just a few clicks before the move that created the final deadlock.
Expert Summary: Why This Approach Works
The reason the "Peel-Back" and "Top-Down" strategies are effective is that they minimize the number of variables on the screen. By clearing in an organized, layer-based fashion, you are essentially reducing the complexity of the puzzle as you play.
Remember, CubeAway is a game of logic, not reaction time. There is no timer penalty for taking your time to analyze the grid. By focusing on the relationship between the directional arrows and the surrounding cubes, you convert Level 7 from an overwhelming wall of blocks into a series of manageable, logical steps. Keep your moves intentional, maintain a balanced stack height, and always prioritize the removal of perimeter blocks to keep your path to victory clear.

Free CubeAway Codes
Current active codes and how to redeem them.

Michael Smith
Michael covers live-service games, events, reward systems, and efficient daily routines, turning frequent updates into clear actions for players.
COMMUNITY
Player Comments
149 players commented on this guide.
This guide answered the exact question I had.
The explanation is clear, especially for beginners.
I tried this today and it worked better than my old setup.
The tips are practical and easy to follow.