
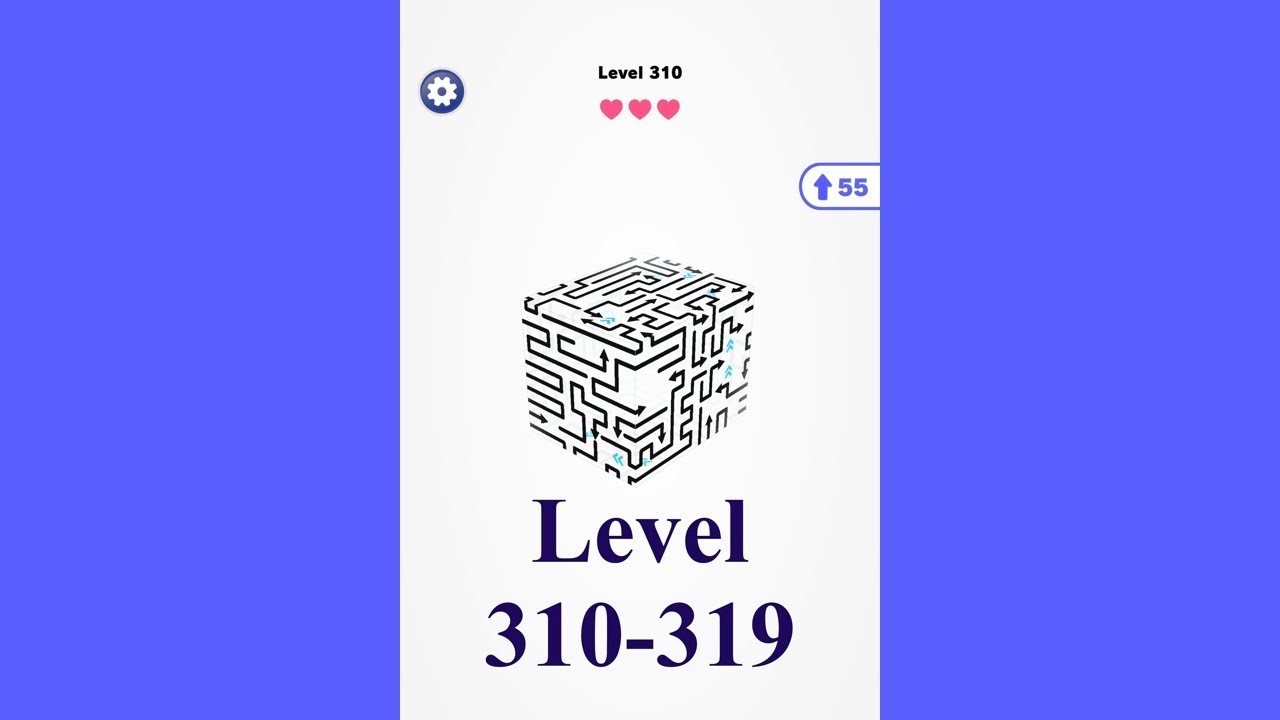
Mastering CubeAway levels 310 through 319 represents a significant difficulty spike that separates casual players from tactical experts. At this stage of the game, the density of directional cubes increases significantly, forcing you to move away from reactive tapping and toward proactive, long-term spatial management. In these levels, your move count is the most precious resource; wasting a single tap on an isolated block can be the difference between a victory and a level restart.
To conquer these stages, you must prioritize moves that clear multiple lanes simultaneously and learn to identify the "trigger" blocks that initiate cascading reactions. This guide provides the tactical framework necessary to navigate these complex configurations and clear the board with precision.
Understanding Arrow Cube Dynamics in Late-Game Stages
The primary hurdle in CubeAway levels 310–319 is the high frequency of stacked directional cubes. Unlike early levels where you can simply tap your way through, these later stages demand that you identify "chain-reaction" points. These are specific cubes that, when cleared, trigger a directional pulse—or create a physical path—that eliminates a row or column of secondary cubes.
Failing to identify these focal points leads to inefficient board space usage, which often traps you with isolated, unmovable blocks. When assessing the board, look for the "dominant orientation." If a section of the grid is heavily weighted toward horizontal or vertical arrow blocks, you must prioritize clearing the perpendicular blocks first. This clears the "lanes" needed for your dominant arrows to fire across the board without being obstructed by mismatched blocks. This "lane-clearing" approach minimizes the total number of moves required, which is critical as the level constraints become progressively tighter.
Prioritizing Multi-Directional Chain Reactions
To consistently clear these levels, you must learn to identify the primary "trigger" blocks that initiate a cascade. A cascade occurs when an arrow block clears its path, causing other blocks in its trajectory to shift or be eliminated. Look for clusters where the arrows are pointing inward toward each other; clearing these first often clears the most space for the least amount of move expenditure.
The Trigger-First Methodology:
- Identify the Trigger: Locate the arrow block that has the longest clear line of sight. This is your primary engine for clearing space.
- Clear Obstacles: Before firing your trigger, remove any single, non-directional blocks that are currently blocking your primary arrow's path.
- Sequence the Taps: Always activate the longest-reaching arrow blocks before cleaning up smaller, isolated cubes. This strategy ensures that you don't waste moves on blocks that might be cleared automatically by a larger chain reaction.
Managing Grid Constraints and Block Density
Levels 310–319 frequently feature increased block density that limits your ability to move pieces freely. You should treat the board as a set of distinct quadrants. If you attempt to clear the board randomly, you will likely end up with an uneven distribution of blocks that prevents larger combos.
Focus on one quadrant at a time, specifically targeting the perimeter blocks to open up the center of the grid for more complex maneuvers. If you find yourself stuck, re-evaluate the corners. The corners in these levels often hold the "anchor" cubes—blocks that prevent entire rows or columns from shifting. By clearing the corners early, you maximize the mobility of the remaining blocks, which is essential for surviving the higher-indexed levels where move counts are strictly limited.
Strategy for High-Difficulty Level Sequencing
When you reach levels like 318 or 319, the game introduces complex patterns designed to bait you into wasting moves. Do not fall for the temptation to clear every single block you see immediately. Instead, count the moves required to trigger a full row clear. If a move doesn't contribute to a chain reaction that removes at least three blocks, it is often better to look for a different starting point.
- Avoid Isolated Taps: Never tap a block that doesn't trigger at least one other removal unless it is the only way to clear a path for a larger combo.
- Predict the Shift: After a clear, visualize how the remaining blocks will fall. In CubeAway levels 310+, the physics of the falling blocks can either help you or block your progress. Always account for the gravity shift before committing to a tap.
- The "Dead Zone" Reset: If your current move leaves a "dead zone" (an area with no available connections), stop and look for a move in a different part of the grid to shift the board's gravity. A small shift in a different quadrant can often reset the orientation of the blocks in your "dead zone."
Efficiency and Move Conservation
The ultimate limitation in CubeAway levels 310–319 is your move count. Every move counts, and the game rewards those who use the fewest taps to clear the screen. To improve your efficiency, prioritize the "back-to-front" clearing method: clear the blocks furthest from the center of the board first. This creates a buffer zone, allowing you to manipulate the remaining center blocks with more precision as the board clears.
Final Phase Tactics:
If you reach the final few blocks and have only one or two moves left, ignore the layout and focus exclusively on the remaining arrow directions. Many players fail at this stage because they are still trying to maintain a "clean" board rather than focusing on the specific blocks required to finish the objective. By focusing solely on the win condition, you can bypass the need for perfect board management and secure the victory.
Why This Strategy Works
The logic behind this approach is rooted in the mathematical nature of CubeAway. Because the game is a spatial puzzle, the board state is a closed system. Every time you clear an arrow, you change the total number of possible future moves. By prioritizing chain reactions and clearing perimeter anchors, you are essentially increasing the "connectivity" of the board.
High-level play in CubeAway is not about clearing blocks; it is about managing the potential for future blocks to be cleared. If you follow this methodology, you will find that levels 310–319 become far more manageable, turning from frustrating obstacles into satisfying tactical exercises. Remember: look at the board in terms of lines of sight and potential movement, not just individual blocks. Once you master this shift in perspective, you will find yourself clearing the most difficult stages in the game with moves to spare.
Free CubeAway Codes
Current active codes and how to redeem them.

Emily Johnson
Emily writes practical mobile strategy guides with a focus on resource planning, base progression, and the early decisions that shape a long-term account.
COMMUNITY
Player Comments
28 players commented on this guide.
I wish I had read this before upgrading the wrong thing.
I tried this today and it worked better than my old setup.
This saved me time in the early game.
This guide answered the exact question I had.