
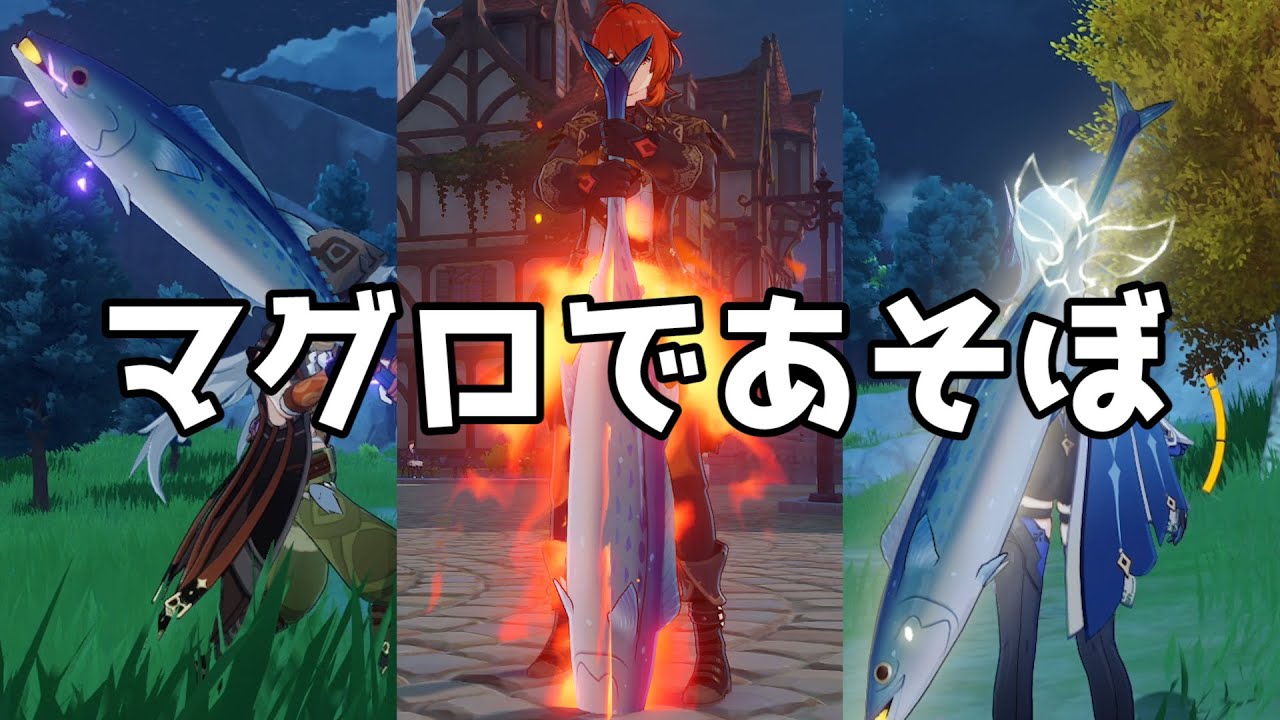
In the tactical landscape of Dawn's Edge, the Luxurious Sea-Lord—affectionately dubbed the "Tuna Greatsword"—stands out as one of the most distinct pieces of equipment in the game. While it may appear to be a comedic novelty item at first glance, understanding its specific mechanical profile allows players to extract surprising value from it in both exploration and specialized combat scenarios. This guide provides an authoritative breakdown of how the Tuna Greatsword functions, which characters can leverage its passive effectively, and why you should approach it as a niche utility tool rather than a primary endgame weapon.
Understanding the "Oceanic Victory" Mechanic
The power of the Luxurious Sea-Lord lies entirely within its unique passive, "Oceanic Victory." Unlike standard weapons that provide passive buffs to Attack or Critical stats, the Sea-Lord is designed to act as a burst-damage catalyst. When your character activates their Elemental Burst, the weapon summons a massive, surging wave that deals AoE damage in a wide radius.
Key Mechanical Considerations:
- Burst-Centric Scaling: The passive damage scales based on your refinement level. Because the effect triggers specifically upon Burst activation, the weapon is strictly tuned for characters with low-cost or high-frequency Elemental Bursts.
- The Cooldown Factor: The wave effect has an internal cooldown. This means you cannot "spam" the wave damage during extended rotations. It is an "opener" or "finisher" ability meant to supplement your character's base kit, not replace their core damage output.
- Stat Distribution: Because the weapon provides an Attack percentage substat, it is relatively forgiving to build. However, it lacks the Critical Rate or Critical Damage substats found on top-tier gacha weapons, meaning your artifact sets must work twice as hard to compensate if you aim for competitive damage numbers.
Optimal Character Synergies
Not all greatsword users in Dawn's Edge can effectively channel the power of the Sea-Lord. The most effective users are those who possess "Snap-shotting" Bursts or those whose kits benefit from additional AoE clear speed.
1. Razor: The Electrified Tuna
At C6, Razor gains significant bonuses that allow him to integrate the Sea-Lord’s wave into his physical damage rotations. The Tuna Greatsword effectively acts as an "AoE bomb" for Razor, who often struggles with crowd control against larger groups of enemies. Using the weapon’s passive to soften up mobs before engaging in his sustained physical attack string is a highly efficient way to manage groups.
2. Chongyun: The Frozen Fin
Chongyun is perhaps the most thematic user of the weapon. By utilizing his Elemental Skill to imbue his attacks with Cryo, he turns the Sea-Lord into an icy juggernaut. Because Chongyun’s Elemental Burst consists of multiple rapidly hitting blades, the addition of the Sea-Lord’s wave provides a massive spike in burst damage, making it a fantastic choice for "Quick-Swap" team compositions where Chongyun enters the field only to drop his abilities and rotate out.
Strategic Trade-offs and Limitations
To use the Luxurious Sea-Lord effectively, one must recognize the reality of its place in the Dawn's Edge meta. It is not an endgame "stat-stick."
- Refinement Constraints: As an event-exclusive weapon, its power is capped by the number of refinement materials you acquired during its release window. If you do not have it at Refinement Rank 5 (R5), its damage contribution is significantly lower than standard craftable weapons that can be refined over time.
- The "Stat Gap": In high-level content where DPS checks are tight, the lack of a Critical stat is a massive disadvantage. You will find that while the wave damage is impressive to look at, the total team DPS might drop when compared to using a weapon that boosts your Critical Damage.
- Resource Management: Do not prioritize leveling this weapon over your primary carry’s weapon. The materials required to bring a weapon to Level 90 are significant; invest them here only after you have a stable, reliable weapon for your main damage dealer.
When to Deploy the Tuna Greatsword
The Luxurious Sea-Lord excels in content where "fun-factor" and efficiency in low-stakes environments intersect.
- Overworld Daily Commissions: When clearing daily tasks, the aesthetic satisfaction of the wave effect—combined with its decent AoE—makes it the best weapon for speed-clearing groups of weaker enemies.
- Co-op Social Play: There is no greater conversation starter in Dawn's Edge co-op than a giant, flopping tuna. It signals that you are a veteran player who appreciates the game's lighter side while still having enough stats to contribute to the fight.
- Thematic "Meme" Builds: If you are building a character specifically for a showcase or a restricted challenge run, the Sea-Lord provides a unique visual identity that no other weapon in the game can replicate.
Final Recommendations for Progression
Treat the Luxurious Sea-Lord as a "Project Weapon." It is a tool for the player who has already conquered the most difficult challenges in Dawn's Edge and is now looking to optimize their daily experience and experiment with off-meta playstyles.
- Prioritize Meta First: Ensure your primary DPS characters are equipped with high-scaling, crit-focused weapons.
- Artifact Matching: If you choose to use the Sea-Lord, pair it with artifact sets that offer strong Attack and Elemental Burst damage bonuses to maximize the wave's impact.
- Rotation Integration: Do not use the weapon to replace your normal attack sequence. Use it as a tactical "nuke" at the start of your rotation to break shields or clear fodder enemies, then swap to your main DPS for consistent damage.
By respecting the limitations of the Luxurious Sea-Lord while leaning into its unique burst-damage profile, you can turn a novelty item into a surprisingly effective and visually unforgettable part of your Dawn's Edge arsenal.

Free Dawn's Edge Codes
Current active codes and how to redeem them.

Michael Smith
Michael covers live-service games, events, reward systems, and efficient daily routines, turning frequent updates into clear actions for players.
COMMUNITY
Player Comments
102 players commented on this guide.
This saved me time in the early game.
This helped me understand strategy much better.
I wish I had read this before upgrading the wrong thing.
This guide answered the exact question I had.