
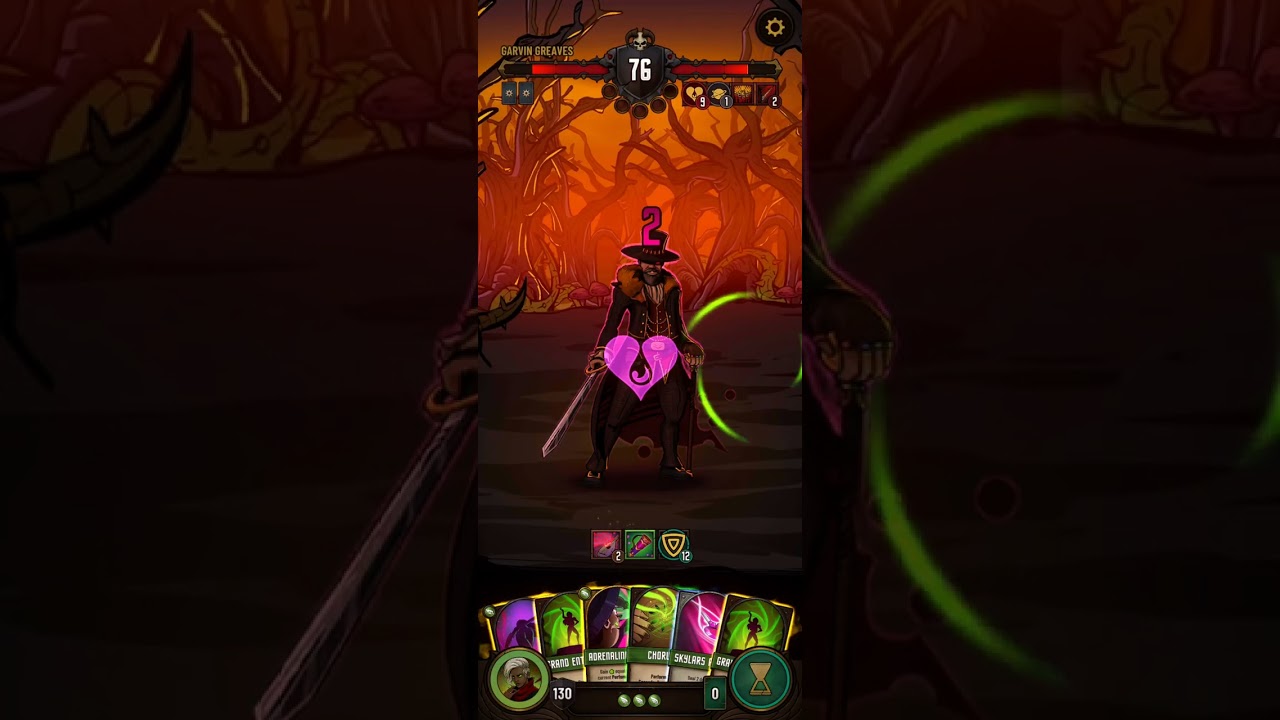
To beat Garvin on Hard difficulty in Dawncaster: Deckbuilding RPG, abandon defensive attrition and burst his health pool down within three to four turns using an aggressive build centered on the Exposed debuff. Stalling against Garvin leads to defeat because his Bleed scaling and multi-hit attacks quickly overwhelm traditional Armor generation.
Garvin’s Hard Difficulty Threat Profile
On Hard difficulty, Garvin features an expanded health pool and elevated offensive stats. His attack pattern stacks rapid Bleed debuffs while delivering multi-hit dueling strikes that chip through basic Armor.
Attempting to turtle behind shields allows Garvin’s Bleed stacks to compound each round. By turn four, even minor secondary hits inflict lethal damage spikes. Winning consistently requires eliminating defensive bloat from your deck so you can cycle damage-multiplying attacks and end the encounter before his debuffs scale out of control.
Using Exposed for Rapid Burst Damage
The Exhibitionist strategy relies on proactive damage amplification via the Exposed status effect. When Garvin is afflicted with Exposed, incoming attack damage increases substantially, enabling mid-tier strikes to deal finisher-level numbers.
Instead of spending energy on temporary shields that Garvin’s multi-hit strikes bypass, channel every resource into damage chains:
- Apply Exposed first: Open attack chains with zero-cost or low-cost primer cards that trigger Exposed.
- Follow with heavy attacks: Play multi-hit or heavy physical attacks immediately after the debuff lands to capitalize on the multiplier.
- Maintain momentum: Avoid drafting situational defensive cards that dilute your offensive draws.
Turn-by-Turn Combat Sequence
Execute a disciplined three-phase sequence to take down Garvin before his offensive ramp peaks:
- Round 1 (Debuff Priming): Check Garvin’s intent and filter your hand. Play low-cost primers to inflict Exposed before spending high-cost energy. Avoid spending energy on basic armor cards unless they provide card draw.
- Round 2 (Damage Multiplication): Exploit the active Exposed status with your main damage chain. If Garvin queues an exceptionally heavy attack, use targeted disruption or evasive skills rather than static shields. Sequence card draw first to pull your heaviest physical finishers while the multiplier remains active.
- Rounds 3 and 4 (Lethal Execution): Reapply Exposed if it expired, then spend all remaining energy on direct damage. Calculate your damage threshold before ending the turn to ensure complete elimination and prevent surviving counter-attacks.
Deck Thinning and Resource Optimization
Keep your deck trimmed to roughly 10 to 12 cards so that Exposed enablers and primary attacks appear reliably every turn. A bloated deck creates dead draws where you draw either primers without payoff cards or heavy attacks without debuff support.
Prioritize campfires and merchant stops through Canto III to purge basic starter cards and low-impact defenses. Integrate neutral cantrips and free cycling cards to keep your hand full and feed your attack loops without draining energy.
| Build Aspect | Fast-Burst Exposed Build | Traditional Attrition Build |
|---|---|---|
| Primary Win Condition | Stacking Exposed for rapid burst | Stacking Armor and surviving Bleed |
| Target Encounter Length | 2 to 4 turns | 6 to 9 turns |
| Deck Size Target | 10–12 cards (trimmed) | 16–22 cards (diverse utility) |
| Vulnerability to Bleed | Negligible (Garvin dies early) | High (extended combat ramps Bleed ticks) |
| Energy Allocation | 80%+ offensive primers and strikes | 50%+ defensive shields and cleanses |
Matchup Pitfalls
The primary failure point on Hard difficulty is attacking without an active multiplier. Forcing raw physical damage when an opening draw misses an Exposed enabler wastes energy and leaves your hero vulnerable to Garvin's counter-attack.
If you draw an awkward opening hand, prioritize card cycling and draw effects to dig for your combo pieces. Save temporary evasion or control effects to neutralize Garvin’s strongest turn-two swings, then unleash your full attack chain once the debuff is applied.

Free Dawncaster: Deckbuilding RPG Codes
Current active codes and how to redeem them.

Emily Johnson
Emily writes practical mobile strategy guides with a focus on resource planning, base progression, and the early decisions that shape a long-term account.
COMMUNITY
Player Comments
38 players commented on this guide.
This helped me understand base building much better.
I tried this today and it worked better than my old setup.
This saved me time in the early game.
The explanation is clear, especially for beginners.