
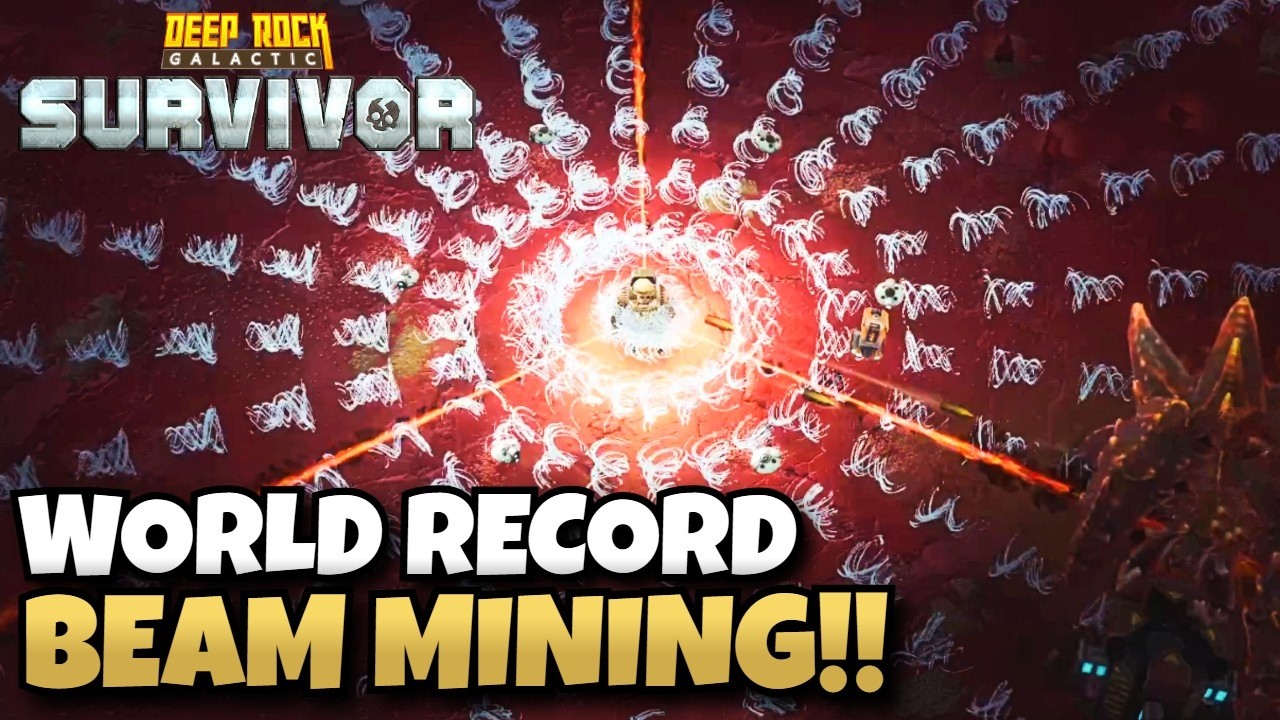
In Deep Rock Galactic: Survivor, the "Infinite Beam" build is the pinnacle of crowd control and sustained DPS. By exploiting the synergy between specific artifacts and reload mechanics, you can transform standard weaponry into a relentless, screen-clearing laser show that never stops. This build effectively bypasses the traditional downtime of auto-shooters, allowing you to melt waves of glyphids before they even enter your personal space.
Understanding the Infinite Beam Mechanic
The "Infinite Beam" isn't a single weapon, but a state of play achieved by reducing your weapon's reload cycle to near-zero duration. In Deep Rock Galactic: Survivor, every weapon has a fixed firing duration followed by a reload period. By aggressively stacking reload speed, you reach a "breakpoint" where the reload animation completes almost instantaneously.
When you combine this with weapons that possess the "Beam" tag or high-frequency cycling, you create a constant stream of damage. This build is particularly powerful because it allows for "kiting" behavior—you can move constantly while your beam remains active, ensuring that your damage output is never tied to standing still, unlike many other high-DPS builds.
The Core Synergy: The Leadburster Artifact
The Leadburster artifact is the engine of this build. Its function—triggering a massive burst of damage upon reloading—is traditionally seen as a bonus, but for this build, it is your primary source of area-of-effect (AOE) damage.
- Why it works: Every time your beam "reloads," the Leadburster fires. By minimizing your reload time, you increase the frequency of these explosive bursts.
- The Strategy: Treat the Leadburster as your primary weapon. Because the burst damage scales with your other modifiers, you are essentially firing a shotgun blast of lead every time your beam flickers.
- Acquisition: If the Leadburster does not appear in your early supply drops, do not hesitate to use your rerolls. This build is significantly weaker without it. Prioritize it over almost any other Epic or Legendary artifact in the early game.
Prioritizing Reload Speed Upgrades
Reload speed is the most vital statistic for this loadout. While it is tempting to pick up raw damage (Base Damage) or fire rate, those stats do not change the fundamental rhythm of your weapon.
- Prioritize Blue/Purple Rarity: Always pick a reload speed upgrade if it is of higher rarity than your other options.
- The Math of Uptime: A 20% reload speed increase is worth more than a 20% damage increase because it increases your "uptime" (the percentage of time your weapon is actively dealing damage).
- Consistency: Aim for a total reload speed reduction that brings your downtime to under 0.5 seconds. At this point, the game's internal animations will struggle to keep up, and you will effectively have a permanent beam on the screen.
Scaling Damage and Critical Hits
Once you have achieved your desired reload speed, the build moves into its "Scaling Phase." Because your beam is always firing, you want to ensure each individual tick of damage is as lethal as possible.
- Critical Hit Chance: Since beams fire many times per second, you have a massive number of "checks" for critical hits. Even a moderate investment in Crit Chance will result in a massive, reliable DPS increase.
- Beam Width and Length: When these upgrades appear, take them. Width helps with screen coverage, allowing you to hit more enemies in a single sweep, while length helps you keep bugs at bay.
- Status Effects: If you are using the Cryo Beam or similar elemental weapons, prioritize "Elemental Damage" or "Crit Damage" to ensure that your frozen targets shatter immediately.
Strategic Positioning and Movement
The Infinite Beam build is inherently mobile, but it requires specific movement patterns to be truly effective. Because your beam is constant, you do not need to "aim" in the traditional sense; you need to "sweep."
- Circular Kiting: Run in wide circles around the edge of the map. This forces enemies to clump up as they pursue you, creating a "kill zone" where your beam sweeps through the entire pack simultaneously.
- Tunneling: In tight caves, position yourself at the entrance of a narrow corridor. Since your beam is constant, the enemies will be forced to walk into your "death zone" one by one.
- Avoid Cornering: The greatest weakness of this build is being surrounded. If you get pinned against a wall, your beam will only hit the enemies directly in front of you, leaving your back exposed. If you find yourself in this situation, use your dash ability immediately to reposition into the open.
Common Mistakes to Avoid
Even with an optimized build, players often fail by making these tactical errors:
- Ignoring Health/Armor: You are not invincible. Because you are hyper-focused on reload speed and damage, you may neglect defensive stats. Ensure you pick up at least two or three "Max Health" or "Armor" upgrades throughout the run to survive the occasional hit from a Bulk Detonator or Elite.
- Over-investing in Fire Rate: In Deep Rock Galactic: Survivor, fire rate can sometimes be a trap. If your weapon fires too fast but has a long reload, you are actually lowering your total Leadburster uptime. Focus on the reload first; the fire rate will naturally complement the build later.
- Forgetting Pickaxe Upgrades: Don't forget that you are a dwarf. If you get overwhelmed, use your pickaxe to mine through walls and create new paths. A great beam build is useless if you are trapped in a dead-end cave.
By mastering the reload rhythm and leaning heavily into the Leadburster synergy, you can turn any dwarf into a walking turret. Stay mobile, keep your reload speed high, and watch the swarms of Hoxxes crumble before your infinite fire.

Free Deep Rock Galactic: Survivor Codes
Current active codes and how to redeem them.

Michael Smith
Michael covers live-service games, events, reward systems, and efficient daily routines, turning frequent updates into clear actions for players.
COMMUNITY
Player Comments
118 players commented on this guide.
Nice guide. I am checking the other Deep Rock Galactic: Survivor articles next.
Can you add more details about strategy in a future update?
The tips are practical and easy to follow.
I tried this today and it worked better than my old setup.