
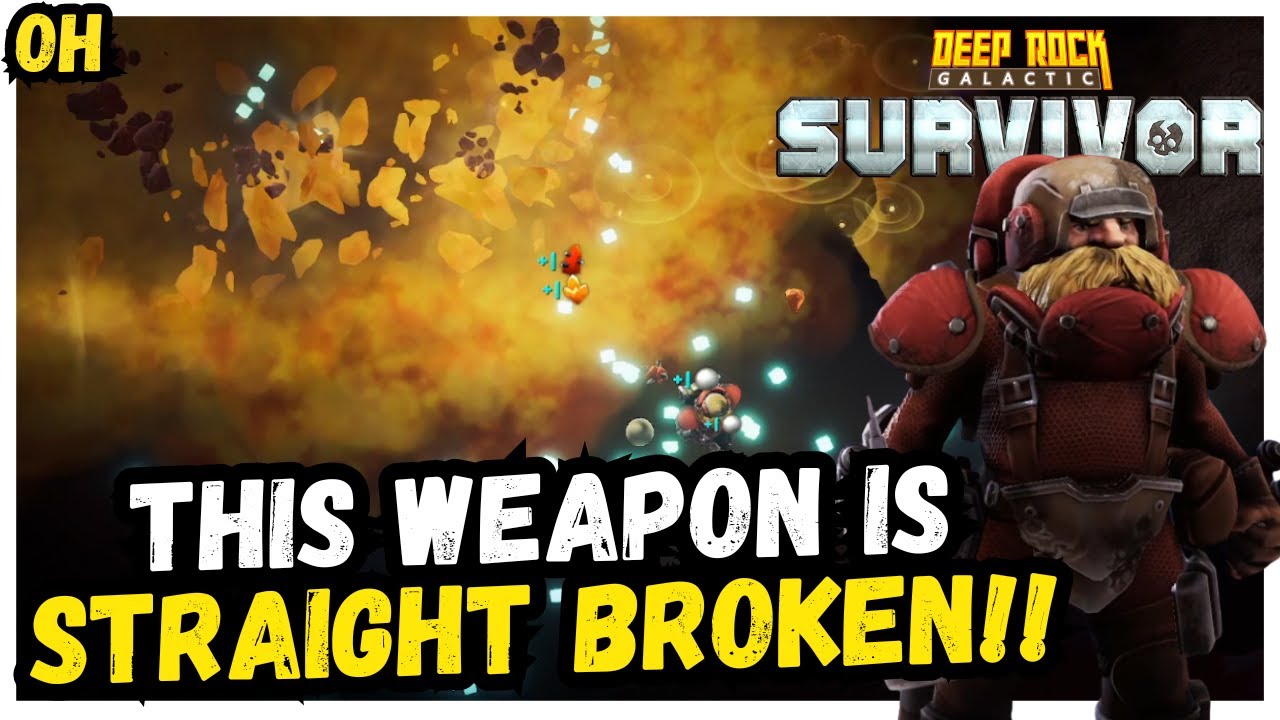
In the lethal caves of Hoxxes, the Cryo Cannon is currently the most powerful weapon choice for players struggling to manage the overwhelming enemy density of higher hazard levels. Unlike standard kinetic weapons that rely on chip damage, the Cryo Cannon fundamentally alters the game’s combat loop by neutralizing entire screens of enemies. By focusing on status effect application and the "Shatter" mechanic, you can turn a defensive utility tool into a high-damage, area-of-effect powerhouse that trivializes even the most intense swarms.
Mastering the Cryo Cannon’s Freezing Mechanic
The Cryo Cannon’s primary value is its ability to inflict the "Freeze" status. When an enemy is frozen, they are completely immobilized, effectively removing them from the board for a short duration. This is your most reliable defensive layer.
To maximize this, you must prioritize upgrades in the following order:
- Cold Damage: This directly dictates how quickly the freeze threshold is met.
- Freeze Duration: Extending how long an enemy stays frozen allows you to chain-react multiple clusters of enemies.
- Fire Rate / Reload Speed: The Cryo Cannon requires consistent uptime. Any gap in your spray allows bugs to reach your personal space.
In the mid-to-late game, you will face elite enemies with high health pools. By consistently applying cold damage, you can freeze these tanky threats, preventing them from charging or spitting projectiles while your other weapons focus them down.
Understanding the Shatter Synergy
The transition from a defensive tool to an offensive weapon happens the moment you prioritize "Shatter" mechanics. In Deep Rock Galactic: Survivor, frozen enemies take significantly increased damage from impact sources. When a frozen bug is hit by enough damage, it shatters, dealing burst damage to everything in a small radius.
This creates a "domino effect." By freezing a dense pack of Grunts and shattering the ones in the front, you trigger explosions that damage the ones behind them, often leading to a screen-wide clear. To capitalize on this:
- Prioritize Damage % Upgrades: Higher base damage makes it easier to hit the shatter threshold.
- Seek Critical Hit Chance: If you can land a critical hit on a frozen target, the resulting shatter damage is significantly amplified.
- Avoid Pure Projectile Speed: While speed is nice, the Cryo Cannon is a close-to-mid-range weapon. Focus on area-of-effect (AoE) and damage modifiers instead.
Essential Artifact Synergies
Artifacts are the backbone of a broken build. For the Cryo Cannon, you are looking for items that scale your weapon’s output without requiring you to stand still.
- The Pickaxe Magnet: By pulling in experience orbs, you can level up faster, ensuring you get those crucial weapon upgrades earlier in the run.
- Nitra-Based Artifacts: Since you are mining between waves, use your Nitra to buy damage-boosting artifacts in the shop. Look specifically for items that boost "Elemental Damage."
- Reload Speed Modifiers: Artifacts that reduce reload time are non-negotiable. The Cryo Cannon is at its most vulnerable when it is reloading, so minimizing this window is key to maintaining your "frozen circle" of safety.
- Movement Speed Artifacts: Because you need to kite enemies into your spray, any artifact that increases your movement speed allows you to better manipulate the swarm’s pathing.
Positioning: The "Kite and Freeze" Strategy
Even with the best build in Deep Rock Galactic: Survivor, poor positioning will lead to a failed run. The Cryo Cannon requires you to be proactive about your movement.
The Pull-In Technique: Do not run directly away from the swarm. Instead, run in wide circles or figure-eights. This forces the bugs to converge into a single, dense line trailing behind you. Once you have a significant mass, stop moving for a split second, turn, and unleash the Cryo spray. Because the enemies are tightly packed, the freezing effect will hit all of them simultaneously, and the subsequent shatter explosions will wipe the entire cluster.
Managing Elite Waves: When Elites or bosses appear, stop trying to clear the "trash" mobs. Focus your Cryo Cannon specifically on the Elite to keep them frozen. This allows your secondary weapons—which should ideally be high-damage, single-target weapons like the Deepcore GK2 or the Stubby SMG—to unload into the frozen boss without you having to dodge incoming attacks.
Common Mistakes to Avoid
- Neglecting Mining: Many players focus too much on combat and ignore mining gold and Nitra. Upgrades are expensive; if you aren't mining, you won't have the stats to make the Cryo Cannon effective in later stages.
- Ignoring Weapon Reach: If your Cryo Cannon has too short a range, you will be forced to stand too close to enemies, risking damage. Always look for "Weapon Range" or "Projectile Range" upgrades if you feel like you are getting hit too often.
- Diversifying Too Much: In Deep Rock Galactic: Survivor, it is better to have one "broken" weapon at level 18 than four average weapons at level 5. Once you pick the Cryo Cannon, commit all your rerolls and upgrade choices to it.
Conclusion: Why This Build Works
The Cryo Cannon build works because it addresses the core difficulty of Deep Rock Galactic: Survivor: the sheer volume of enemies. By controlling the battlefield rather than just reacting to it, you turn the game’s greatest challenge—the swarm—into your primary source of damage. Focus on keeping the spray consistent, mining efficiently for your upgrades, and maintaining a kiting pattern that keeps the bugs packed tightly. Master the freeze-shatter loop, and you will find yourself clearing Hazard 5 runs with ease.

Free Deep Rock Galactic: Survivor Codes
Current active codes and how to redeem them.

James Brown
James focuses on Android gaming on PC, emulator setup, controls, performance tuning, and practical troubleshooting for longer play sessions.
COMMUNITY
Player Comments
83 players commented on this guide.
Can you add more details about strategy in a future update?
This guide answered the exact question I had.
I tried this today and it worked better than my old setup.
The tips are practical and easy to follow.