
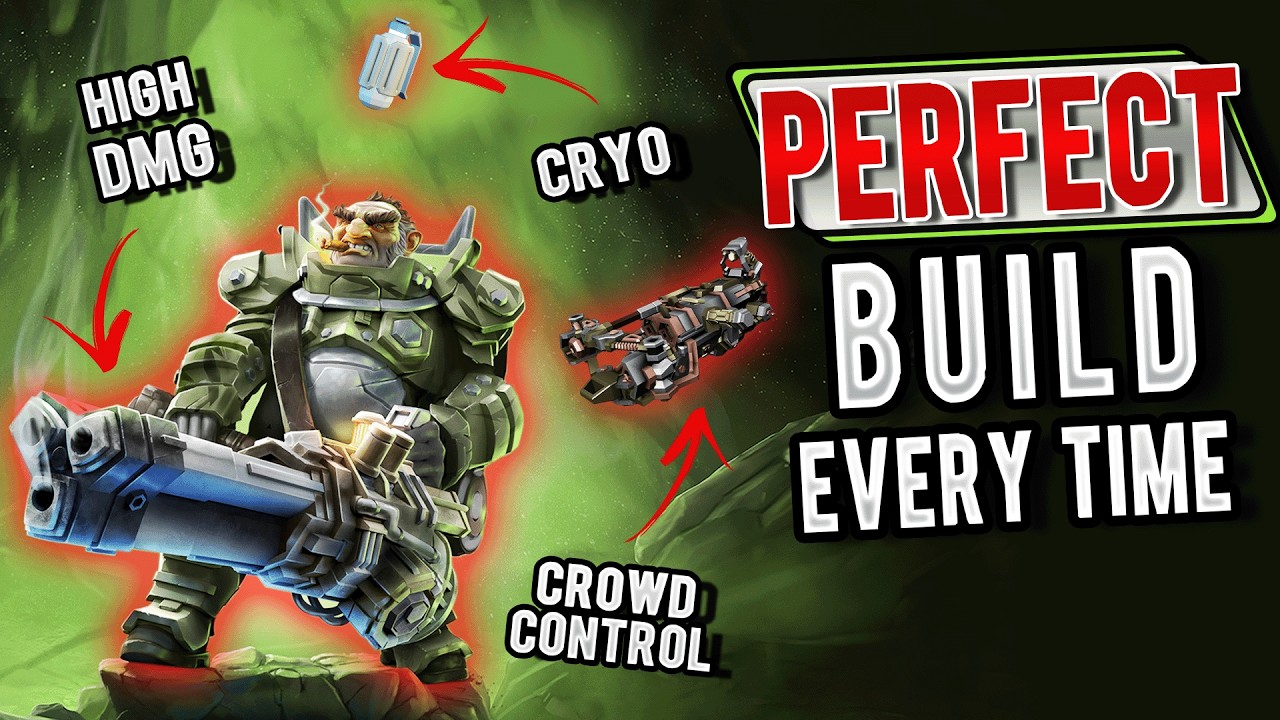
To consistently win in Deep Rock Galactic: Survivor, you must master the delicate balance between aggressive damage output and tactical survival. The game’s rogue-lite structure means every run is a puzzle of RNG-driven upgrades, but by following a disciplined approach to your build path, you can turn even a mediocre start into a successful mission. This guide outlines the four pillars of success: weapon synergy, calculated rerolling, environmental manipulation, and fluid movement.
1. Prioritizing Weapon Synergy and Stat Scaling
The most common mistake for new players is grabbing a "variety pack" of weapons. In Deep Rock Galactic: Survivor, your power level is dictated by how effectively your upgrades stack. If you choose weapons that all benefit from the same core stats—such as Kinetic Damage, Reload Speed, or Projectile Count—you ensure that every single upgrade you pick is exponentially more valuable.
- Focus on Tags: Look at the weapon tags (e.g., Kinetic, Elemental, Light, Heavy). If you are running the Lead Storm Minigun, prioritize upgrades that buff "Kinetic" damage and "Reload Speed."
- Avoid Dilution: Do not dilute your build by picking a weapon that requires "Elemental" damage if your current kit is built around "Kinetic" damage. You will end up with two mediocre weapon systems instead of one powerhouse.
- Scaling Multipliers: Prioritize percentage-based stat increases (e.g., +10% Damage) over flat increases as you progress into the later stages of a run. Percentages scale better as your base numbers increase.
2. Mastering the Reroll Mechanic
Rerolling is not a luxury; it is a fundamental gameplay mechanic that separates those who struggle from those who consistently reach the extraction pod. You should view your credits not just as currency for the shop, but as a resource for "build insurance."
- The Early-Game Threshold: In the first three stages, save your rerolls unless you are offered an upgrade that is completely useless for your current weapons.
- The Mid-Game Hunt: Once you reach the mid-game, start using rerolls to hunt for Epic (Purple) or Legendary (Orange) rarity upgrades. These tiers often provide unique bonuses that break the game’s difficulty curve.
- When to Stop: Do not burn all your rerolls on one level. If you have used two or three rerolls and haven't found a damage or survival upgrade that fits, take the best available option and save your remaining credits for the next shop encounter.
3. Mining as a Tactical Advantage
Mining in Deep Rock Galactic: Survivor is often treated as a secondary activity for gold, but it is actually a primary tool for battlefield control. If you are standing still while mining, you are a target. If you are mining while moving, you are creating an arena.
- Create Escape Routes: Always mine in a way that creates "lanes." By punching holes through rock formations, you create emergency exits for when the swarm density becomes too high.
- The "Kite" Loop: Use your pickaxe to carve out long, circular corridors. By kiting enemies through these tunnels, you force them into a single-file line, allowing your piercing or AOE (Area of Effect) weapons to hit dozens of bugs with a single shot.
- Resource Management: Don't get greedy. If a vein of Nitra is located in the middle of a massive swarm, weigh the risk. Getting trapped in a corner for a few extra credits is the fastest way to end a run prematurely.
4. Movement, Positioning, and Utility
Your movement speed is your ultimate defensive stat. Even with high armor and max health, you cannot survive the final waves if you are constantly surrounded.
- Circular Pathing: Never move in straight lines for long. Adopt a constant, circular "kiting" pattern. This keeps the enemies clumped together in the center of the map, which is the "sweet spot" for almost every weapon in the game.
- The Pickup Radius Secret: Don't underestimate the "Pickup Radius" stat. By increasing this, you can hoover up XP gems without needing to walk directly through clusters of elite enemies. This keeps you safe while allowing you to level up faster than the enemies can scale.
- Knowing When to Run: When the drop pod timer hits, stop fighting. Your only goal is survival. If you are low on health, focus entirely on dodging, using your movement speed to weave through gaps in the swarm until the extraction sequence completes.
Strategic Stat Distribution: The Balanced Approach
A common trap is focusing too heavily on "Max Health." While survivability is important, Deep Rock Galactic: Survivor is a game of attrition. If your damage output is too low, the screen will eventually fill with bugs until they become impossible to dodge.
| Phase | Priority | Reasoning |
|---|---|---|
| Early Game | Damage & Reload Speed | Clear bugs quickly to collect gold/XP early. |
| Mid Game | Multi-hit & Synergy | Enhance existing weapons to deal with elites. |
| Late Game | Crit Chance & Survivability | Supplement damage with high-tier defensive buffs. |
Common Mistakes to Avoid
- Ignoring the Shop: Always check the shop for items that provide permanent utility or weapon-specific upgrades. If you find an "Artifact" that synergizes with your specific build, it is usually worth spending your gold.
- Overvaluing "New" Weapons: You do not need to fill every weapon slot immediately. A few highly-upgraded weapons are significantly better than six base-level weapons that aren't hitting the damage thresholds required for later waves.
- Forgetting the Objective: Always check the stage objective. Whether it is mining a certain amount of minerals or killing a specific elite, prioritizing these goals provides bonus resources that are vital for mid-run power spikes.
By focusing on synergy, managing your rerolls with precision, and using the terrain to your advantage, you will find that Deep Rock Galactic: Survivor becomes much more manageable. Remember: a dwarf who moves is a dwarf who survives. Keep your weapons consistent, your pathing wide, and your eyes on the extraction timer.

Free Deep Rock Galactic: Survivor Codes
Current active codes and how to redeem them.

Emily Johnson
Emily writes practical mobile strategy guides with a focus on resource planning, base progression, and the early decisions that shape a long-term account.
COMMUNITY
Player Comments
48 players commented on this guide.
The explanation is clear, especially for beginners.
This saved me time in the early game.
I tried this today and it worked better than my old setup.
I wish I had read this before upgrading the wrong thing.