
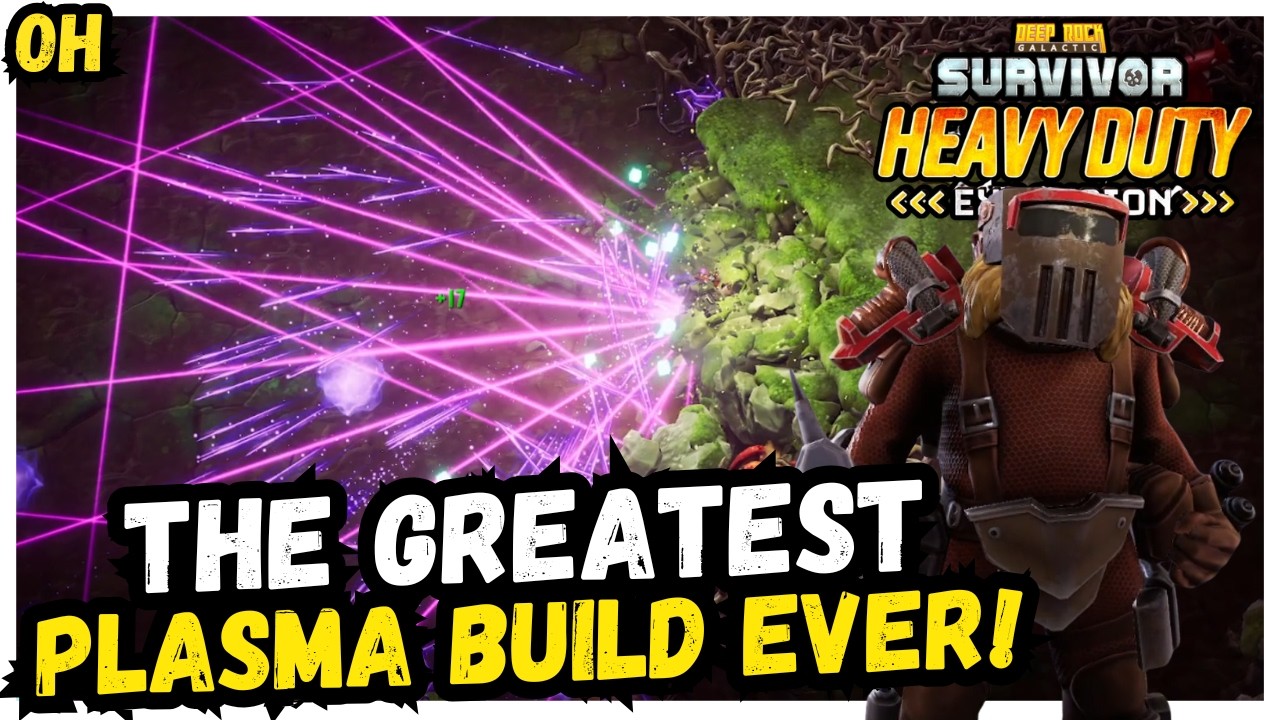
To achieve peak efficiency with a plasma-focused loadout in Deep Rock Galactic: Survivor, you must master the synergy between the Plasma Burster and high-fire-rate drones. This build strategy centers on stacking projectile quantity and movement speed to kite enemies while your drones provide consistent, passive damage. By focusing your early level-ups on weapon reload speed and reload-based damage artifacts, you can scale your offensive capabilities to survive the exponential difficulty spikes of late-stage Endless Mode runs.
The Core Philosophy: Why Plasma and Drones Work Together
In the high-pressure environment of Deep Rock Galactic: Survivor, "active" damage—where you must aim and hit specific targets—often fails during late-game swarms. This hybrid build relies on "area denial." The Plasma Burster creates lingering hazards on the battlefield, while your drones provide reliable, automated fire that tracks enemies regardless of your movement.
The primary reason this build excels is its ability to maintain "uptime." While you are busy kiting massive hordes, your drones continue to fire, and your plasma projectiles persist on the floor. By focusing on stats that affect both weapon types—specifically Reload Speed and Projectile Count—you ensure that your damage output remains at its ceiling even when you are frantically dodging incoming projectiles.
Weapon Synergy and Projectile Scaling
The foundation of this build relies on selecting the Plasma Burster as your primary damage source. Because the Plasma Burster emits projectiles that persist, your goal is to increase the volume of shots to create a "wall" of plasma that enemies cannot penetrate.
Leveling Priorities:
- Early Game: Prioritize Projectile Count and Fire Rate. These provide the most significant baseline DPS increase compared to flat damage percentage boosts in the early stages.
- Mid-Game: Shift focus toward Reload Speed. This reduces the downtime of your weapon cycles, ensuring your drones and plasma weapons are always active.
- Overclocks: Always aim for the "Hardened" or "High-Velocity" overclock variants for your Plasma Burster to ensure your projectiles penetrate through multiple enemies, which is vital for late-game swarm control.
Strategic Artifact Selection for Endless Mode
Artifacts are the most critical variable in determining whether your build survives the transition into deeper Endless Mode stages. You should specifically hunt for artifacts that provide "Reload Speed" bonuses or "Damage per Projectile" scaling.
Essential Artifact Tiers:
- S-Tier (Damage/Speed): Any artifact providing multiplicative Reload Speed or Movement Speed. These are the lifeblood of this build.
- A-Tier (Survivability): Life Steal or flat Max HP bonuses. You will inevitably take chip damage in Endless Mode; having a way to recover that health is mandatory.
- Situational: Luck or Mining Speed. Only pick these if you have no viable combat-enhancing choices. In Endless Mode, if an artifact does not directly contribute to killing enemies or evading damage, it is effectively a wasted slot.
Movement and Kiting Tactics
Effective positioning is mandatory when relying on a plasma-drone hybrid. You must act as the "conductor" of your own damage field, drawing enemies into your existing fire.
- The Figure-Eight Pattern: Do not stand still. Move in large, sweeping figure-eight patterns to group the bugs together. By clustering enemies, you allow your Plasma Burster projectiles to hit multiple targets simultaneously, maximizing the utility of every shot.
- Linearity is Death: Avoid moving in straight lines for too long. If you run in a straight path, the enemy AI will eventually catch up and surround you. Weaving forces the enemy to constantly adjust their pathing, keeping them bunched up within your effective damage radius.
- The Speed Stat: If your character feels sluggish, prioritize movement speed upgrades over minor damage gains. If you cannot outrun the swarm, your damage output becomes irrelevant because you will be forced to stop attacking to dodge hits.
Managing the Mid-Game Power Spike
As you progress through the middle stages, you will reach a point where enemy health pools scale faster than your base damage. This is where you must pivot your upgrade choices toward "Crit Chance" and "Crit Damage."
Because your build generates a high volume of projectiles, even a moderate increase in critical hit chance results in a massive, consistent increase in your total DPS. This transition is essential for clearing high-health armored bugs that would otherwise act as "tanks" and slow your progression.
Additionally, always prioritize upgrading your existing core weapons over taking new, un-upgraded secondary weapons. A Level 12 Plasma Burster is exponentially more valuable than a Level 1 Plasma Burster and a Level 1 Turret.
Trade-offs and Limitations
While this plasma-drone hybrid is exceptionally powerful for clearing swarms, it faces specific challenges:
- Single-Target DPS: Because your damage is spread out over many projectiles and passive drone fire, you may find that bosses take longer to eliminate compared to direct-damage sniper builds. Be prepared for drawn-out boss encounters.
- RNG Dependence: This build is highly dependent on getting the right artifact drops. There will be runs where you do not receive the optimal reload speed or projectile count upgrades.
- Flexibility: The hallmark of a successful Deep Rock Galactic: Survivor player is the ability to adapt. If the game refuses to give you plasma-synergy upgrades, pivot to whatever damage-scaling options are available. Do not force the build if the RNG is working against you; prioritize stats that keep you alive long enough to find the next upgrade crate.
By focusing on area denial, maintaining constant movement, and scaling your reload speed, you will find that even the most lethal caves of Hoxxes become manageable. Keep your drones active, keep your plasma flowing, and keep moving.

Free Deep Rock Galactic: Survivor Codes
Current active codes and how to redeem them.

Emily Johnson
Emily writes practical mobile strategy guides with a focus on resource planning, base progression, and the early decisions that shape a long-term account.
COMMUNITY
Player Comments
44 players commented on this guide.
Nice guide. I am checking the other Deep Rock Galactic: Survivor articles next.
The explanation is clear, especially for beginners.
This helped me understand strategy much better.
Good guide for Deep Rock Galactic: Survivor players. The strategy part was useful.