
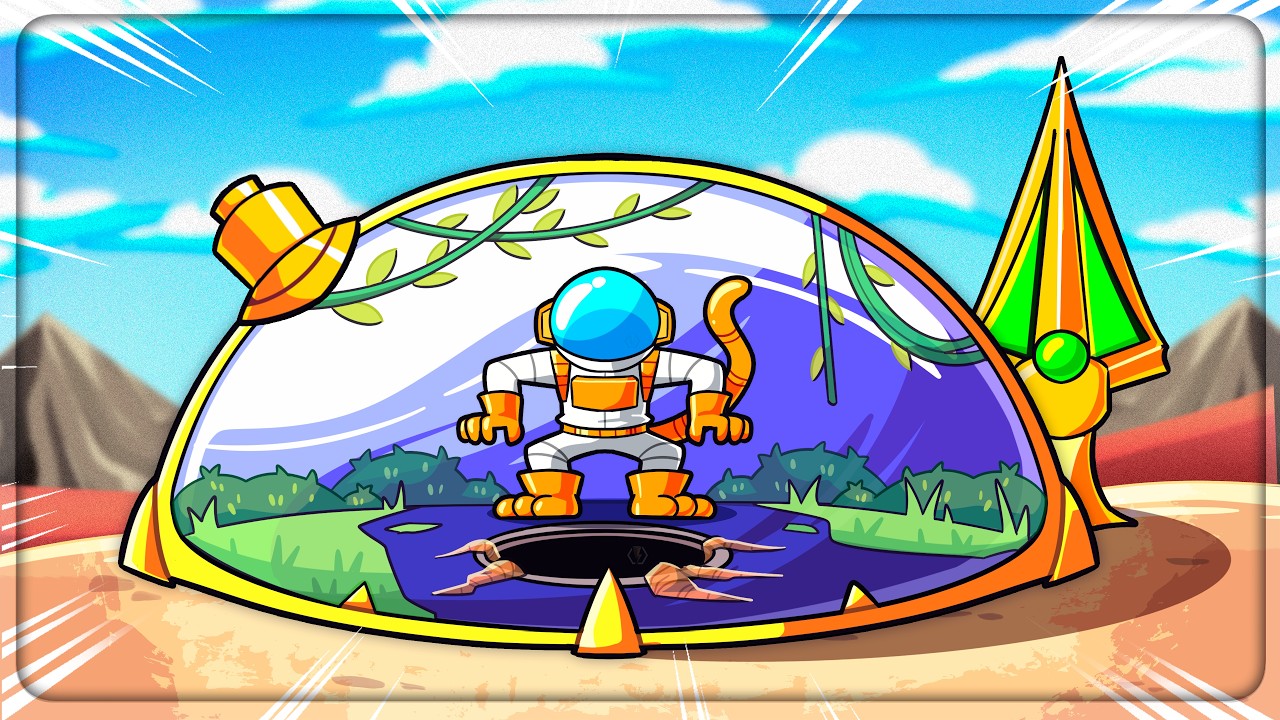
The Infiltrator class in Dome Keeper replaces traditional vertical hauling with a deployable teleport beacon system. Instead of spending long stretches floating back up mine shafts before an alien wave hits, you can mine at your deepest excavation layer until the threat meter requires an immediate recall. To succeed with the Infiltrator, keep your beacon positioned at active tunnel junctions, stage mined resources directly at the node for batch hauling, and balance drill power against teleport utility.
Teleport Beacon Placement and Recall Rules
The Infiltrator's personal translocation beacon creates a two-way transit loop between your current dig site and the dome command deck. Misplacing the anchor node wastes time and forces unnecessary manual carrying.
- Anchor at major junctions: Do not place the beacon inside a narrow dead-end branch. Set it in the central vertical shaft or at the central split of your current horizontal tier so you can access multiple branches from one recall point.
- Relocate before returning: When you finish clearing a tier of iron, water, and cobalt, pick up the beacon and move it down to the next active depth before teleporting to defend the dome. Leaving an anchor in an exhausted upper layer negates your travel advantage.
- Keep a three-second recall margin: Although the warp to the dome is fast, do not wait until aliens touch the shield. Give yourself roughly three seconds to execute the teleport, clear any carry encumbrance, and man the primary weapon console before enemies attack.
Infiltrator Upgrade Priority
Upgrading the Infiltrator requires balancing mining speed with carrying capacity and teleporter efficiency. Over-investing in raw movement speed early is inefficient because the teleport system already handles long-distance transit.
| Stage | Priority Targets | Strategic Purpose |
|---|---|---|
| Early Game | Drill Level 1, Base Speed 1 | Breaks initial soft rock layers rapidly and speeds up short-range manual hauling before teleporter capacity ramps up. |
| Mid Game | Beacon Utility, Carry Capacity | Lowers teleport recovery cooldowns and expands how many mineral chunks you can warp back without severe drag. |
| Late Game | Drill Level 2/3, Dome Shielding | Cuts through dense bedrock while ensuring dome defenses can absorb heavy burst damage from late-game alien waves. |
Drill power remains the primary gatekeeper for the class. If your drill cannot cut through the active stone layer quickly, warping instantly to the mining face will not yield enough resources between defensive cycles.
Resource Batching and Hauling Workflow
The Infiltrator shifts resource logistics away from dragging small stacks up the main shaft. Instead, work horizontally outward from your beacon and batch your haul:
- Clear surrounding rock: Dig out horizontal tunnels to the left and right of your anchor, exposing mineral veins.
- Cluster loose ore: Knock loose iron, water, and cobalt out of the rock face and drop them directly beside the teleport beacon.
- Warp with full capacity: When the wave indicator turns urgent, pick up the maximum stack your carrying capacity allows, trigger the teleport, and arrive in the dome.
- Process and repeat: The dome absorbs your carried payload while you defend. Once the wave ends, warp down to grab any remaining stockpile left beside the node.
Navigating Deeper Layers and Upkeep
Deeper biomes feature harder rock and mixed alien waves, including fast crawlers, armored flyers, and ranged artillery.
Use the Infiltrator's speed to check side chambers for gadget rooms and relics, such as the Stun Laser, Lift, or Converter. Finding supplementary gadgets early takes pressure off your manual hauling cycles.
Monitor dome integrity before starting deep excavation cycles. If the previous attack breached your dome shield, spend collected cobalt on structural repairs before warping down. Teleporting deep beneath the surface with a damaged dome leaves no margin for error if you miscalculate your return window.

Free Dome Keeper Codes
Current active codes and how to redeem them.

Sarah Williams
Sarah specializes in RPG and collection games, explaining team building, character growth, and beginner-friendly ways to avoid expensive early mistakes.
COMMUNITY
Player Comments
41 players commented on this guide.
I tried this today and it worked better than my old setup.
This guide answered the exact question I had.
This saved me time in the early game.
I wish I had read this before upgrading the wrong thing.