
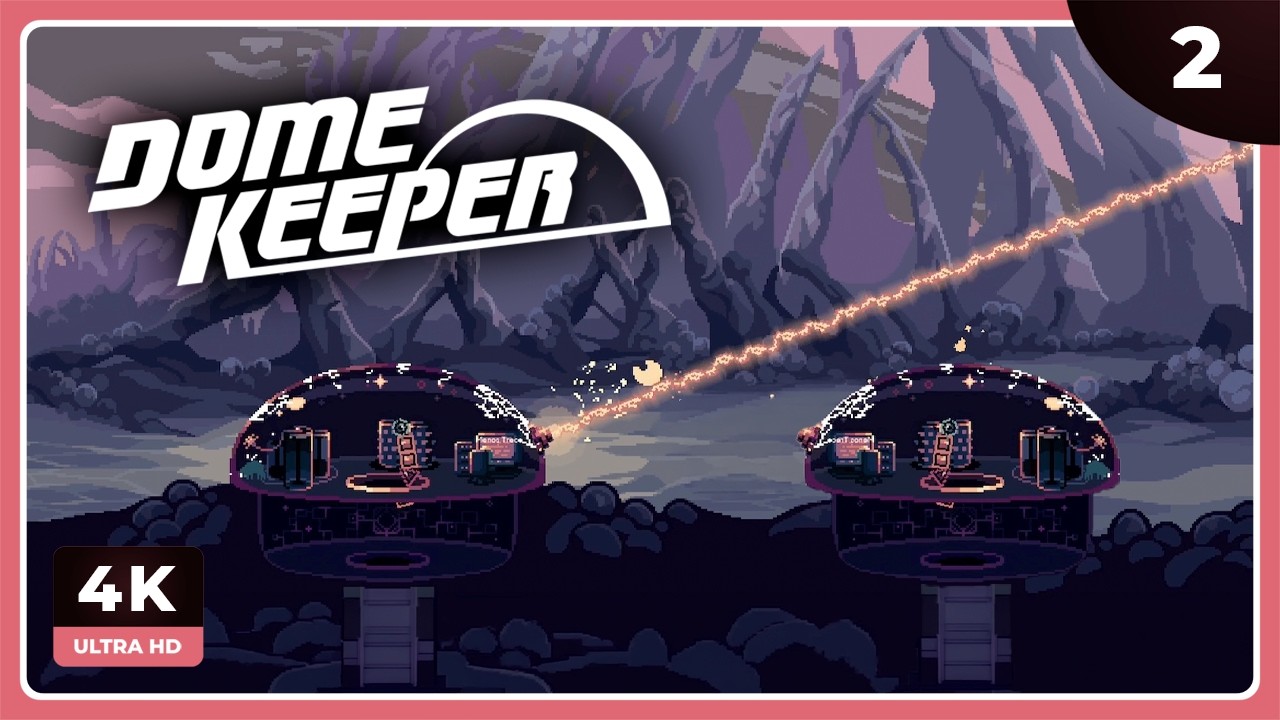
To win a head-to-head multiplayer PvP match in Dome Keeper, balance standard Iron and Water progression with carefully timed Cobalt spending. Upgrade your movement, drill, and carrying capacity early so you can reach deeper Cobalt veins first. Once your dome health is stable, spend spare Cobalt in the offensive PvP tree to send extra waves, alter wave timing, or obscure your opponent's screen while keeping 1 or 2 Cobalt in reserve for emergency repairs.
How Multiplayer PvP Sabotage Works
In head-to-head matches, both players manage separate mines and domes at the same time. A shared progression bar and a 20-minute countdown timer track the match, while a rival status preview lets you watch your opponent's current situation.
Sabotage uses Cobalt, the triangular blue resource normally saved for dome repairs and shields. When you bring Cobalt back to the dome, you can spend it on defensive upkeep or use the offensive PvP tree to disrupt your rival's run.
| Offensive PvP Action | Cobalt Cost | Effect Against Opponent |
|---|---|---|
| Send Attack Wave | 1 Cobalt | Launches an immediate monster wave at the rival dome. |
| Obscure Vision | 1 Cobalt | Darkens and clouds the opponent's screen during mining or defense. |
| Alter Wave Timing | 2 Cobalt | Accelerates and disrupts the opponent's incoming wave schedule. |
| Enhanced Disruption | 3 Cobalt | Applies a heavier tier of sabotage to pressure rival defenses. |
Because Cobalt is finite, every offensive action reduces the healing available after a heavy wave. Trigger 1-Cobalt or 2-Cobalt sabotage only when your own dome is stable and your opponent is deep underground or already losing dome health during an active attack.
Early Mining Layout and Upgrade Order
Prioritizing Jetpack Speed, Drill Strength, and Carry Capacity during the first three waves helps you reach deeper resources before your opponent can start pressuring your dome. Hauling single pieces of Iron slowly up the shaft leaves your weapons underleveled when early sabotage arrives.
- Jetpack Speed 1 (2 Iron): Buy this first to move down the central shaft and return before the wave timer expires.
- Drill Strength 1 (4 Iron): Break through the harder rock layers below the starting dirt zone.
- Carry Capacity 1 (4 Iron): Haul multiple pieces of Iron, Water, or Cobalt at once without a severe movement penalty.
- Laser Power 1 (6 Iron) or Sword Upgrades: Upgrade your primary weapon once your mining speed is established so early extra waves do not chip away at your dome health.
Dig a straight central shaft directly below the dome so dropped resources fall into a single vertical path for easy hauling. Branch out horizontally every two to three tiles to expose adjacent rock without drilling every block. If you uncover an automated Iron-generating worm node in deeper layers, clear the rock directly beneath it so the generated Iron collects in a neat pile for quick pickup.
Gadget Choices for Economy and Defense
Returning a gadget chamber to the dome pauses your interface and lets you choose between two options based on what your run needs.
- Condenser vs. Blast Mining: Pick the Condenser when you want passive Water generation over time to fund gadget upgrades and secondary dome systems while you focus on mining Iron and Cobalt. Pick Blast Mining instead if thick, high-tier rock layers are slowing your excavation and you need to clear large clusters quickly.
- Stun Laser: For a secondary dome slot, the Stun Laser fires an automated beam that slows and stuns approaching monsters. That delay gives your main Laser or Sword more time to clear unexpected extra waves if you return late from deep in the mine.
- Probe and Teleporter: Use the Probe to ping dark areas of the map and avoid drilling into empty rock. Pair it with the Teleporter by placing the portal entrance at the deepest point of your central shaft so you can warp back to the dome as soon as the wave warning alarm sounds.
Mid-Game Wave Defense and Cobalt Reserves
As the match reaches the 10-to-15-minute mark, natural waves combine ground walkers, acidic spitters, and fast flyers attacking from both sides of the dome. Watching your opponent's status window becomes just as important as watching your own wave gauge.
- Clear Flyers and Ranged Threats First: With the Laser Dome, sweep upward to destroy flying monsters before they drop projectiles, then focus on ground units attacking the base. With the Sword Dome, mix close-range slashes against ground enemies with timed Javelin launches to snipe distant flyers before they fire.
- Stack Sabotage During Enemy Waves: When the rival preview shows monsters swarming their dome and their health bar dropping, spend 1 or 2 Cobalt to add an attack wave or obscure their vision.
- Hold Emergency Repair Cobalt: Do not spend down to zero Cobalt in the mid-game. Keep at least 1 or 2 Cobalt on hand so you can buy an emergency dome repair if a heavy wave breaks through your shields.

Free Dome Keeper Codes
Current active codes and how to redeem them.

Emily Johnson
Emily writes practical mobile strategy guides with a focus on resource planning, base progression, and the early decisions that shape a long-term account.
COMMUNITY
Player Comments
110 players commented on this guide.
This helped me understand strategy much better.
This guide answered the exact question I had.
Can you add more details about strategy in a future update?
I tried this today and it worked better than my old setup.