
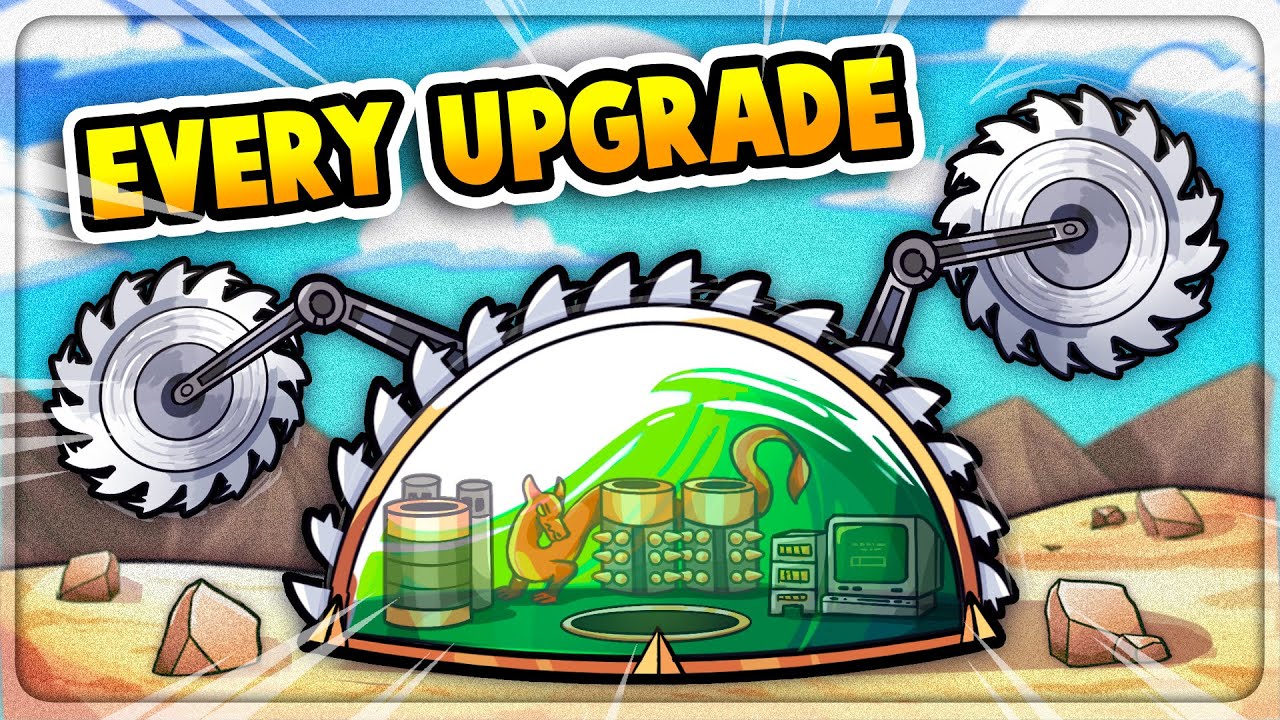
To survive runs using the beta Saw Dome in Dome Keeper, prioritize blade launch speed and miner upgrades during the opening cycles, then expand into multi-blade capacity to cover split waves. Unlike the Laser Dome's continuous tracking or the Sword Dome's direct strikes, the Saw Dome launches kinetic rotary blades that roll along terrain contours, bounce off boundaries, and deal continuous contact damage to enemies in their path.
How the Saw Dome Operates
The Saw Dome relies on deployable projectile physics rather than point-and-click beam targeting. Once launched, a circular saw blade travels across the surface, shredding through advancing ground swarms and low-altitude targets.
Because the weapon relies on travel duration and reload cycles, positioning and shot timing dictate your defense:
- Continuous contact damage: Saws deal recurring damage ticks to any monster touching the spinning blade, making them effective against high-density ground packs.
- Reload and recovery windows: Once a saw expends its energy or leaves the field, the dome cannot fire that slot until the blade cycles back. Firing blindly off-screen leaves the dome vulnerable to incoming flyers.
- Terrain bouncing: Angled launches cause blades to ricochet off slopes and environmental bounds, allowing a single shot to hit both airborne and ground targets.
Early-Game Upgrade and Resource Priority
During the first three defensive cycles, spend raw iron on reducing blade downtime and improving resource extraction rather than repairing hull health or buying shields. The Saw Dome's base damage handles early tier-one beasts easily if your aim is clean.
Invest your early iron in this order:
- Blade Launch Speed I: Cuts travel and cycle time so your weapon is ready between monster clusters.
- Miner Drill I: Accelerates iron clearing in shallow soil layers.
- Miner Carry Capacity I: Reduces round trips between the mine and the dome during short intervals.
- Blade Damage / Size I: Ensures flying units drop in a single contact pass.
Save your cobalt and skip early dome shielding. Channeling surplus iron into miner flight speed and deeper drill tiers lets you reach rich resource pockets before armored alien variants begin appearing.
Mid-Game Upgrades: Multi-Blade vs. Blade Size
As waves grow denser, single-blade setups become overwhelmed by split-lane pressure. The upgrade tree offers two primary paths for scaling combat power:
- Multi-Blade Capacity: Adds secondary active blades. This is the optimal path for survival against split waves, allowing you to deploy rolling coverage to the left and right slopes simultaneously.
- Blade Hitbox Scaling: Drastically increases the physical size and damage profile of a single saw. The expanded hitbox creates a wide damage arc that catches dive-bombing aerial units without requiring pinpoint vertical aim.
When managing mixed waves with an upgraded arsenal, launch a blade along the ground to clear advancing melee units, then immediately launch an enlarged or secondary blade upward to intercept approaching aerial formations.
Optimal Launch Angles by Target Type
Maximizing blade uptime requires banking shots off terrain inclines instead of firing horizontally into the horizon.
| Target Type | Optimal Launch Angle | Tactical Objective |
|---|---|---|
| Ground Swarms | Shallow surface skim | Continuous multihit piercing through packed lines |
| Armored Brutes | Direct point-blank impact | Maximum sustained contact ticks to break armor |
| Dive-Bombing Flyers | High-arc bank shot | Intercepts descending flight paths over the dome |
| Split-Flank Waves | Alternating diagonal launch | Keeps active blades rolling on both defensive lanes |
When enemies attack both flanks, stagger your firing order. Launch one saw down the nearest flank, then immediately pivot and fire the second saw across the opposite slope. Staggering ensures at least one blade remains active on the surface while the other cycles through its reload.
Underground Mining and Gadget Synergy
Because aiming the Saw Dome requires dedicated attention to bounce trajectories, manual turret defense limits your time underground. Prioritize utility gadgets that automate cavern logistics:
- Automation Companions: Unlocking helper tools like Drillbert or automatic hauling systems keeps iron and water moving up to the dome while you focus on wave defense.
- Crowd Control Gadgets: Gadgets that stun, slow, or pull enemies into clusters allow rolling saws to deliver sustained ticks to stationary targets, neutralizing armored monsters before they reach the hull.

Free Dome Keeper Codes
Current active codes and how to redeem them.

Emily Johnson
Emily writes practical mobile strategy guides with a focus on resource planning, base progression, and the early decisions that shape a long-term account.
COMMUNITY
Player Comments
154 players commented on this guide.
This saved me time in the early game.
The explanation is clear, especially for beginners.
This guide answered the exact question I had.
The tips are practical and easy to follow.