
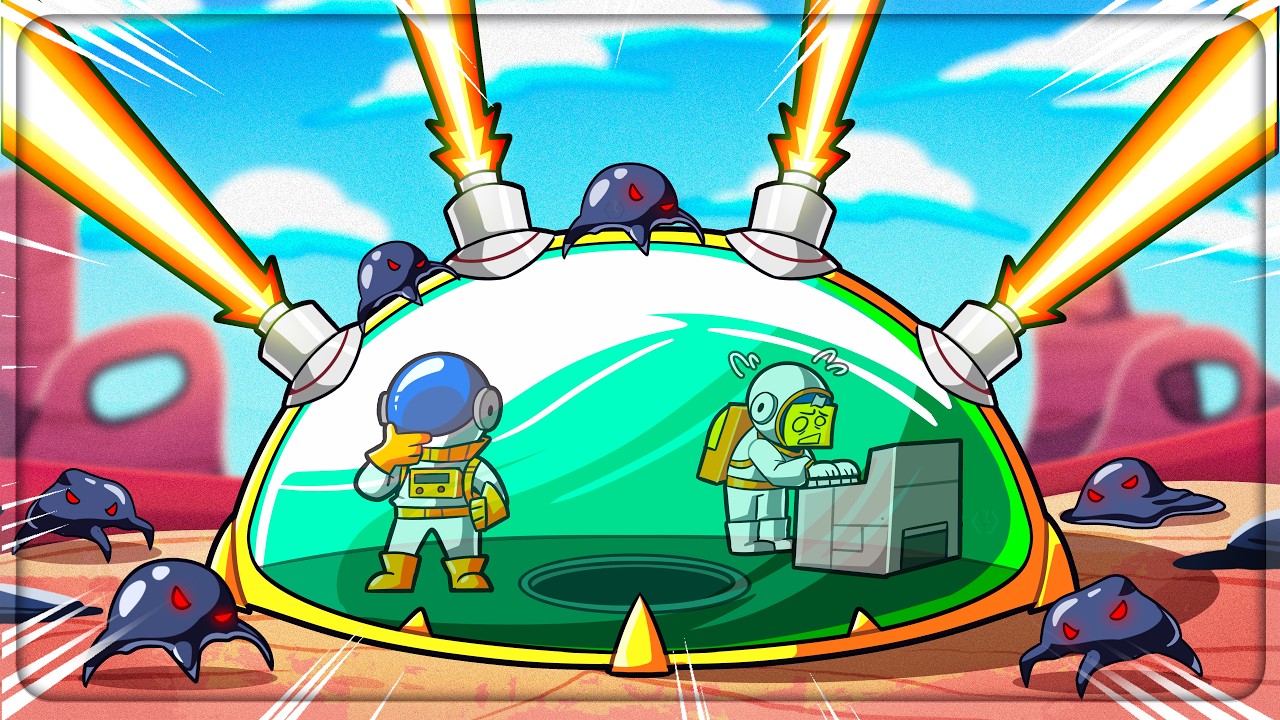
To win two-player co-op in Dome Keeper, divide your underground labor into separate search lanes, pool resources for shared base defense upgrades, and assign fixed dome combat roles before hostile waves arrive. Because enemy scaling increases with two keepers, uncoordinated digging and delayed defensive returns will quickly overwhelm the dome.
Split Mining Routes Underground
Tunneling through the same corridor cuts your search efficiency and causes players to bump into each other, dropping carried ore. Establish separate excavation zones immediately at the start of a run:
- Central Shaft Miner: One player digs directly downward beneath the dome hub to establish a vertical transport trunk and locate deeper rock strata.
- Horizontal Scout: The second player branches outward horizontally to uncover early iron clusters, water, and cobalt nodes.
Keep horizontal exploration branches spaced at least two to three tiles apart vertically. This spacing exposes the maximum amount of hidden rock faces without creating redundant, overlapping tunnels.
When you hit dense, hardened rock tiers, group up briefly. Applying both drills to the same stubborn block breaks dense stone significantly faster, letting you bypass tough intermediate layers without needing early tier-three drill investments.
Coordinate Dome Combat and Defense Roles
Hostile waves scale up in difficulty during co-op sessions. Agree on defensive roles before the attack alarm sounds so nobody scrambles for the terminal at the last second.
| Role | Primary Responsibilities | Priority Targets & Tasks |
|---|---|---|
| Primary Gunner | Controls main dome weapon (laser or cannon) | Targets airborne stingers and projectile spitters before ground brutes arrive. |
| Support Keeper | Operates dome utility and secondary systems | Times shield overcharges, finishes hauling ore into the hub, or swaps stations if the gunner is disoriented. |
The primary gunner must check the radar immediately and aim toward airborne threats first. Flying stingers and ranged spitters deal fast structural damage from angles ground enemies cannot reach. The secondary keeper can use the first few seconds of a wave warning to drag trailing resources into the dome before activating blast doors or timing shield absorbs against heavy kinetic hits.
Upgrade Priority and Resource Allocation
Both players draw from a single, shared resource pool at the dome terminal. Spending iron on solo luxury upgrades leaves the dome defenseless against scaling waves. Invest early resources across both keepers and the central station in this order:
- Baseline Drills: Upgrade both players to Tier 1 drill strength so neither player stalls on basic rock.
- Primary Weapon: Upgrade weapon turn speed and damage to handle scaled wave sizes.
- Carry Capacity and Movement: Boost carrying strength and speed to speed up hauling cycles.
- Utility Infrastructure: Install a central Lift in the main downward shaft to ferry ore automatically, or place a Teleporter pad directly beneath the dome hub for instant retreats.
- Dome Integrity: Invest in hull hardening and active shield tech.
If an alien assault takes more than half of your dome's health bar in a single round, stop buying mining gear. Direct all incoming iron and water into weapon turn speed, shot power, and shield overcharge until waves are cleared safely.
Manage Cobalt and Hull Repairs
Cobalt is scarce, and two players sharing a pool can burn through it rapidly if gadget overclocks are activated carelessly.
- Reserve cobalt for emergency repairs: Do not spend cobalt on small chip damage. Wait until dome health drops below 50% to trigger a repair cycle, maximizing the effective health recovered.
- Avoid continuous overclock costs: Skip optional gadget overclocks that require regular cobalt feeds unless you have uncovered a massive surplus of blue ore veins.
- Reinforce before deep digging: Apply cobalt to permanent dome reinforcement tiers once available, giving both players a larger survival buffer during late-game excavation.
Retrieve the Relic as a Team
The primary relic sits in deep bedrock, making the final transport run the most vulnerable phase of a match. Do not haul the relic core alone:
- Clear the route: One player flies slightly ahead to clear loose rubble, widen tunnel bottlenecks, and ensure a straight vertical path to the central shaft.
- Tow the relic: The second player latches onto the relic core to pull it upward through the cleared path.
- Handle wave timers: If the combat warning triggers while towing, drag the relic into the main vertical shaft or lift column before returning to the dome. Never leave it in an unmapped side branch.
- Trigger the final stand: Once the relic enters the dome hub, both players take their defensive stations, start the activation sequence, and eliminate the final swarm to complete the run.

Free Dome Keeper Codes
Current active codes and how to redeem them.

Emily Johnson
Emily writes practical mobile strategy guides with a focus on resource planning, base progression, and the early decisions that shape a long-term account.
COMMUNITY
Player Comments
149 players commented on this guide.
Nice guide. I am checking the other Dome Keeper articles next.
The explanation is clear, especially for beginners.
I wish I had read this before upgrading the wrong thing.
I tried this today and it worked better than my old setup.