
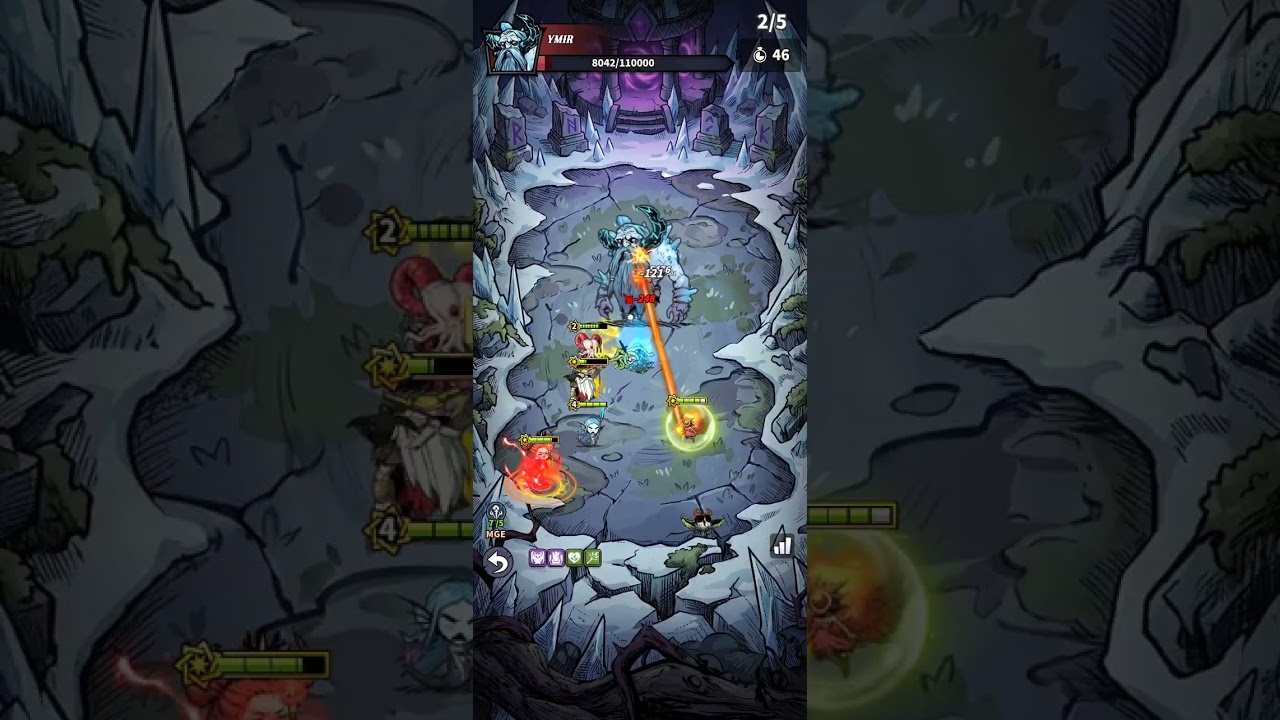
To clear Wilderness Stage 2 in Don't Die: SruvivalAutoBattler, secure an upgraded two-star defensive unit during the opening rounds, balance your gold between shop rerolls and level upgrades, and turn the final boss away from your damage dealers.
Early Frontline Setup
The opening waves of Stage 2 will quickly overrun unprotected ranged units. Your immediate objective is purchasing durable frontline heroes—such as melee warriors or guardians—to absorb aggro before investing heavily in offensive units.
- Draft duplicate defenders: Buy matching copies of defensive units in rounds one and two. A two-star tank provides the health pool required to survive early creep swarms without relying on dedicated healers.
- Delay expensive carries: Avoid rerolling for high-cost carries in the earliest rounds. Stacking your frontline first stabilizes your health pool and preserves your gold reserve.
Mid-Stage Synergy Choices
Enemy health pools scale significantly in the middle waves, requiring focused damage synergies to prevent your frontline from collapsing under prolonged combat. Commit to a primary three- or four-unit class synergy based on your shop offerings rather than taking multiple disjointed one-unit traits.
| Synergy Core | Primary Combat Role | Tactical Requirement |
|---|---|---|
| Archer / Physical | High single-target burst against elite monsters | Requires full frontline protection to prevent enemies from leaking into the backline |
| Mage / Witch | Wide area-of-effect wave clear | Essential for clearing dense creep packs before tanks are overwhelmed |
| Hybrid Frontline | Crowd control, stuns, and shields | Extends fight duration to let backline damage dealers complete skill rotations |
Gold Management and Leveling
Managing your gold between rerolls and board capacity determines whether your units scale fast enough to meet wave timers. Maintain an economic reserve to earn round-over-round interest, spending below that reserve only to prevent a loss or complete a critical two-star upgrade.
- Evaluate clear speed: If your tanks survive easily but the timer runs low, spend gold to level up and unlock an additional board slot for another ranged attacker.
- Evaluate frontline health: If your tanks fall within the first few seconds of a wave, stop leveling and spend gold rerolling to find duplicate frontline units for star upgrades.
Board Positioning and Boss Execution
Enemy swarms can quickly breach your backline if your board layout leaves gaps or exposes carries to cleave damage.
Swarm Positioning
Cluster your team near a board corner, placing your highest-durability tank on the outermost tile to absorb the initial wave. Keep secondary brawlers adjacent to block fast flankers from reaching the back rank, and space out your ranged units to minimize damage from enemy area-of-effect skills.
Boss Wave Tactics
The final encounter pairs a durable boss with periodic minion spawns. Before the round begins, execute the following adjustments:
- Turn the boss: Position an off-tank on the opposite side of your formation to pull the boss's aggro and face its frontal cleave attacks away from your cluster.
- Direct single-target damage: Place high-burst physical units where their targeting locks onto the boss rather than drifting into secondary minion spawns.
- Liquidate bench reserves: Sell inactive bench units that do not contribute to active synergies or immediate upgrades, and spend the recovered gold on final rerolls or a board level breakpoint.

Free Don't Die: SruvivalAutoBattler Codes
Current active codes and how to redeem them.

Michael Smith
Michael covers live-service games, events, reward systems, and efficient daily routines, turning frequent updates into clear actions for players.
COMMUNITY
Player Comments
145 players commented on this guide.
Can you add more details about early game in a future update?
Nice guide. I am checking the other Don't Die: SruvivalAutoBattler articles next.
The tips are practical and easy to follow.
This saved me time in the early game.