
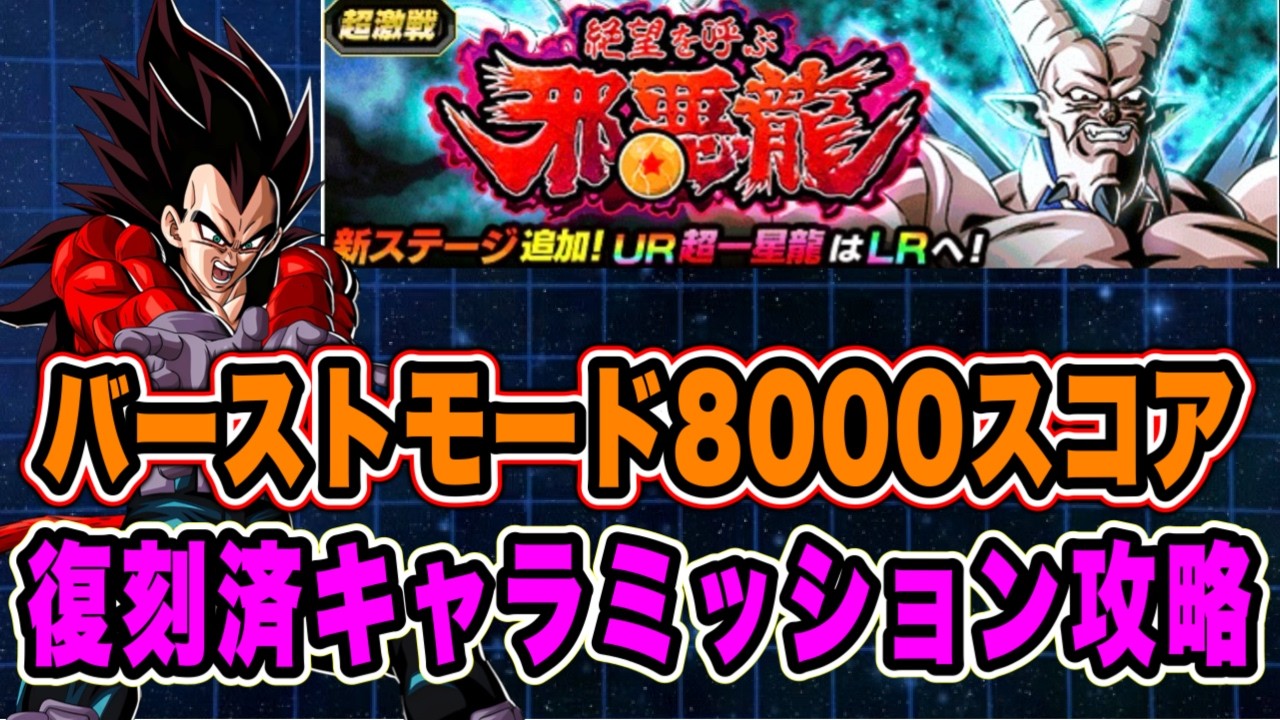
To clear the 8,000-point score mission against Super Omega Shenron in the "Shadow Dragons of Despair" Burst Mode, secure your points through boss durability and item restrictions rather than excessive enemy attack boosts. Because the fight imposes random Coercion locks without access to cleansing items, every character on your team must be able to withstand attacks before performing a Super Attack.
Recommended Modifier Setup
Reaching 8,000 points requires accumulating score from modifiers that prolong the fight safely instead of those that allow normal attacks to instantly defeat your units.
| Modifier Category | Recommended Setting | Tactical Reason |
|---|---|---|
| Support Items | 0 Items Allowed | Yields 300 to 400 points, which is required to cross the 8,000-point threshold. |
| Enemy ATK | Low to Moderate (+20% to +40%) | Prevents un-supered floaters from being eliminated instantly when locked in Slot 1. |
| Enemy HP & DEF | Maximum | Provides massive score value without creating sudden, unmanageable damage spikes. |
| Category Limit | Designated High-Score Category | Restricts your team build to the required boosted category for a high point payout. |
| Ki Reduction | -1 or -2 Maximum | Maintains Super Attack reliability so defense-stacking passives can trigger. |
Avoid setting boss attack increases to 150% or higher. Omega Shenron attacks multiple times per turn and uses high-damage Super Attacks; stacking extreme offensive multipliers makes surviving surprise locks in Slot 1 mathematically impossible. Similarly, avoid extreme Ki penalties of -3 or -4, as failing to launch Super Attacks prevents your units from generating their necessary turn-based defensive buffs.
Handling Coercion Without Support Items
Omega Shenron’s primary obstacle is Coercion, a status ailment that randomly locks one or more characters into their assigned slots before you can rearrange rotations. In typical stages, players remove this lock using a Senzu Bean, Dende, or Ghost Usher. Because the 8,000-point clear requires disabling items, you must counter Coercion entirely through team composition:
- Universal Slot 1 Viability: Every unit on the roster—including third-slot floaters—must possess start-of-turn defensive mechanics. Avoid glass cannons or dedicated supports that gain defense only after attacking, as a single lock into incoming Slot 1 attacks will end the run.
- Unconditional Guard and Damage Reduction: Prioritize Extreme Z-Awakened (EZA) and Super EZA units with innate guard or 50% or higher damage reduction active from the start of the turn. These characters can absorb normal attacks for double-digit damage before launching their own Super Attacks.
- Target Redirection and Action Breaks: Bring units equipped with active skills that taunt, redirect attacks, or cancel enemy actions. If a lower-defense character is pinned in Slot 1, trigger an action break or phase delay to neutralize incoming attacks and survive the turn.
- Exclude Fragile Supports: Do not run traditional offensive support units with low base defense. Their team buffs do not offset the risk of being locked into multiple pre-attack hits.
Phase Strategy
The encounter consists of two sequential phases, moving from Syn Shenron to Super Omega Shenron.
- Phase 1 (Syn Shenron): Use this phase to prepare your team. Avoid rushing the boss down quickly. Focus on matching same-type Ki spheres to build defense on infinite-stacking units. Save all active skills, taunts, and damage bursts for the next phase.
- Phase 2 (Super Omega Shenron): The boss attacks far more frequently and applies Coercion aggressively. Check enemy attack placement before assigning Ki spheres. If a locked character cannot safely tank incoming hits, prioritize same-type Ki spheres to restore health or trigger a Dokkan Attack to heal the team back to full. Deploy saved defensive actives immediately whenever Coercion traps a vulnerable unit in Slot 1.

Free DRAGON BALL Z DOKKAN BATTLE Codes
Current active codes and how to redeem them.

Michael Smith
Michael covers live-service games, events, reward systems, and efficient daily routines, turning frequent updates into clear actions for players.
COMMUNITY
Player Comments
25 players commented on this guide.
This saved me time in the early game.
This guide answered the exact question I had.
Can you add more details about strategy in a future update?
The explanation is clear, especially for beginners.