
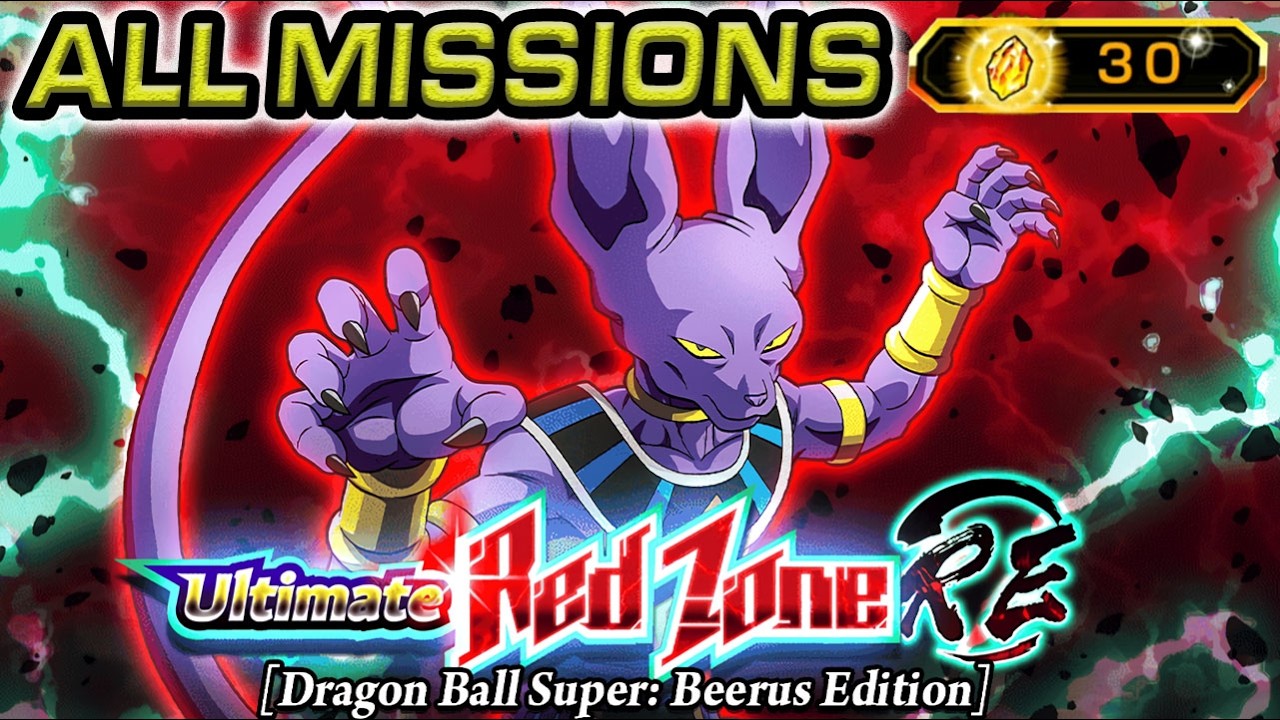
To clear every mission in the Dragon Ball Super: Beerus stage of Ultimate Red Zone: RE in DRAGON BALL Z DOKKAN BATTLE and claim the 30 free Dragon Stones, anchor your rotations with dedicated defensive units that possess unconditional guard or innate damage reduction, support your team with Whis items during transition turns, and concentrate your Active Skills during Beerus’s final enraged phase.
Boss Immunities and Phase Mechanics
Beerus possesses complete immunity to all status debuffs throughout the fight. You cannot reduce his attack or defense, nor can you stun or seal him. Your defense depends entirely on passive skills, guard mechanics, innate damage reduction, and support items.
The encounter features shifting typings and escalating attack stats:
- Early Phases: Beerus hits hard enough to punish fragile units immediately, but these turns provide your best opportunity to activate intro buffs and allow stacking units to gain defense.
- Final Enraged Phase: Beerus shifts to an aggressive attack distribution, frequently aiming multiple attacks—including lethal Super Attacks—at slot 1 before your characters can attack. Without active damage reduction or unconditional guard, an unstacked or exposed unit in slot 1 will end the run.
Team Building and Leader Skills
To withstand Beerus's normal attack thresholds and Super Attacks, build around dual 200% leader skills. Categories such as Super Heroes, Realm of Gods, and Power of Wishes provide the required balance of slot 1 survivability and active burst damage to clear stage missions.
| Team Role | Unit Archetype | Primary Function | Battle Priority |
|---|---|---|---|
| Slot 1 Tank | Unconditional guard or 40%+ passive damage reduction | Absorb pre-attack normal and Super Attacks | Lock into turns 1 and 2; never float |
| Slot 2 Damage | High-stat attackers and critical-hit finishers | Rapidly deplete boss HP bars | Link with slot 1; prioritize Ultra Super Attacks |
| Slot 3 Floater | Dodge units or passive Ki and DEF supports | Provide defensive utility and dodge stray attacks | Keep away from heavily targeted attack clusters |
| Safety Net | Revival or Standby defense units | Absorb fatal damage or revive the team | Save activations for the final phase |
Avoid slow, long-term stacking units that lack immediate defensive tools on turn 1, as Beerus exerts high damage output before those units can build sufficient DEF.
Rotation Setup
Establish two rigid rotations within the first two turns. Beerus frequently concentrates four or more attacks in slot 1 prior to player action.
- Lock Your Slot 1 Anchors: Identify your two best pre-action defensive units and keep them in the first position on alternating turns.
- Protect Post-Super Defenders: Units that gain the bulk of their defense on Super Attack must remain in slot 2. Placing them in slot 1 exposes them to lethal damage before their passives trigger.
- Manage the Opening Alignment: If your starting hand places your fragile attackers in slot 1, use the less aggressive early turns to float them into proper sequence.
Whis Timing and Damage Mitigation
The standard support item setup uses Whis, which grants 40% damage reduction across two turns. Because Red Zone stages restrict item capacity, timing is crucial:
- Trigger Point: Activate your first Whis item when transitioning into Beerus’s enraged final phase, or during an earlier turn if an unlucky rotation leaves a vulnerable slot 2 unit exposed to pre-attack hits.
- Stacking Mitigation: When combined with a unit that has 30% to 50% built-in damage reduction, a Whis raises total mitigation to near-invulnerable levels, reducing standard attacks and Super Attacks to minimal damage.
- Chain Usage: If Beerus survives the initial two-turn buff window, immediately pop your second Whis to maintain complete defensive coverage while closing out the battle.
Final Burst Execution
Dragging out the final stretch increases the risk of intro buffs expiring and defensive items running out. Maximize offensive output within your active Whis turns:
- Save High-Impact Skills: Hold offensive Active Skills, Standby finishers, and Dokkan Attacks specifically for Beerus's final health bars.
- Pre-Attack Burst: Trigger your damage-dealing Active Skills before collecting Ki spheres to chunk down Beerus's HP safely.
- Ki Prioritization: Route Ki spheres to ensure your primary slot 2 attackers reach their maximum Super Attack thresholds and launch guaranteed additionals to finish the fight.

Free DRAGON BALL Z DOKKAN BATTLE Codes
Current active codes and how to redeem them.

Emily Johnson
Emily writes practical mobile strategy guides with a focus on resource planning, base progression, and the early decisions that shape a long-term account.
COMMUNITY
Player Comments
93 players commented on this guide.
The tips are practical and easy to follow.
This helped me understand strategy much better.
Good guide for DRAGON BALL Z DOKKAN BATTLE players. The strategy part was useful.
Can you add more details about strategy in a future update?