
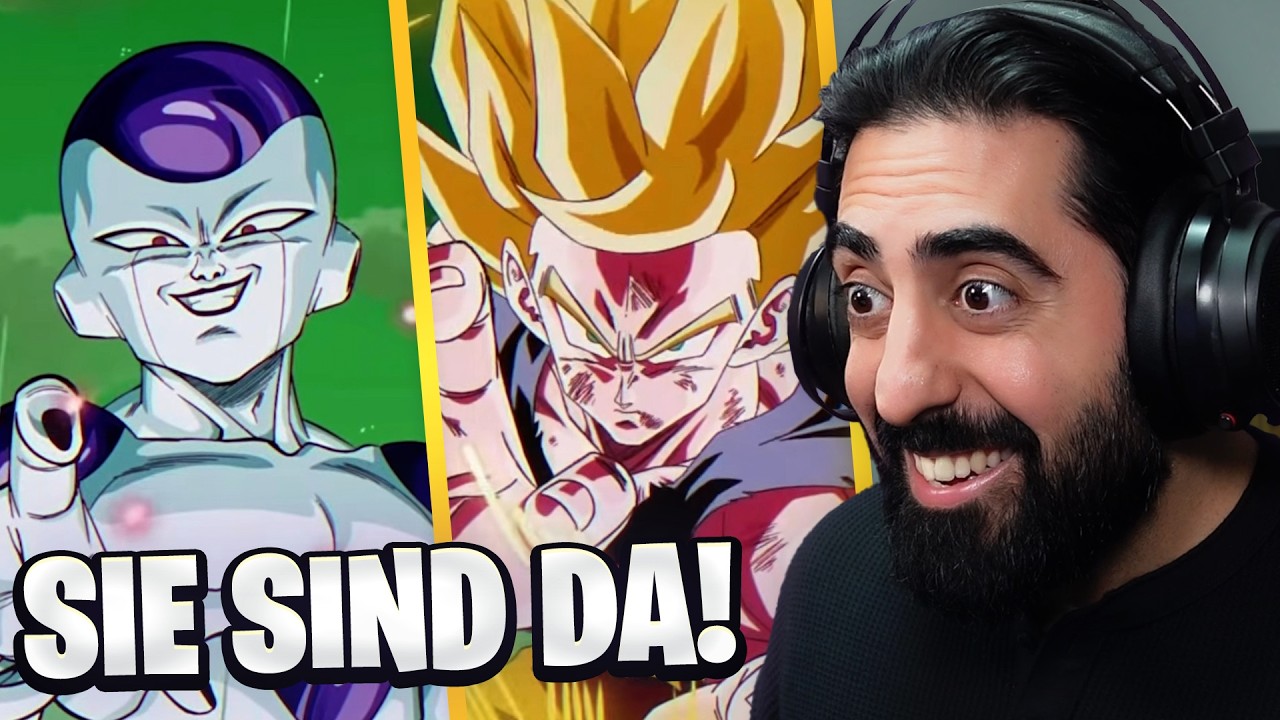
LR Super Saiyan Goku and LR Final Form Frieza stand as two of the most iconic units in DRAGON BALL Z DOKKAN BATTLE. To extract their maximum potential, players must look beyond their raw stats and focus on the nuanced mechanics of Category leadership, link-skill synergy, and specific transformation triggers. This guide provides the strategic framework required to turn these units into unstoppable forces in the current DRAGON BALL Z DOKKAN BATTLE meta.
Understanding the Power of LR Namek Goku and Final Form Frieza
LR Namek Goku and LR Final Form Frieza are designed as "anchor" units. Their primary value lies in their ability to lead expansive teams while simultaneously functioning as high-tier damage dealers.
- LR Namek Goku: Primarily functions as a leader for the "Super Saiyan" and "Planet Namek Saga" categories. His strength is built on stacking ATK and DEF through his Super Attacks, making him a scaling threat that becomes increasingly difficult to kill as the battle progresses.
- LR Final Form Frieza: Acts as the cornerstone for "Wicked Bloodline" and "Planet Namek Saga" teams. His kit is heavily focused on rapid-fire offensive output, often rewarding the player for hitting specific HP thresholds or turn counts.
Building Optimal Teams: Category Synergy
The effectiveness of these units is dictated by the quality of their supporting roster. Because they rely heavily on specific Category leader skills, you must avoid "rainbowing" your team with non-synergistic units just because they have high stats.
Core Synergy Requirements:
- Link Skill Alignment: Prioritize units that share critical Ki and ATK links like Prepared for Battle, Fierce Battle, or Universe's Most Malevolent (for Frieza). If your rotation lacks these, you will struggle to launch Super Attacks consistently.
- Support Units: Always include at least one "floater" support unit that provides percentage-based buffs to ATK and DEF. For Namek Goku, units that provide Ki support are vital to ensure he hits his 18-Ki Super Attack consistently, which is necessary for his defensive stacking.
- Defensive Anchors: Since these LRs are your primary damage dealers, the other slots should be filled by units with high damage reduction or guard capabilities to protect your health pool during the early turns.
Mastering Transformation and Active Skill Triggers
Transformation is not just a cosmetic upgrade; it is a fundamental shift in the unit's mechanical role. To utilize these skills effectively, you must understand their specific triggers.
Transformation Management Tips
- Turn Count Awareness: Both units are balanced to transform at specific stages of a fight. If you are rushing through a stage too quickly, you might miss the transformation window, which could leave you underpowered for the boss phase.
- HP Thresholds: Some of their most powerful Active Skills are gated behind health percentages. In longer events, resist the urge to heal immediately if you are approaching a transformation threshold. Calculated risk-taking is essential for high-level play.
- The "Active Skill" Finish: Save these skills for the final phase of a battle. Using them prematurely in a non-lethal turn often wastes their peak damage window, leaving you vulnerable if the boss has multiple health bars remaining.
Strategic Rotation Planning
In DRAGON BALL Z DOKKAN BATTLE, where you place your characters is as important as which characters you bring.
Why Rotation Matters
You should aim to keep your LR Namek Goku or Final Form Frieza in Slot 1 or Slot 2 at all times. By keeping them in the main rotation, you ensure they appear every two turns. This consistency is mandatory for two reasons:
- Stacking: Both units benefit from "stacking" their stats. If you move them to Slot 3 (the "floater" slot), they only appear every three turns, significantly slowing their growth and leaving them vulnerable.
- Passive Buildup: Most of their passive skills require them to perform attacks to reach their "full power" state. Keeping them in the main rotation ensures they maximize their attack count per battle.
Pro-Tip: Only move these LRs to the third slot if you are facing a type disadvantage or a boss mechanic that will result in an immediate Game Over. Otherwise, prioritize their presence in the primary rotation above all else.
Hidden Potential: The Optimal Build
When investing Hidden Potential orbs, players often fall into the trap of prioritizing Critical Hits. However, for these specific LRs, Additional Attack is objectively superior.
The Logic Behind Additional Attack
- Stacking Efficiency: Since both units stack ATK and DEF on their Super Attacks, an "Additional" attack gives you a second chance to trigger a super, effectively doubling your stack speed.
- Passive Synergy: These units frequently have built-in high Critical Hit chances or multiplicative damage in their passive skills. By focusing on Additional Attacks, you are not sacrificing crit damage; you are compounding the number of times the unit attacks, which maximizes the value of their built-in critical hits.
Common Mistakes to Avoid
- Ignoring Ki Consistency: Players often prioritize raw damage over Ki links. If your LR cannot fire their 18-Ki Super Attack, their damage output drops by more than 50%. Always favor units that provide Ki support over those that only provide raw ATK.
- Mismanaging Items: Don't hoard your support items. If your LR is at risk of being Super Attacked before they have had the chance to stack their defense, use a Whis or Icarus item immediately.
- Forcing Under-leveled Units: Using these LRs in a team where the supporting cast is not fully EZA’d (Extreme Z-Awakened) will lead to a chain reaction of failures. Ensure your support units are at their peak performance to allow these LRs to shine.
Conclusion
Success in DRAGON BALL Z DOKKAN BATTLE with LR Namek Goku and Final Form Frieza requires a disciplined approach to team building and rotation management. By prioritizing Additional Attack in their Hidden Potential, keeping them in the primary rotation, and ensuring your team provides the necessary Ki support, you can clear the most challenging content in the game. Remember: these units are engines that require proper fuel—in this case, the right team and the right positioning—to hit their maximum potential.

Free DRAGON BALL Z DOKKAN BATTLE Codes
Current active codes and how to redeem them.

Emily Johnson
Emily writes practical mobile strategy guides with a focus on resource planning, base progression, and the early decisions that shape a long-term account.
COMMUNITY
Player Comments
148 players commented on this guide.
This guide answered the exact question I had.
Good guide for DRAGON BALL Z DOKKAN BATTLE players. The strategy part was useful.
I tried this today and it worked better than my old setup.
Nice guide. I am checking the other DRAGON BALL Z DOKKAN BATTLE articles next.