
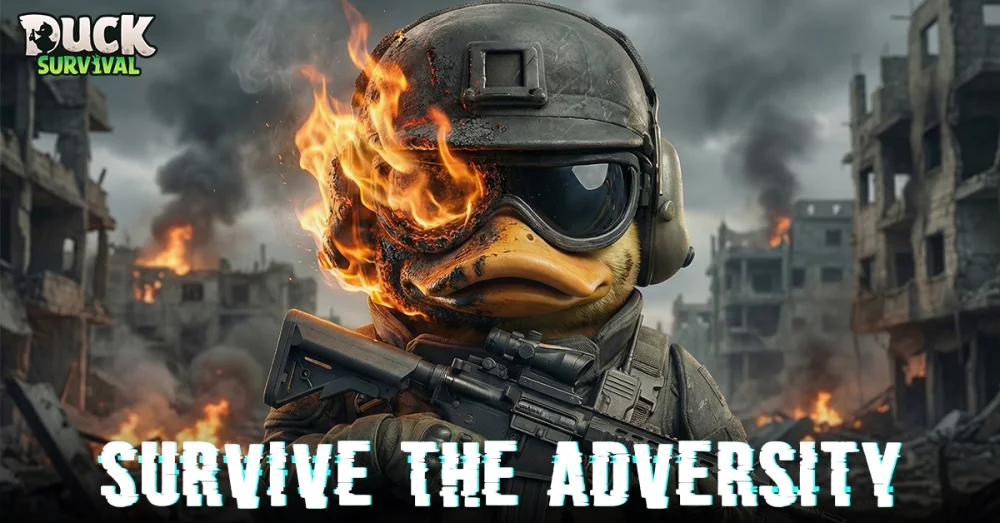
Focus on the vultures before they disrupt your group, keep moving between attacks, and avoid letting every player fire at the same target. The multiplayer encounter shown by Daddy Rabbitt Gaming is easiest to manage when one player draws attention, another watches the sky, and the team finishes exposed birds quickly without losing awareness of nearby zombie threats.
Prioritize Vultures Before They Reach the Group
Vultures should become an immediate target whenever they enter the fight because airborne enemies can attack from angles that are easy to overlook. Use the video’s “duck hunt” approach as a reminder to keep checking above and around your team instead of focusing only on ground threats.
Use this target order:
- Vultures already diving toward a player.
- Vultures attacking a teammate who is healing, looting, or reloading.
- Vultures hovering within an easy firing angle.
- Ground zombies that are not currently pressuring the group.
Do not chase a distant bird into an unsafe area. If the vulture is not actively attacking, maintain your position and wait for a cleaner shot.
Use Short, Controlled Bursts Against Flying Targets
Controlled shots are more reliable than wasting ammunition while tracking a moving vulture. Lead the target slightly when it crosses the screen, then fire as it commits to a dive or moves in a predictable line.
Helpful habits include:
- Keep the weapon aimed at head height or slightly above.
- Follow the vulture with your aim before firing.
- Shoot during a dive, turn, or brief hover.
- Stop firing once the target is down.
- Reload only after checking for another incoming bird.
If your weapon has noticeable recoil, begin with short bursts. A calm first shot is more useful than rapidly emptying the magazine while the target is still approaching.
Assign Clear Multiplayer Roles
A simple division of responsibility prevents the entire team from staring at the same target. One player can maintain pressure on ground enemies while another watches for vultures and calls out their direction.
| Player role | Main responsibility |
|---|---|
| Vulture watcher | Tracks the sky and calls out incoming dives |
| Ranged attacker | Takes the clearest shots at airborne targets |
| Ground defender | Keeps nearby zombies away from the shooter |
| Support player | Helps a teammate who is reloading, healing, or being pressured |
These roles do not need to be permanent. Rotate them after the immediate threat is gone so one player is not left handling aerial targets every time.
Keep Moving Without Breaking Formation
Movement helps prevent vultures from getting an easy attack, but running in different directions can split the group. Move laterally or reposition around nearby cover while keeping teammates within sight.
Avoid:
- Standing still while aiming for too long.
- Backing into an unseen zombie.
- Separating from the group to chase one bird.
- Turning away from ground enemies while tracking the sky.
- Blocking a teammate’s firing lane.
A compact formation gives the team more opportunities to revive, protect, or assist one another. If a vulture targets one player, that player should move toward the group rather than away from it.
Protect the Player With the Best Firing Angle
The clearest shooter should not be forced to handle every threat alone. Teammates can create space by controlling nearby zombies and warning about attacks from outside the shooter’s view.
Before taking a shot, check:
- Whether a teammate is standing in front of your firing path.
- Whether a ground enemy is about to reach you.
- Whether another vulture is approaching from the opposite side.
- Whether you have room to retreat after firing.
- Whether the team can safely recover if the shot misses.
Good positioning turns vulture hunting into a team task rather than a frantic solo reaction.
Use the Encounter to Practice Target Tracking
Vultures are useful practice targets because they force players to combine awareness, aiming, and movement. Instead of firing immediately, observe the bird’s approach and look for a repeatable movement pattern.
Practice this sequence:
- Call out the vulture’s direction.
- Keep the target centered while it approaches.
- Wait for a predictable movement moment.
- Fire a controlled burst.
- Confirm the takedown before switching targets.
- Recheck the ground and sky.
This method reduces panic and helps players avoid tunnel vision during larger zombie encounters.
Recover Safely After the Last Vulture Falls
The fight is not automatically safe when the final bird is down. Ground enemies may still be close, and players can lose health while celebrating a successful shot or collecting nearby items.
After the aerial threat is cleared:
- Scan the area for remaining zombies.
- Reload only from a defensible position.
- Regroup before moving to loot or explore.
- Check teammates’ health and ammunition.
- Avoid wandering away from the group immediately.
The source video emphasizes the satisfying moment of dropping vultures, but the practical lesson is to convert that opening into a controlled reset rather than rushing into another danger zone.
Key Takeaways for Vulture Encounters
The safest approach is to combine focused shooting with disciplined multiplayer positioning:
- Watch the sky as well as the ground.
- Prioritize diving or actively attacking vultures.
- Use controlled shots instead of uncontrolled fire.
- Give one player responsibility for aerial callouts.
- Protect the shooter from nearby zombies.
- Stay close enough to support teammates.
- Confirm the area is safe before looting or advancing.
These habits make airborne encounters more manageable while preserving the team’s attention for the wider survival threat.

Free Duck Survival Codes
Current active codes and how to redeem them.

Sarah Williams
Sarah specializes in RPG and collection games, explaining team building, character growth, and beginner-friendly ways to avoid expensive early mistakes.
COMMUNITY
Player Comments
145 players commented on this guide.
This saved me time in the early game.
The tips are practical and easy to follow.
This helped me understand strategy much better.
The explanation is clear, especially for beginners.