
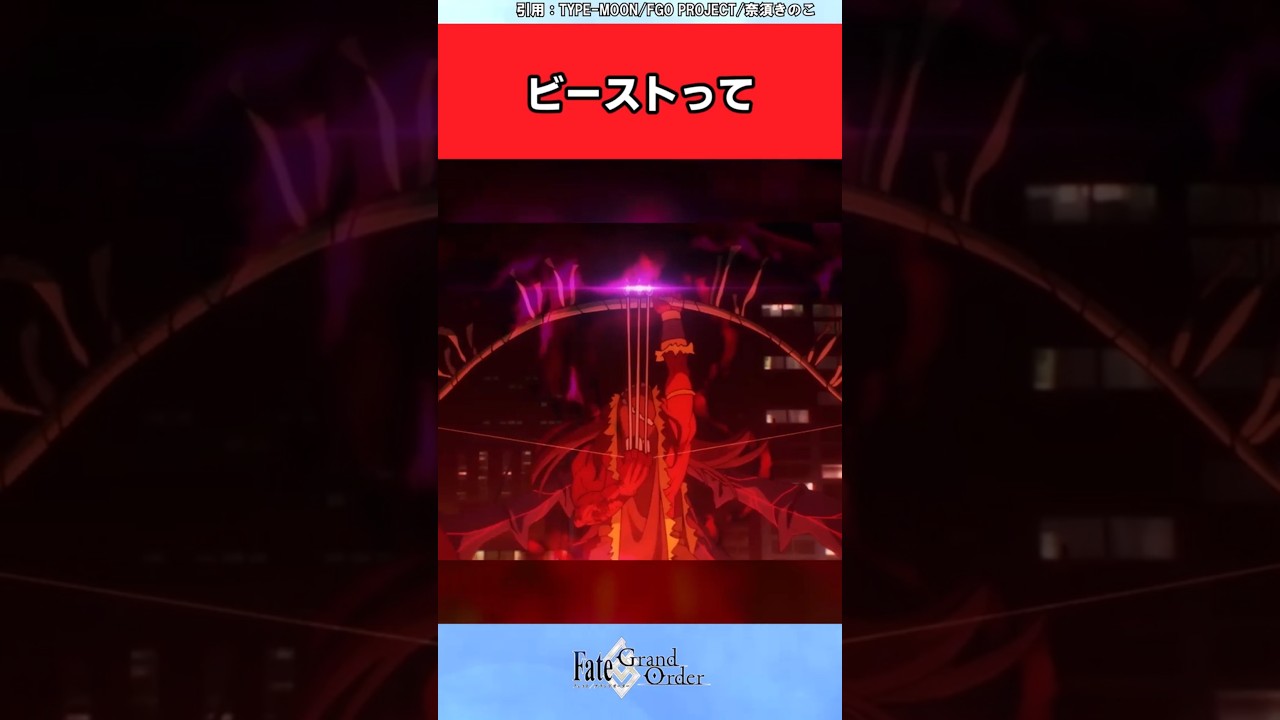
To defeat Beast-class enemies in Fate/Grand Order, you must build around each boss's specific Roman numeral designation rather than the standard Knight and Cavalry class triangles. Beasts do not share a single class interaction table. Instead, each individual Beast possesses dedicated offensive and defensive damage multipliers alongside signature passives that bypass standard player strategies.
Identifying Individual Beast Affinities
Standard class counters do not apply universally to Beast encounters. Bringing a standard Knight-class Servant against Beast I reduces your damage output, while standard classes take elevated damage from entities like Beast VI. Match your damage dealers directly to the specific enemy profile:
| Beast Designation | Primary Boss Encounter | Offensive Advantage (Deals Increased Damage) | Defensive Danger (Takes Increased Damage From Boss) |
|---|---|---|---|
| Beast I | Goetia | Rider, Caster, Assassin, Berserker (2.0x) | Saber, Archer, Lancer (resists Knight damage) |
| Beast II | Tiamat | Alter Ego, Berserker, story-specific buffs | Standard classes deal only neutral damage |
| Beast III/R | Kiara Sessyoin | Moon Cancer (2.0x), Alter Ego (1.2x) | Deals enhanced damage to basic Cavalry and Knight classes |
| Beast III/L | Kama / Mara | Moon Cancer, standard basic classes | Alter Ego (deals 2.0x to Alter Egos and resists their attacks) |
| Beast IV | Koyanskaya aspects | Servants targeting Human and Demonic Beast traits | Deals high critical strike damage across all classes |
| Beast VI | Sodom's Beast / Draco | Ruler, Avenger, Moon Cancer, Alter Ego | Deals 1.5x damage to all seven standard basic classes |
Always verify whether an encounter inverts standard rules before finalizing your roster. While Alter Ego Servants excel against Beast III/R, Beast III/L completely reverses this interaction, causing Alter Egos to deal halved damage while taking double damage in return.
Countering Innate Beast Passives and Nega Skills
Beast encounters feature oppressive passive skills designed to shut down common stall and burst mechanics:
- Independent Manifestation: Grants the boss permanent immunity or high resistance to Instant Death, mental debuffs (Charm, Terror, and Confusion), and incoming critical strikes. Charm-lock strategies will fail; use hard crowd control such as Stun or NP Drain instead.
- Nega Authorities: Skills such as Nega-Summon drastically lower incoming Noble Phantasm damage from summoned Servants, forcing a heavier reliance on standard Command Card critical hits and raw attack buffs. Nega-Genesis strips player enhancements or cleanses applied buffs across phase shifts.
- Retaliatory Debuffs: Multiple Beasts inflict stacks of Poison, Curse, or Burn whenever struck, or carry high natural debuff resistance that wastes offensive debuff setups.
To counter these traits, prioritize party-wide debuff cleansers, Sure Hit effects, and buff removal skills over debuff-focused strategies.
Team Composition and Defensive Requirements
Because Beast encounters feature multi-layered break bars and high damage ceilings, single-turn burst teams without defensive support consistently fail. Build around a dedicated single-target damage dealer supported by survivability engines:
- Damage Dealers: Select single-target attackers holding the "Threat to Humanity" special attack attribute (such as Enkidu) or Extra-class options (such as Meltryllis or Sitonai) tailored to the specific encounter's affinity table.
- Primary Support: Altria Caster provides Anti-Purge Defense through her Noble Phantasm. This is the only defensive barrier that completely blocks Pierce Invincible attacks commonly used by Beast bosses.
- Sustain Anchors: Pair your primary support with units like Lady Avalon, Merlin, or Tamamo-no-Mae to cycle invulnerability, charge party Noble Phantasms, and cleanse damage-over-time debuffs.
- Budget Defensive Options: Mash Kyrielight provides stacking defense buffs that reduce multi-hit normal attacks to manageable thresholds, while David provides an on-demand team Evade via Harp of Healing.
Managing Break Bar Phase Transitions
Beast break bar triggers frequently grant full NP charge, unremovable attack enhancements, or team-wide skill seals. Navigate these transitions using the following sequence:
- Check Active Defense: Never shatter a break bar on the turn your defensive barriers expire. Ensure Anti-Purge Defense or hard evasion is active before initiating the threshold hit.
- Prepare for Immediate NP Casts: Anticipate that the boss will instantly refill its charge gauge upon breaking. Line up an NP Drain, Stun, or targeted taunt to manage the incoming attack.
- Use Order Change with Disposable Taunters: Equip the Chaldea Combat Uniform Mystic Code to swap in low-cost taunters, such as Georgios or Leonidas, immediately before breaking a bar. This absorbs single-target Noble Phantasms and preserves your core damage dealer.
- Reserve Major Steroids: Hold maximum damage buffs for the boss's final health bar to minimize turns spent dealing with enraged attack multipliers.

Free Fate/Grand Order Codes
Current active codes and how to redeem them.

Sarah Williams
Sarah specializes in RPG and collection games, explaining team building, character growth, and beginner-friendly ways to avoid expensive early mistakes.
COMMUNITY
Player Comments
87 players commented on this guide.
The tips are practical and easy to follow.
This guide answered the exact question I had.
I tried this today and it worked better than my old setup.
Nice guide. I am checking the other Fate/Grand Order articles next.