
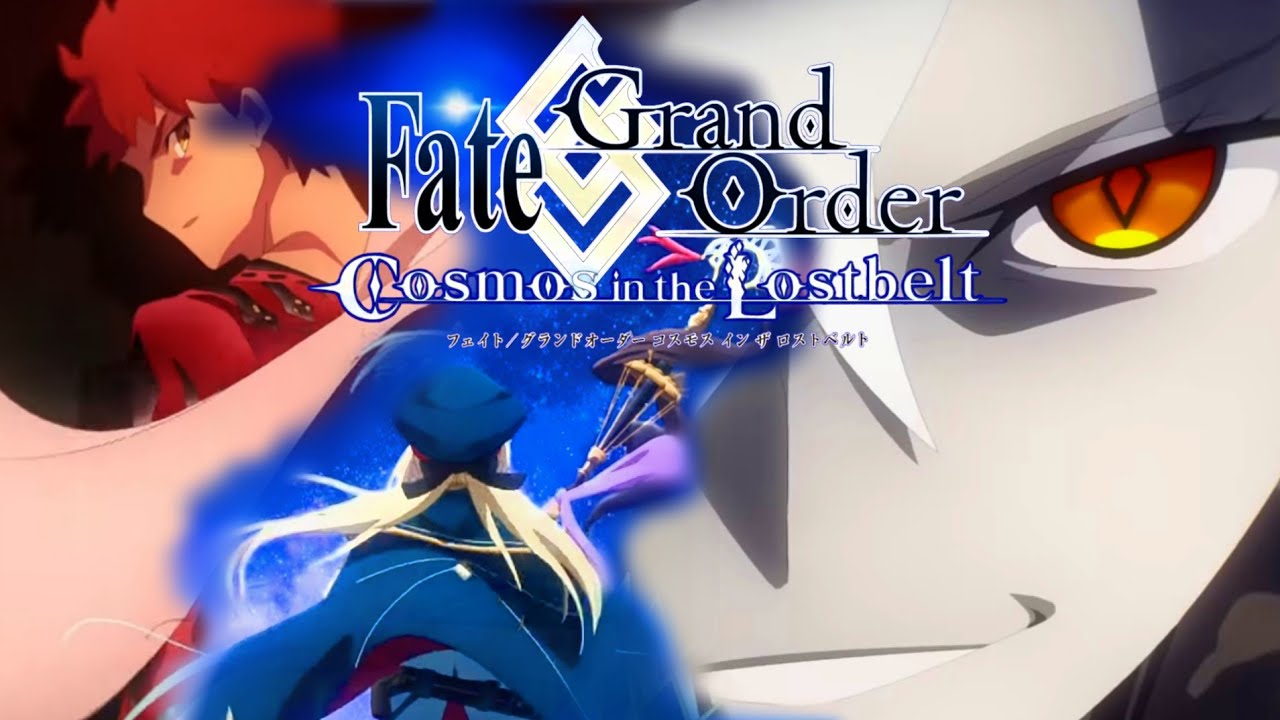
Navigating the Cosmos in the Lostbelt arc in Fate/Grand Order marks a massive shift in difficulty, narrative tone, and tactical execution compared to Part 1 (Observer on Timeless Temple) and Epic of Remnant. High-HP bosses with multi-stage Break Bars, unremovable field buffs, invincibility-piercing Noble Phantasms, and restrictive forced-support conditions demand far more than basic level-maxed Servants. To clear these chapters efficiently, Masters must refine their roster depth, master support engines, optimize skill cooldowns, and leverage budget-friendly utility units.
This guide provides a comprehensive preparation blueprint for clearing the Cosmos in the Lostbelt storyline in Fate/Grand Order, detailing key team engines, essential low-rarity Servants, Craft Essence (CE) strategies, and tactical frameworks for high-difficulty encounters.
---
What Changes in Part 2: The Mechanical Evolution of Lostbelt Bosses
In Part 1, players could often rely on raw damage output from a high-rarity Berserker combined with a friend’s support unit to obliterate enemy health pools in a single turn. The Cosmos in the Lostbelt arc completely alters these parameters.
+-----------------------------------------------------------------------------------+
|                            PART 1 vs. PART 2 MECHANICS                            |
+---------------------------+-------------------------------------------------------+
| Part 1 (Observer Era)     | Single Health Bar, simple debuffs, free Support pick  |
+---------------------------+-------------------------------------------------------+
| Part 2 (Lostbelt Era)     | Multi-stage Break Bars, unremovable field effects,    |
|                           | forced story NPCs, instant-death/debuff spam          |
+---------------------------+-------------------------------------------------------+
Key Lostbelt Boss Mechanics
- Break Bars: Bosses feature multiple health bars. Overkill damage does not carry over to the next bar. Upon breaking a bar, bosses trigger automatic, uncounterable Gimmick Skills (e.g., instant 100% NP charge, full debuff cleanse, or unremovable Attack Up buffs).
- Forced Story Support Lockouts: In several major Lostbelt chapters (most notably Lostbelt 5.2 Olympus and Lostbelt 6 Avalon le Fae), the game forces you to use specific story NPC Support Servants in your frontline—frequently without Craft Essences—preventing you from bringing a friend's maxed-out meta support.
- Complex Buff/Debuff Stacking: Enemies regularly deploy unremovable Damage Cut, Sure Hit, Invincibility Pierce, Permanent Defense Buffs, and passive DoT (Damage over Time) burns or curses that bypass standard defensive measures.
---
Core Meta Support Engines: The Foundation of Lostbelt Success
To clear high-difficulty Lostbelt nodes smoothly, your account strategy must revolve around at least one of the three primary card-type engines. While owning your own top-tier support is optimal, understanding how to construct teams around them is mandatory.
+------------------+--------------------------+---------------------------------------+-----------------------------+
| Support Engine   | Core Servants            | Primary Utility                       | Best Craft Essence Types    |
+------------------+--------------------------+---------------------------------------+-----------------------------+
| Arts (Refund)    | Altria Caster (Castoria) | Solemn Defense, 50% Battery, NP Gain  | The Black Grail, 50% Charge |
| Buster (Crit/NP) | Koyanskaya / Oberon      | Skill Cooldown -2, NP Damage Boost    | Starting NP, Buster Up      |
| Quick (Refund)   | Scáthach-Skadi (Ruler)   | Crit Damage, Defense Down, NP Battery | Quick Up, Crit Star Gain    |
+------------------+--------------------------+---------------------------------------+-----------------------------+
1. The Arts System (Altria Caster)
- Key Advantage: Unmatched defensive safety combined with effortless NP refund loops.
- Why It Matters in Lostbelts: Castoria’s Noble Phantasm provides Anti-Enforce Defense (Solemn Defense), which blocks enemy attacks even if the boss has Invincibility Pierce applied. Her 50% targetable NP gauge charge and 30% team NP gain up make 3-turn clearing and stall strategies equally viable.
2. The Buster System (Koyanskaya of Light & Oberon)
- Key Advantage: Explosive single-target burst damage and skill cooldown reductions.
- Why It Matters in Lostbelts: Bosses with massive Break Bars require high burst windows. Koyanskaya of Light reduces skill cooldowns by 2 turns while giving 50% NP charge, allowing damage dealers to reuse core attack buffs within a single fight. Oberon doubles all NP Damage Buffs on the final turn, executing lethal damage to clear final Break Bars.
3. The Quick System (Scáthach-Skadi / Ruler Skadi)
- Key Advantage: Critical star generation paired with high single-target burst.
- Why It Matters in Lostbelts: Enables budget Quick single-target (ST) Servants to deliver massive critical strikes alongside their Noble Phantasms, bypassing enemy Arts or Buster resistance buffs.
---
Essential F2P and Low-Rarity Servants (1★ to 3★ MVPs)
Higher rarity units are not required to clear Cosmos in the Lostbelt. Low-rarity Servants cost significantly less Party Cost, allowing you to equip high-tier 5-star Craft Essences across your entire team.
                          +-----------------------------------+
                          |      LOW-RARITY LOSTBELT MVPs     |
                          +-----------------------------------+
                                            |
         +----------------------------------+----------------------------------+
         |                                  |                                  |
         v                                  v                                  v
+------------------+              +------------------+               +------------------+
|   TAUNT WALLS    |              | BUDGET SUPPORTS  |               | SOLO & ANCHORS   |
| Georgios (2★)    |              | Chen Gong (1★)   |               | Cu Chulainn (3★) |
| Leonidas I (2★)  |              | Hans Andersen(2★)|               | Robin Hood (3★)  |
+------------------+              +------------------+               +------------------+
Defensive Taunt Walls: Georgios (2★ Rider) & Leonidas I (2★ Lancer)
- Function: Redirect single-target boss Noble Phantasms and lethal attacks away from your primary damage dealers.
- Strategy: Level their Taunt skills to Skill Level 6 or 10. Equip them with Craft Essences that trigger effects on death (e.g., Merciless One or Battle of Camlann) to grant your backline NP charge when they are eliminated.
Sacrifice & Buffer: Chen Gong (1★ Caster)
- Function: Grants massive targetable Buster damage, defense buffs, and acts as a tactical utility engine by launching your own frontline Servants into enemy lines via his NP.
- Strategy: Use Chen Gong to sacrifice spent support Servants (who have already used their skill batteries), cycling fresh support units from your backline onto the field without needing the Order Change Mystic Code.
Budget Sustain: Hans Christian Andersen (2★ Caster)
- Function: Delivers party-wide Critical Damage buffs, passive star generation, direct NP gauge charging, and continuous party healing through his Noble Phantasm.
- Strategy: Pair Hans with any budget Critical damage dealer (e.g., Caesar or Ushiwakamaru) for high sustained DPS during prolonged fights.
Survival Anchor: Cu Chulainn (3★ Lancer)
- Function: The ultimate budget backline safety net.
- Strategy: Protection from Arrows (3-hit Evade) does not expire until hits are taken, allowing Cu Chulainn to survive multiple turns alone against high-difficulty Lostbelt bosses when your main frontline falls.
---
Essential Craft Essences and Command Codes
Optimizing your Craft Essence allocation is crucial when facing Lostbelt bosses with complex defensive gimmicks.
+-------------------------+-------------------------------+------------------------------------------------------+
| Craft Essence Category  | Top Examples                  | Tactical Application                                 |
+-------------------------+-------------------------------+------------------------------------------------------+
| Pure Damage Scaling     | The Black Grail               | Massive NP damage boost; essential for Break Bars.   |
| Starting NP Batteries   | Kaleidoscope, Aerial Drive    | Enables Turn-1 Noble Phantasms for rapid wave clears.|
| Deflection & Pierce     | Sweet Crystal, Origin Bullet  | Bypasses enemy Invincibility, Evade, or Casters.     |
| Taunt Fodder            | Outrage, Poster Girl          | Forces enemy single-target hits onto budget units.   |
+-------------------------+-------------------------------+------------------------------------------------------+
Essential Command Code Engravings
Command Codes add secondary effects directly to a Servant’s individual Command Cards. Engrave these on your main damage dealers and solo anchors:
- Debuff Cleanse Codes (e.g., Code: Cure, White Vessel's Command Seal): Removes Burn, Poison, Curse, or Attack Down debuffs when attacking, mitigating boss DoT strategies.
- Buff Removal Codes (e.g., Command Seal of a Distant Dog): Removes enemy defense or attack buffs with basic face cards.
- Sure Hit / Pierce Codes (e.g., Celestial Vector): Allows your damage dealer to hit enemies through Evade states without spending a skill.
---
Mystic Codes: Selection and Usage
Your choice of Master Equipment (Mystic Code) determines your tactical flexibility during boss encounters.
+------------------------------------+---------------------------------------------------------------------+
| Mystic Code                        | Strategic Role in Lostbelts                                         |
+------------------------------------+---------------------------------------------------------------------+
| Chaldea Combat Uniform / Plugsuit  | Order Change swaps backline supports; Stun delays enemy NPs.        |
| Decisive Battle Chaldea Uniform    | Advanced Order Change with offensive buff stacking and party cleanse.|
| Atlas Institute Uniform            | Cleanse debuffs, gain 1-turn Invincibility, reduce skill CDs by 2.  |
+------------------------------------+---------------------------------------------------------------------+- When to use Plugsuit / Decisive Battle Uniform: Required for 3-turn clearing setups and high-end boss burst strategies that involve swapping support units into the frontline to stack batteries.
- When to use Atlas Institute Uniform: Best utilized for budget boss clears, solo runs, and fights featuring heavy debuffs or instant enemy Noble Phantasm charges. The 2-turn skill cooldown reduction allows key defensive skills (like Castoria's or Cu Chulainn's) to come back online right before a wipe.
---
Resource Allocation and Account Progression Roadmap
Upgrading Servants inefficiently can stall your narrative progress. Follow this prioritized resource allocation plan:
                  +----------------------------------------------+
                  |         RESOURCE ALLOCATION ROADMAP          |
                  +----------------------------------------------+
                                         |
         +-------------------------------+-------------------------------+
         |                               |                               |
         v                               v                               v
+------------------+            +------------------+            +------------------+
| STEP 1: SKILLS   |            | STEP 2: APPLES   |            | STEP 3: MATERIALS|
| Max skill level  |            | Save Golden      |            | Farm Lottery     |
| 10 on NP charge  |            | Apples for       |            | events for QP,   |
| skills (Cooldown)|            | Lottery Events.  |            | Gems, and EXP.   |
+------------------+            +------------------+            +------------------+
1. Priority Skill Upgrades (Skill Level 10 vs. Level 6)
Skill Level 10 is mandatory for all NP Battery Skills (e.g., Castoria’s Skill 1 & 3, Waver’s Skill 1).
- Level 10 lowers skill cooldowns by 2 full turns compared to Level 1.
- Level 10 scales NP battery amounts (e.g., shifting a skill from 30% to 50% NP charge), enabling precise 100% NP gauge setups with standard 50% starting NP Craft Essences.
2. QP and Material Management via Lottery Events
Lostbelt ascensions demand new material drops (such as Crown of Silvery Light, Eggs of Truth, and Fruit of Eternity).
- Do not waste natural AP farming free nodes with low drop rates for gold materials.
- Save your Golden Apples for seasonal Lottery Events (e.g., Nerofest, Christmas). Lottery boxes yield millions of QP, thousands of Mana Prisms, skill gems, and ascension materials per reset, providing the massive foundation needed for skill upgrades.
---
Step-by-Step Boss Combat Protocol for Lostbelt Encounters
When entering a major Lostbelt boss node, follow this analytical battle sequence:
+-----------------------------------------------------------------------------------+
|                            LOSTBELT BOSS COMBAT PROTOCOL                          |
+-----------------------------------------------------------------------------------+
|  STEP 1: PRE-FIGHT INSPECTION                                                     |
|  - Check enemy Class, Break Bar counts, and forced Support requirements.           |
+-----------------------------------------------------------------------------------+
                                         |
                                         v
+-----------------------------------------------------------------------------------+
|  STEP 2: DEFENSIVE LINEUP PREPARATION                                             |
|  - Slot Taunt Servants (Georgios/Leonidas) or Invincibility Pierce counters.      |
+-----------------------------------------------------------------------------------+
                                         |
                                         v
+-----------------------------------------------------------------------------------+
|  STEP 3: BREAK BAR MANAGEMENT                                                     |
|  - Predict Break Bar trigger skills. Save defensive Mystic Code skills for turns  |
|    where the boss gains instant NP charge upon breaking.                          |
+-----------------------------------------------------------------------------------+
                                         |
                                         v
+-----------------------------------------------------------------------------------+
|  STEP 4: BACKLINE ANCHOR EXECUTION                                                |
|  - Allow frontline supports to cycle off; clear remaining HP with a single-target |
|    anchor (Cu Chulainn / Heracles with Bond CE).                                  |
+-----------------------------------------------------------------------------------+
---
Common Mistakes to Avoid in Lostbelt Chapters
- Relying Exclusively on Neutral Berserker Damage: High Lostbelt boss defense stats mean neutral class advantage damage often falls short. Always prioritize Class Advantage (2x damage multiplier) or specialized Anti-Trait damage (e.g., Anti-Divine, Anti-Enthrallment).
- Ignoring Backline Formation: Leaving backline Servant slots empty to save cost or putting un-leveled units in the backline deprives you of tactical swaps and anchor clutches.
- Using Command Spells Prematurely: Do not use individual Command Spells for small health restores. Save your 3-Command-Spell set for a full team revive (which restores all HP and 100% NP gauges) during non-repeatable story boss battles.
- Neglecting Roster Diversity: Maxing out only 5-star Servants leaves your team cost bloated, preventing you from equipping top-tier 5-star CEs. Balance your roster by investing in 1-star to 3-star utility options.
Free Fate/Grand Order Codes
Current active codes and how to redeem them.

Sarah Williams
Sarah specializes in RPG and collection games, explaining team building, character growth, and beginner-friendly ways to avoid expensive early mistakes.
COMMUNITY
Player Comments
26 players commented on this guide.
This guide answered the exact question I had.
I tried this today and it worked better than my old setup.
The tips are practical and easy to follow.
This saved me time in the early game.