
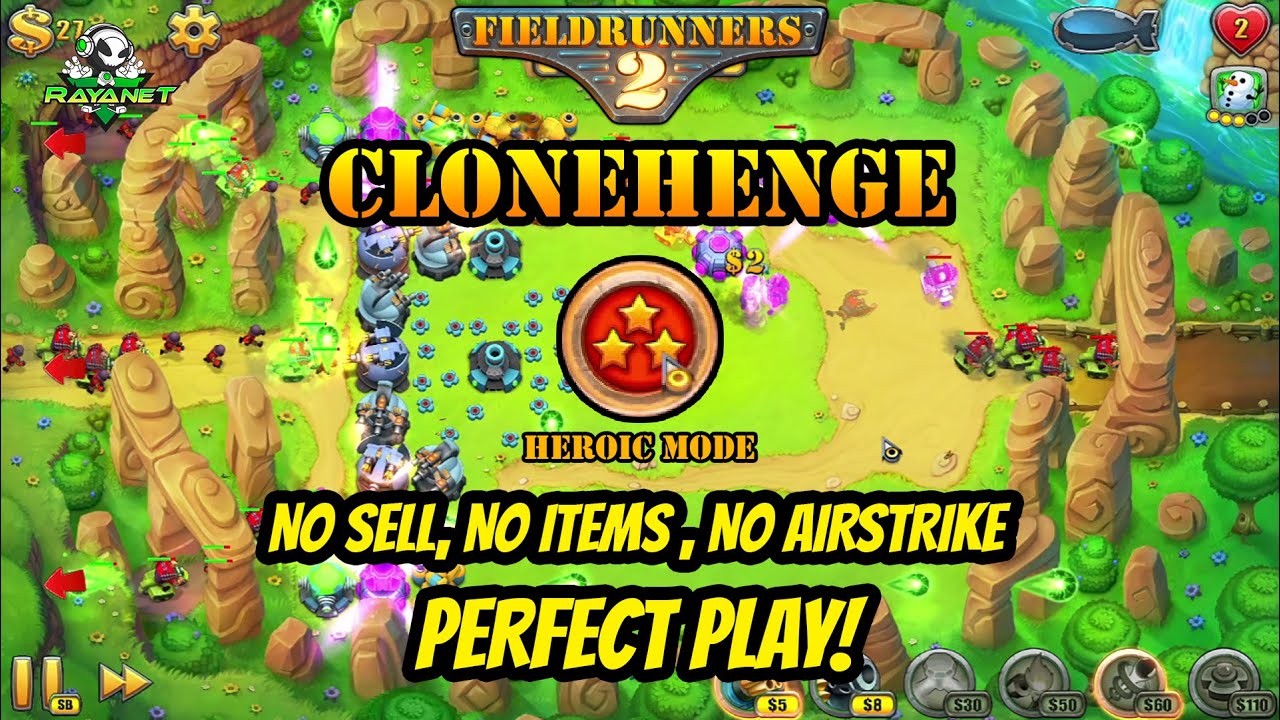
To beat Clonehenge on Heroic difficulty in Fieldrunners 2 for iPad for iPad without selling towers, using consumable items, or triggering airstrikes, establish a permanent kill zone directly past the first duplication stones. Because runners duplicate into double-density swarms when crossing the standing stones, deploy an early Glue tower to compress the cloned groups into tight packs, then upgrade high-yield area-of-effect (AoE) towers in place.
Core Restrictions on Clonehenge
A clean Heroic clear under these self-imposed rules removes every standard safety net. Every tile commitment is permanent and must remain effective from opening waves through the final boss mechs.
- No Selling: You cannot deploy cheap temporary turrets to redirect early pathing and sell them later. Every placed tower must contribute to long-term kill-zone damage.
- No Consumables: Rewind clocks, freeze packs, and mine drops cannot be used to catch leaked units.
- No Airstrikes: Emergency screen-clearing superweapons are off-limits, requiring static defenses to handle all tank and swarm health pools.
- Duplication Stones: Enemy formations double in number upon passing through the stone arches, making single-target turrets inefficient past early rounds.
Recommended Tower Roles and Investment Priority
Select a loadout that emphasizes crowd control, sustained splash damage, and heavy armor penetration.
| Tower Type | Tactical Role | Upgrade Priority |
|---|---|---|
| Glue Tower | Slows and condenses duplicated swarms into tight clusters | High (reach Tier 2 early for wider slow radius) |
| Gatling Tower | Establishes maze walls and clears early light scouts | Low (leave at Tier 1; do not over-invest) |
| Flamethrower | Inflicts continuous line damage along straight corridors | Medium (place at straight bottlenecks) |
| Mortar / Missile | Long-range splash artillery and heavy armor damage | High (maximize tier levels for dense swarm clears) |
| Pulse / Spark | Emits 360-degree radial bursts against clustered infantry | Medium to High (anchors central intersections) |
Wave Progression and Placement Strategy
1. Opening Setup and Creep Compression
- Place basic Tier 1 Gatling towers to establish your initial routing channel toward a central intersection.
- Build a Glue tower immediately after the exit of the cloning archway. Slowing the lead runners forces the duplicated pack to bunch tightly together before reaching the main firing line.
- Save early gold instead of upgrading Gatling turrets. Let the Glue tower hold creeps within range of your starting weapons until you can afford dedicated splash defenses.
2. Mid-Game Splash Scaling
- Upgrade the central Glue tower to Tier 2 to increase its slow percentage and splash coverage.
- Build a Mortar or Pulse tower adjacent to the slow field. Concentrated AoE artillery obliterates bunched infantry and fast motorbike waves that single-target turrets cannot handle.
- Add a Flamethrower covering a straight tile stretch directly past the slow pool.
- Upgrade your existing Mortar and Pulse towers to Tier 2 and Tier 3 before placing new structures. Upgrading existing footprints yields significantly higher damage per tile, which is essential given the limited space around Clonehenge's stone formations.
3. Late-Wave Armor and Swarm Control
- Construct a secondary Glue tower further down the track to catch surviving elite units.
- Position long-range Missile towers behind your front line to target armored vehicles and heavy mechs.
- Tap heavy targets manually if high-durability runners pull ahead of the pack, forcing your high-tier artillery to eliminate tanks before they shield trailing infantry.

Free Fieldrunners 2 for iPad Codes
Current active codes and how to redeem them.

James Brown
James focuses on Android gaming on PC, emulator setup, controls, performance tuning, and practical troubleshooting for longer play sessions.
COMMUNITY
Player Comments
95 players commented on this guide.
I wish I had read this before upgrading the wrong thing.
This helped me understand heroes much better.
The explanation is clear, especially for beginners.
I tried this today and it worked better than my old setup.